
Earlier this year I had the chance to shoot Super 8mm film on an awesome video project for Banana Republic, as part of a campaign directed/photographed by the talented Carter Smith.
As much as I love shooting on Super 8mm, I rarely get to do so on commercial projects, so this was definitely a highlight worth sharing here on the blog.
I also don’t often exclusively DP projects, so that too made this a unique experience worth documenting.
Below, I’m going to break down the entire process – why we shot film, how it mixed with digital, our workflow on set and off, and much more. Hopefully this is of some use to those of you working on similar material.
Before we jump in though, here is the final edit –
Why Super 8mm?
From the get-go, the idea was to shoot a mix of video and film for this project.
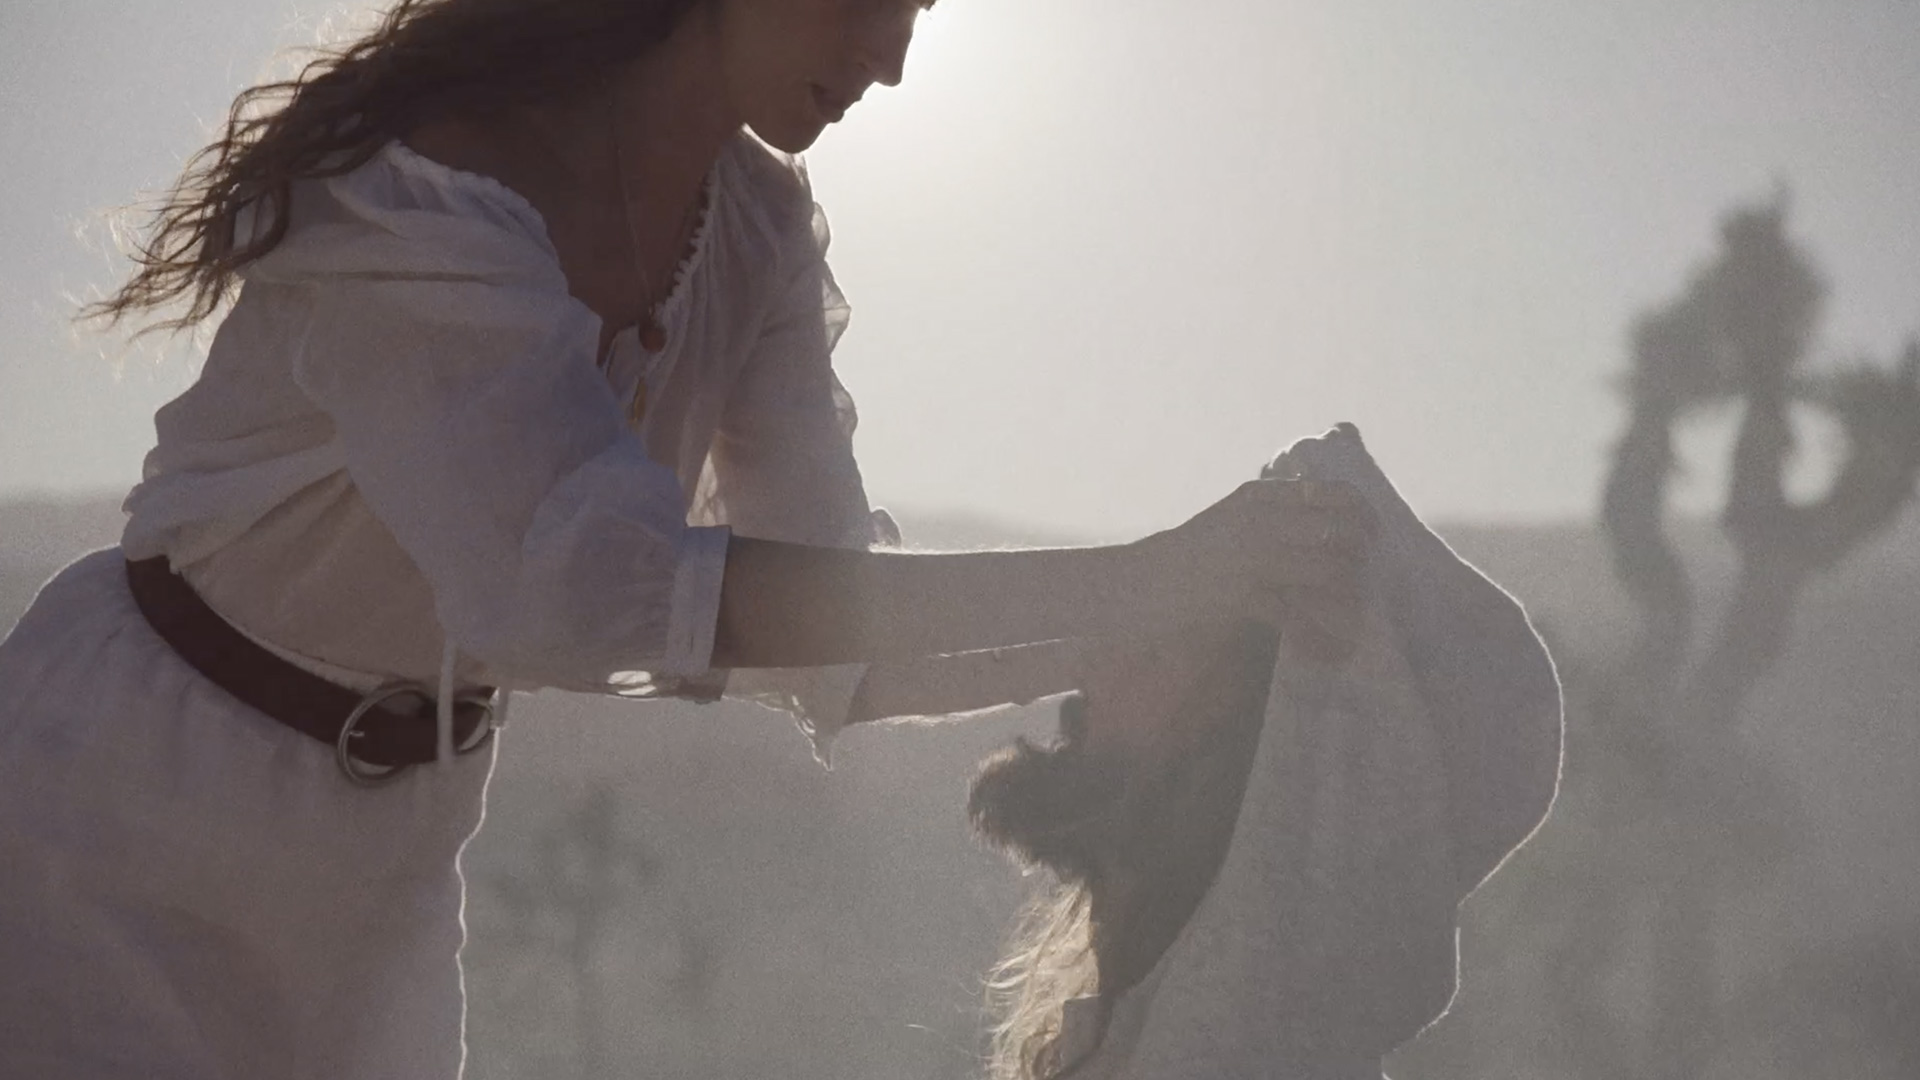
The concept was based around a road trip storyline, so everything was supposed to feel run and gun, loose, and to a degree pieced together from various sources/characters that appear throughout. Mixing digital with film (in addition to other stylistic choices) was a great way to capture the emotional tone that was needed.
Early on I think we discussed the possibility of shooting on 16mm (since I own both 16mm and 8mm cameras), but ultimately 8mm seemed like the right choice for a variety of reasons.
For one, 8mm would look more distinct from the digital footage when compared to 16mm. These days, 16mm can look so good that you would almost mistake it for 35mm – particularly if scanned by a high resolution data scanner (frame by frame, as opposed to telecine).
The difference between 16mm film and digital would of course still be noticeable, but it wouldn’t be obvious. Especially when viewed on a mobile device, which would hide much of the grain and texture that 16mm has to offer.
By shooting 8mm and intercutting it with the digital footage, there would be two independent looks that would create a more diverse visual palette.
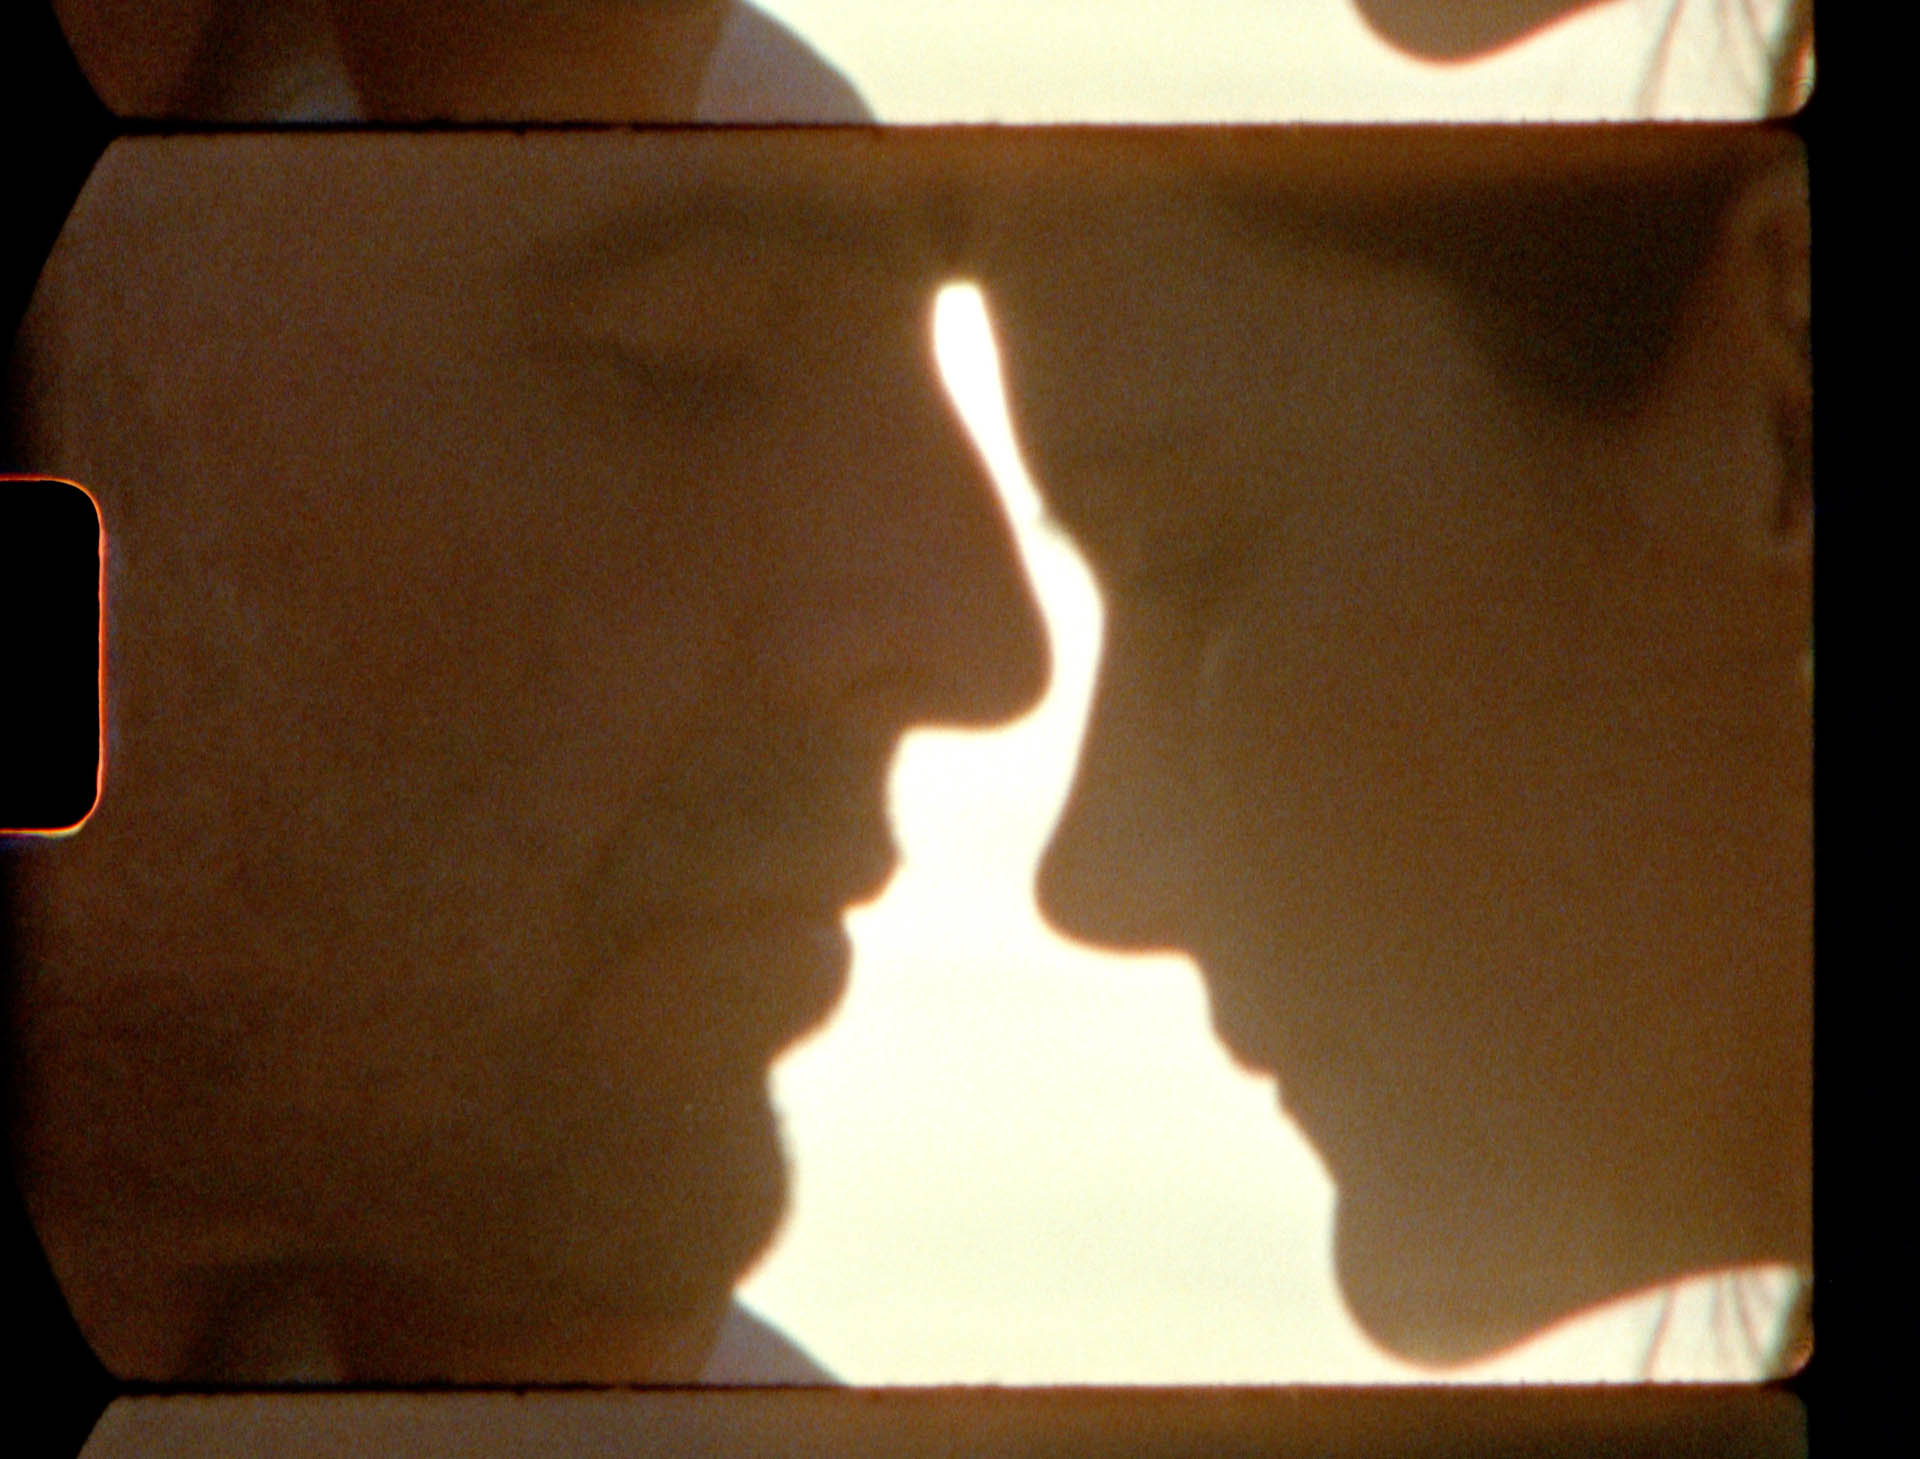
Perhaps more importantly though, Super 8mm was just the right format for the subject matter. It was used as a POV camera, and was meant to look amateur in how it was shot, as if the characters themselves were operating it. We also avoided using tripods or staging anything too carefully, to ensure it had an authentic homemade.
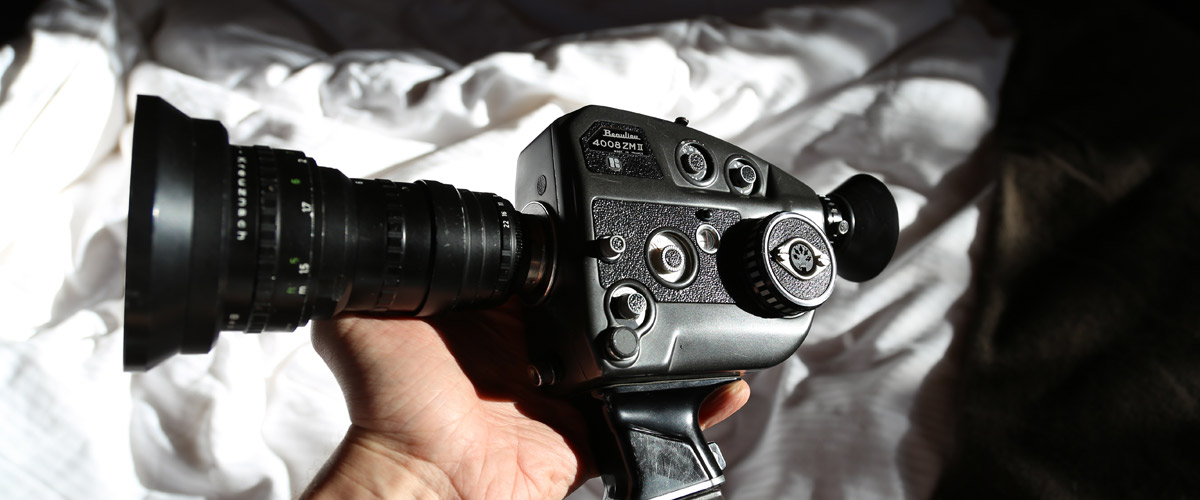
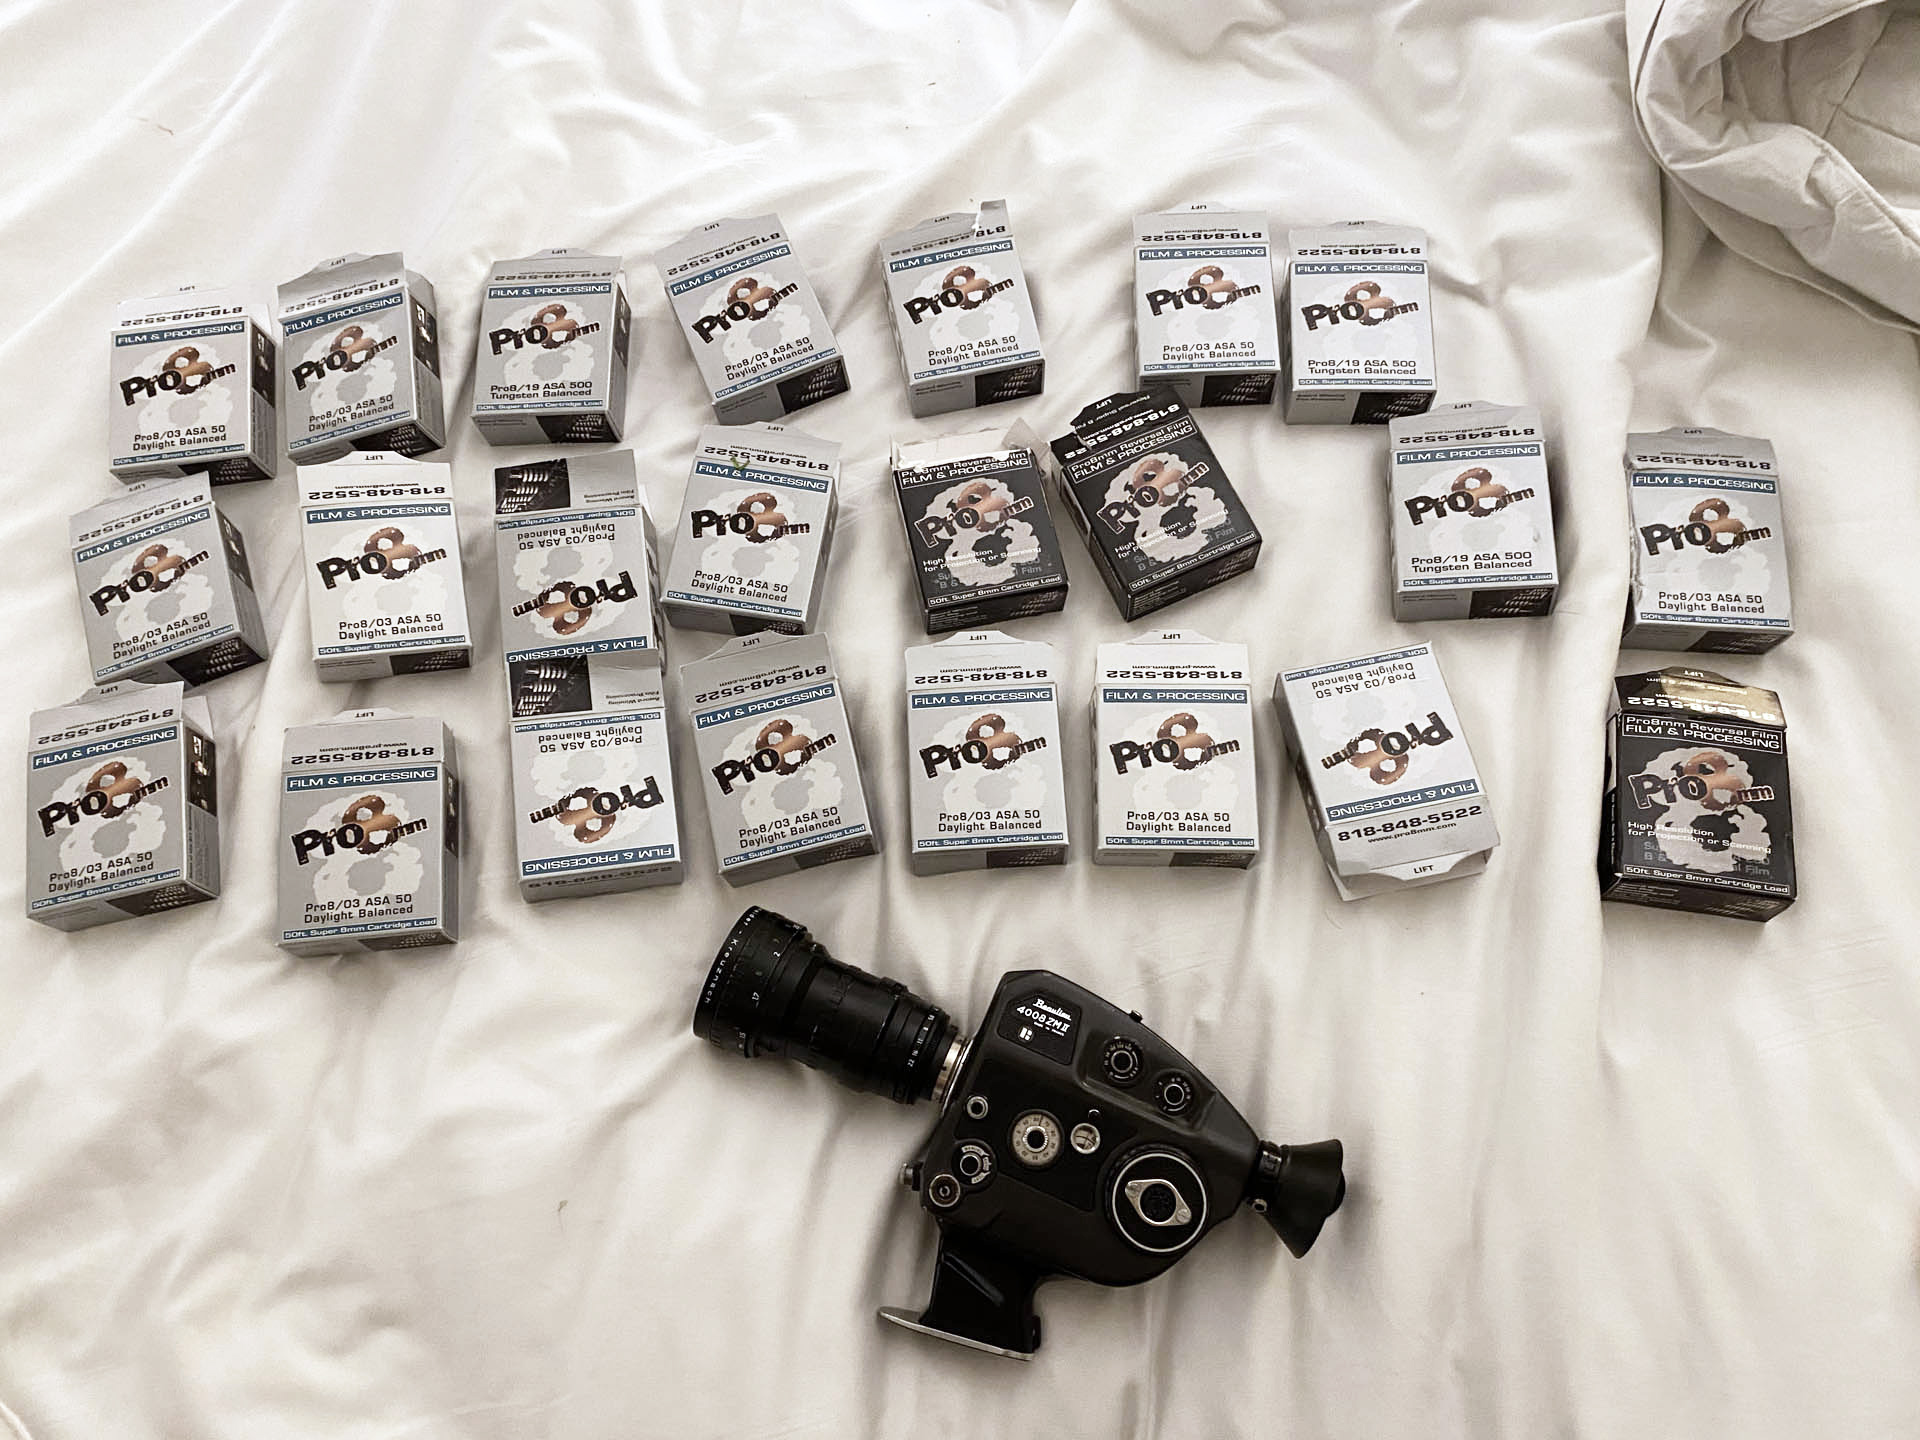
The Super 8mm camera we used (my Beaulieu 4008 ZM II) was also occasionally used as a prop for the photography and digital footage. This tied in the POV shots captured on film with the more objective digital footage.

Shooting RED Gemini
For all of the digital footage, we opted to shoot on the RED Gemini, which was needed for the more traditional setups. Unlike the Super 8mm footage that was supposed to look like the characters shot it themselves, the digital material had to look a touch more polished.
My AC on the project (Andy Chinn) who also shot my first feature film, sub-rented his RED Gemini to capture all of the digital material, and it complimented the Super 8mm very nicely.
Had we rented a separate camera package for this portion, my first choice would likely have been the Alexa Mini. After shooting Alexa for a while, you can fall in love with the color science and want to shoot everything on it…
But the RED Gemini is also an incredible camera, we had direct access to it, and it was certainly more than technically capable of capturing what we needed.
And in retrospect, I actually think shooting RED helped to create the most amount of contrast against the Super 8mm film footage.
The Alexa has such a filmic/analog quality to it, that it likely would have felt a tiny bit closer to the film scans in terms of overall aesthetic. The RED Gemini is sharper, cleaner, and a bit more digital, which was good to contrast with the Super 8mm.
At the same time though, we still had to find some synchronicity between the film and digital, which is where the vintage lenses came into play.
We shot the vast majority of our digital footage using the Angenieux Optimo zooms (16mm – 40mm, & 30mm – 80mm), which coincidentally were the exact lenses I used on my feature film Psychosynthesis.
We also had a pair of Sigma zoom lenses (18mm – 35mm & 50mm – 100mm), which were used for a handful of shots where we needed a faster aperture. We tried to shoot wide open on the Sigmas whenever possible in order to soften them up a bit too.
Whether shooting film or digital, the zoom lenses complimented the the piece quite well. Not just aesthetically, but practically too – They allowed us to be more improvisational and less precise, which was the point.
Choosing the right super 8mm film stock
We had to decide early on which film stocks to shoot on, along with the overall quantity needed for the shoot.
My favorite Super 8mm film stock is the 50D, since the ASA is so low that when properly exposed/scanned it can look nearly as good as 16mm.
Naturally, my first inclination was to shoot most of the material on 50D, with the exception of any low-light shots that might require more sensitivity. But after further discussion with Carter and some added visual direction, we opted to shoot a wider variety of film stocks to create a more dynamic palette. This was definitely a better choice.
Again, the goal was for the Super 8mm footage to look homemade, so creating some randomness in the footage quality and style was beneficial.
Ultimately, about half of the film stock we purchased was 50D, with the other half comprised of a mix of 500T, and 200 black & white.
Between these different stocks, we could capture a wider array of color palettes and grain textures.
The 50D would be used for key shots that needed to be the most technically accurate. The 200 B & W was great for more experimental footage that could benefit from a higher contrast look. And the 500T was optimal for the lower light footage we shot toward the end of the day, but also for some slow motion/over-cranked shots that needed more light.
In terms of volume, we went back and forth trying to decide how much film to source.
Initially, it looked like the shoot would be primarily digital, with some film peppered in sporadically. But the more the creative developed, the more the Super 8mm footage became a focal point, meaning we would need a fairly significant amount of raw stock.
In the end, we picked up 30 rolls to cover our two shoot days. This seemed like plenty, since each roll of Super 8 gives you about 2 1/2 minutes (at 24fps). So in total we had 1 hour and 15 minutes worth of raw stock to work with.
Workflow on set
Going into the shoot, we knew for the most part which type of shots would be captured digitally, and which would be captured on film.
That said, the bigger purpose of the production were the still photos that Carter was shooting, so our workflow on set revolved around the pre-existing still photo setups.
With limited time available, we opted to shoot motion and stills simultaneously whenever possible. This meant that when stills were being taken, one (or both) of the motion cameras were rolling too.
When we had two cameras rolling at once, I would operate the Super 8mm camera and Andy would operate the RED Gemini. Occasionally there was no need for the Super 8mm, so I would take over the Gemini and Andy would pull focus.
Some of the motion shots were also captured after the stills were complete. For instance, wider shots/angles wouldn’t be possible to capture on film/video while shooting stills without seeing crew or gear.
In those cases, we would run in after the stills were complete and re-create the moment for a quick shot on Super 8mm or RED.
For the most part, that’s the workflow we followed throughout the shoot.
By day two though, we started to deviate from this plan a little bit, as there was some material that really only needed to be captured on stills, and vice-versa.
In those cases, we would splinter off and go shoot film or video of a prop car rolling down the desert road (or whatever else) while Carter and his photo team were capturing stills back at the main location.
We also did some fun POV shots where we let the models hold the camera and actually shoot some of the footage themselves. Or we would stage some setups to look like that, and I would operate. In both cases, it created some variety that had a slightly different feel from the rest of the shots.
Over the course of production, we used a mix of different frame rates, particularly on the Super 8mm camera. Most of it was captured at 24fps, but we did make use of the Beaulieu 4008 ZM II’s ability to shoot up to 70fps. Whenever a shot made sense in slow-motion, or if we just wanted to try something a bit different, it was fun to over-crank and see what we could get.
I also did some in-camera zooms, whip pans, iris rolls, and other moves to add little flourishes to the raw footage and make it feel authentic.
In the end, we shot most of the film, but not all – about 23/30 rolls – and a ton of digital footage too. Carter and his team were able to pull together an awesome edit, maximizing the best of each format.
Processing/Scanning
As always with my Super 8mm footage, I took the exposed rolls of film to Pro 8mm in Burbank, CA for processing and scanning.
If you’re located in LA I highly recommend them. They sell packages with film, processing and scanning all bundled together, and do some of the best scans of 8mm anywhere.
They are able to scan 8mm at up to 6.5K resolution, but that was overkill for the needs of this project. In the end, we scanned to HD/2K which was still plenty.
When scanning film, you have the option to overscan to reveal the edges of the frame and the sprocket hole. I like to do this to create options in the edit.
Sometimes you might want to leave the over-scanned image as is for stylistic effect. Other times you might just leave in the edges of the frame, or simply use the extra height to re-frame a little bit while editing.
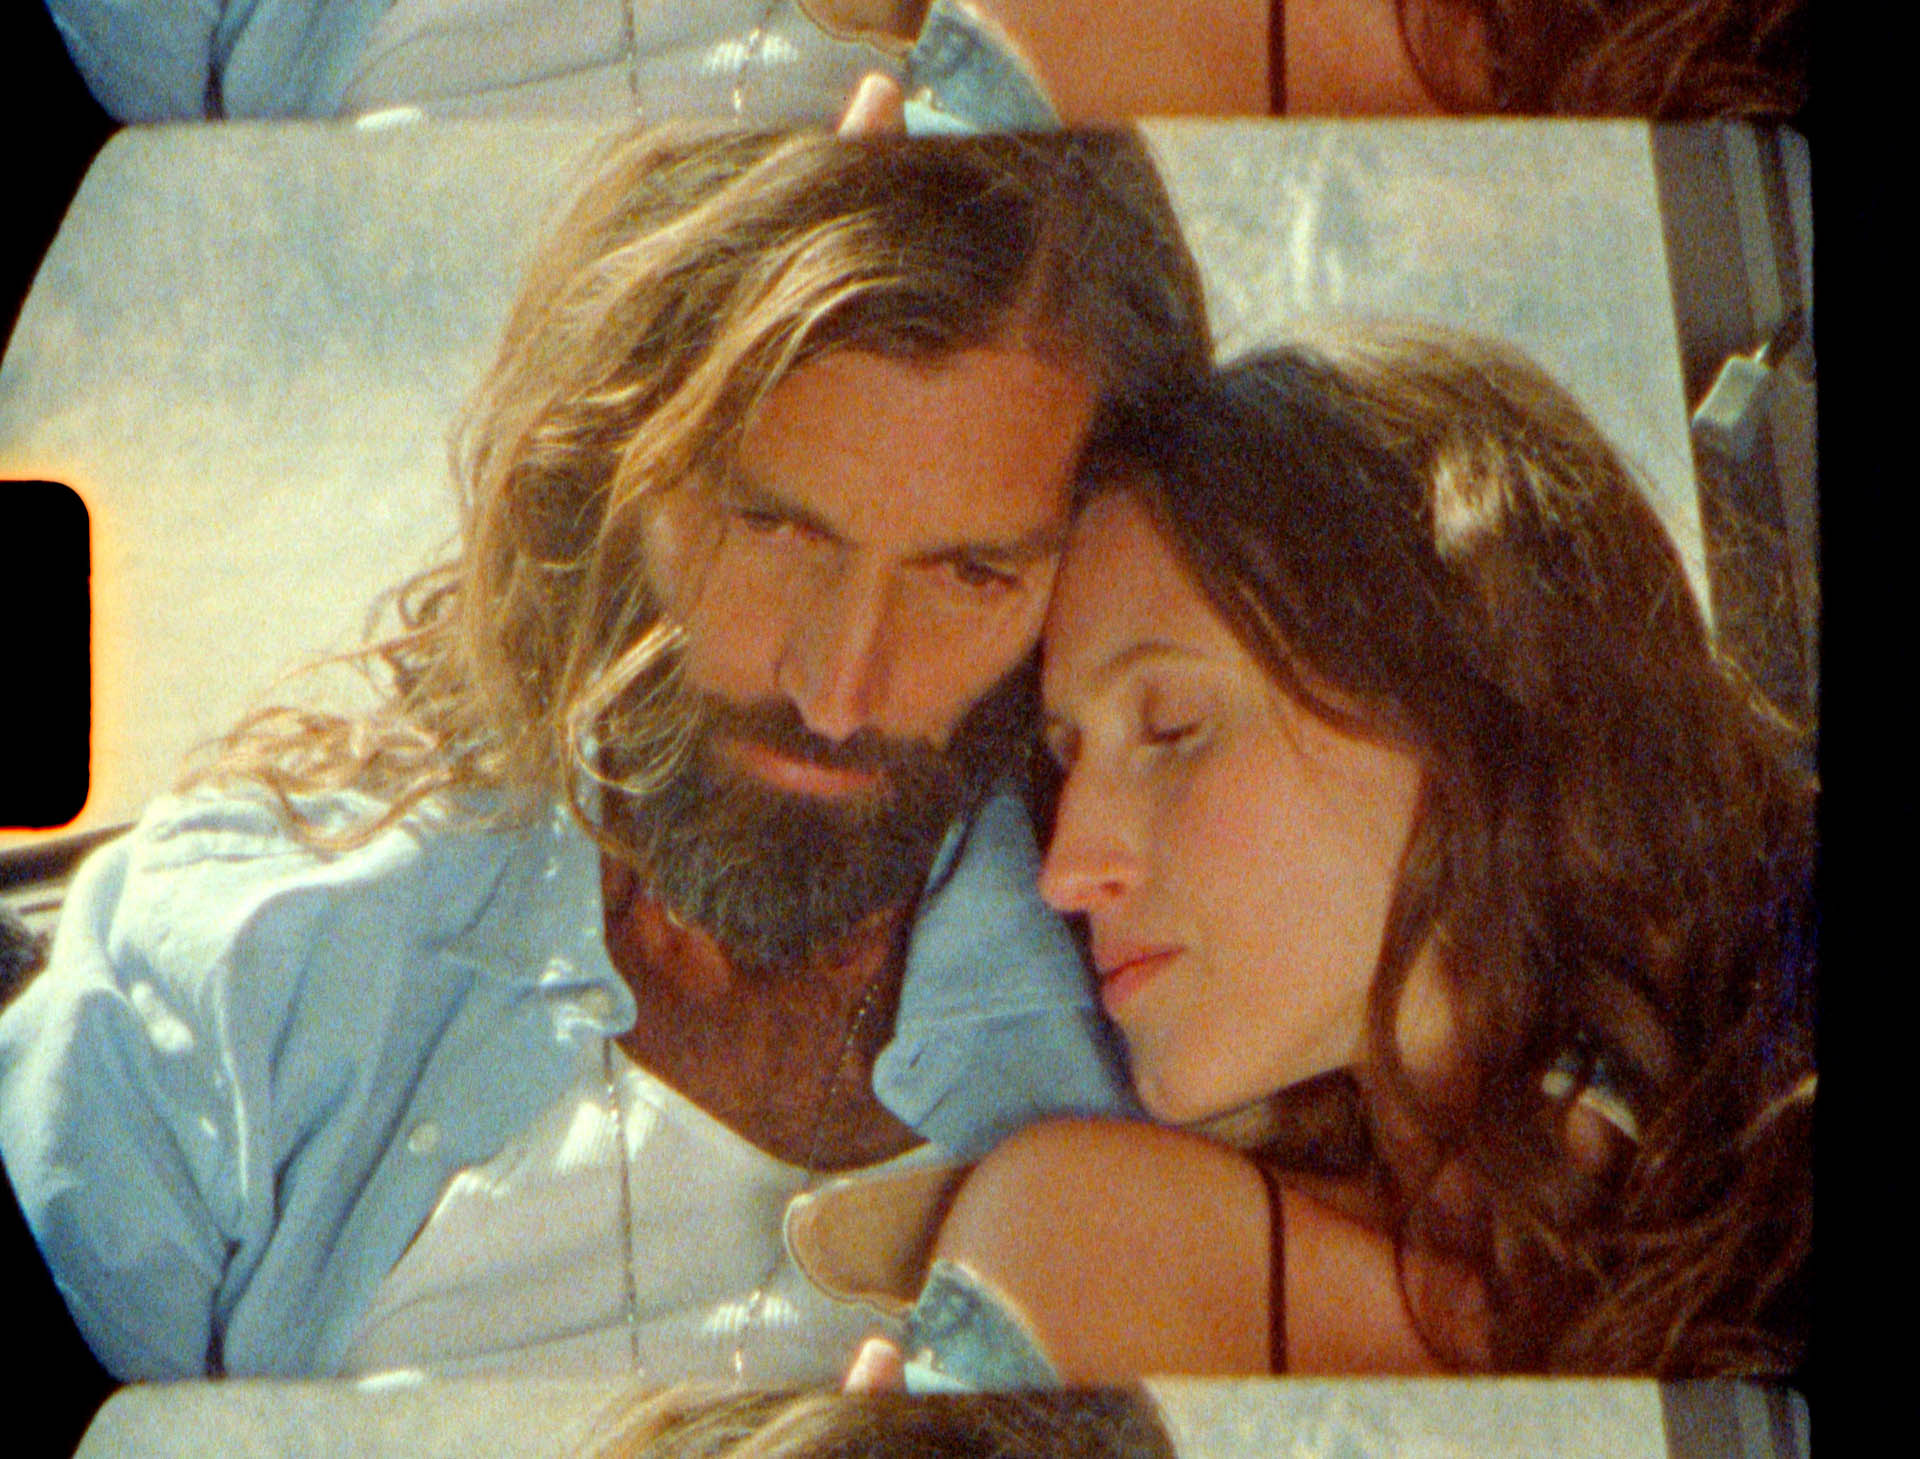
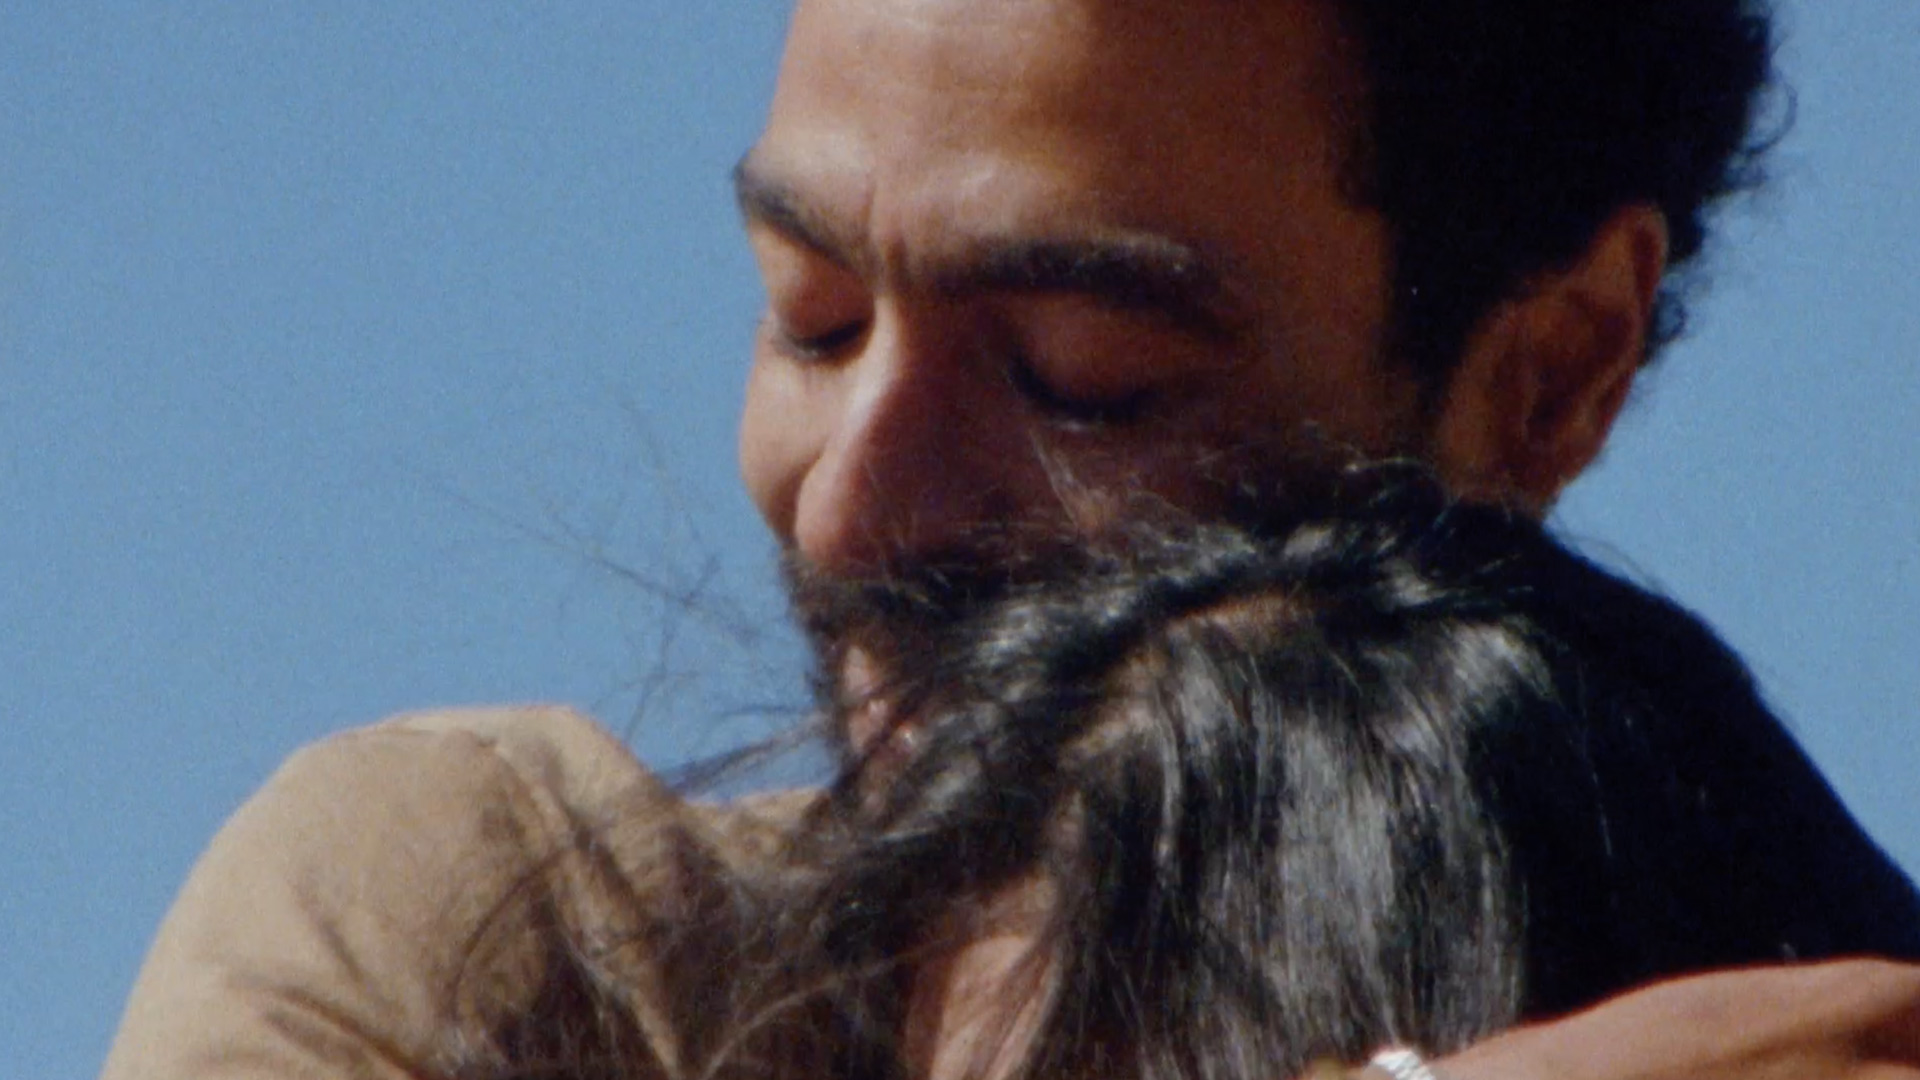
In the final cut, the Super 8mm footage was pushed in to fill the whole frame, but it still holds up quite well –
The raw film was scanned to a log color space (as opposed to Rec 709). This of course maintains the maximum amount of color information and opens up the most possibilities for color grading.
Before sending off the film scans to be edited, I dropped them into DaVinci Resolve and did a quick one light color pass globally on all the footage. I then created a LUT to get the footage into Rec 709 and shared it for use in the offline edit.
This LUT worked for most of the footage, but not all.
The tungsten footage (200T) was not shot with an 85 filter, which gave it a very cold color temperature on the native scans. This could be manually adjusted/corrected in post to fix the white balance.
All in all though, the film footage didn’t seem to need a ton of color grading since the natural colors from the lab came out quite really well.
The final product
In the end I loved how everything turned out, thanks to everyone else’s work on set and in post.
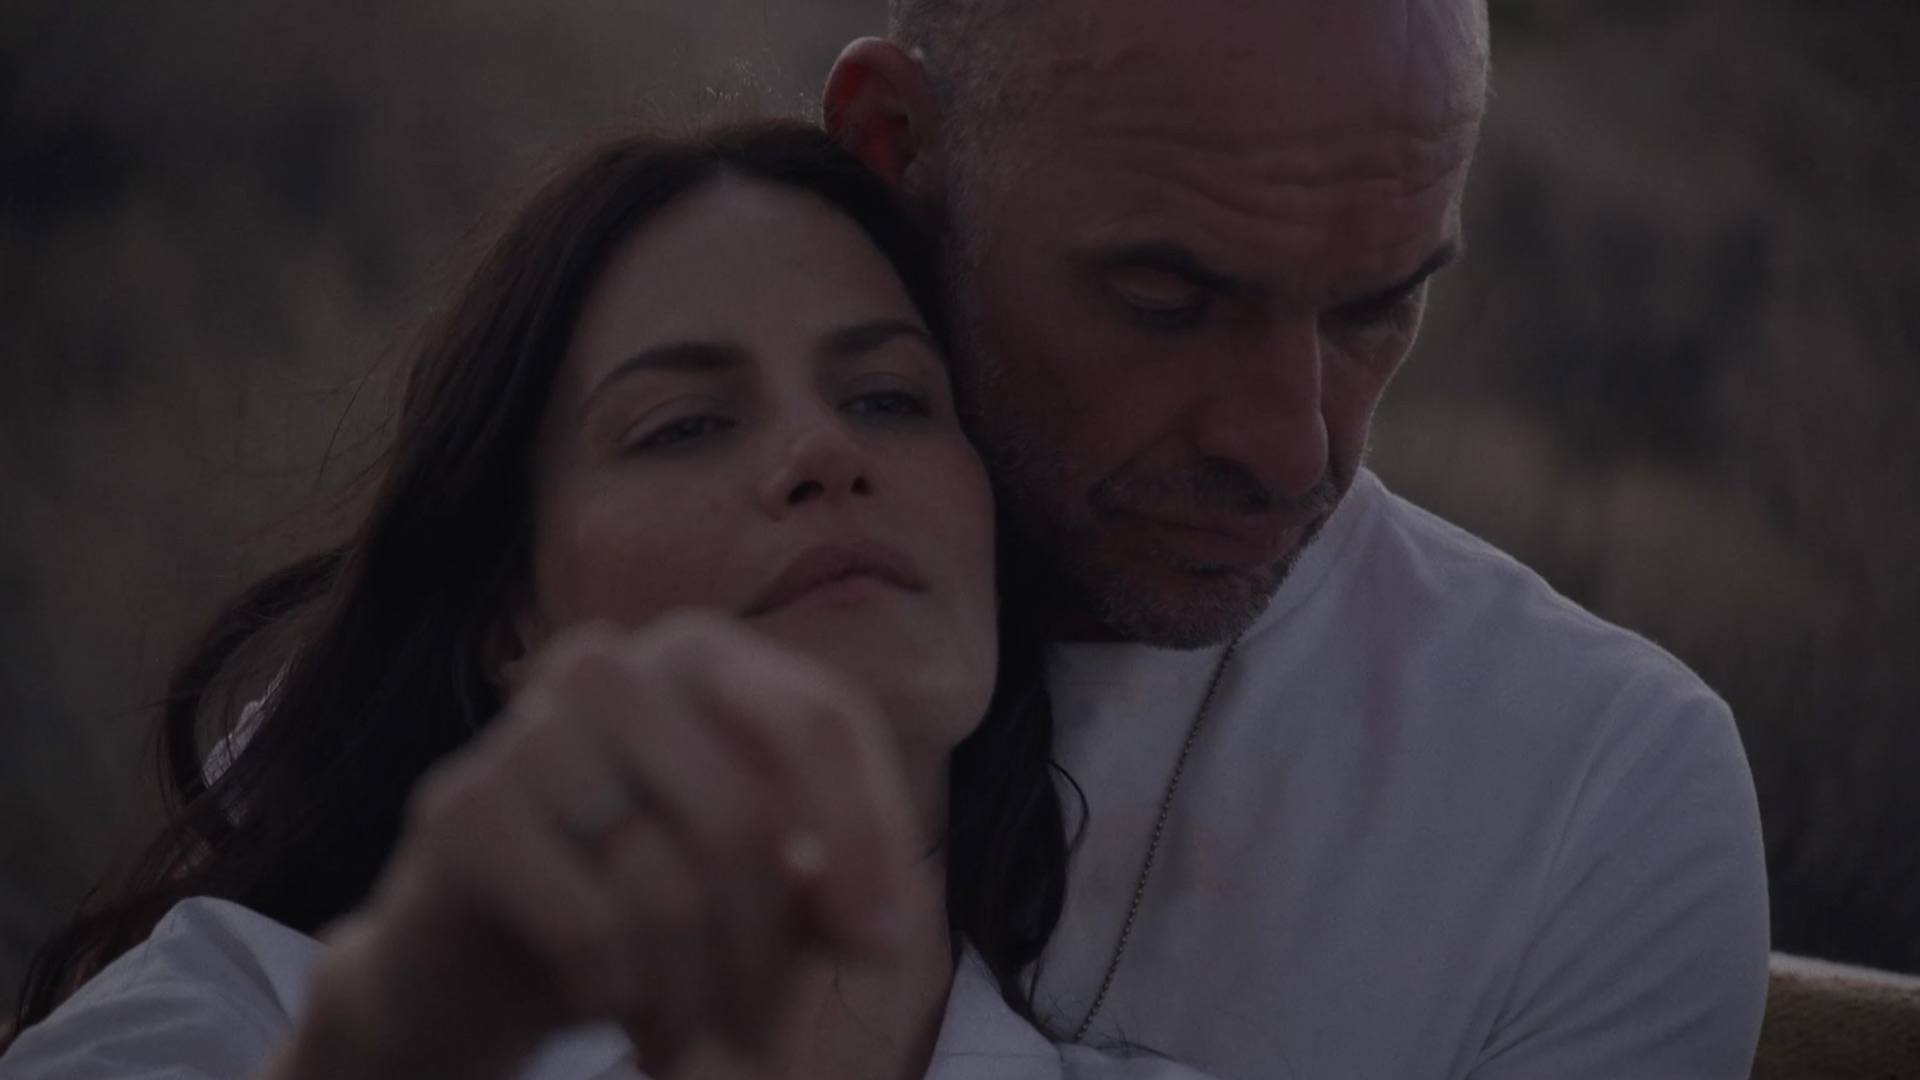
There was so much footage to work with, and this could have been cut a thousand different ways. But the final version struck the right balance between film and digital, color and black & white, normal speed and slow motion. There were also some great additional touches like the double exposure effect, which was done entirely in post.
The music by Chris Bear (of Grizzly Bear) and the use of layered voiceover (which was also recorded on set with the models/actors), made for an awesome soundscape that really elevated the visuals.
These type of Super 8mm projects don’t come along often, but it’s always fun when they do. I have a couple of my own Super 8mm films in the works, so I’ll be sure to report back on those soon.
Have you shot 8mm on any of your projects? Leave a comment below.
For more exclusive articles like this every Sunday, sign up for my newsletter here.


8 Comments
Tempo Garments
atElevate your comfort with Tempo Garments undershirts for men. Crafted with soft, breathable fabrics, our collection offers the perfect foundation for your wardrobe. From classic white to versatile neutrals, trust Tempo Garments to provide the perfect blend of comfort and style, ensuring you stay confident and comfortable all day long.
Larry Martin
atWow, what an incredible opportunity! Shooting on Super 8mm for a commercial project must have been a dream, especially combined with the RED Gemini. The blend of analog and digital in this project adds a unique touch, making it a truly memorable experience. Can’t wait to hear more about the process!
sandisk memory card data recovery in Riverside CA
Michael Nicholas
atTruly spectacular work Noam! Great BTS info too!
Noam Kroll
atAppreciate it very much, Michael!
Chief Mojo
atI sold my Beaulieu 4008 about 4 years ago. I said “I’ll never have any further use for this…” And now you go and do this with Banana Republic and make me feel all remorseful all over again. I hope you’re happy. Although I do seem to recall the battery was always causing problems and it was difficult if not impossible to get a new one.
As an aside, your spot reminds me A LOT of a music video my photographer friend Jane Shirek did a while ago on an even lower-budget Super 8mm camera. I think her results were pretty spectacular. It was shot in Atlantic City, NJ. Check it out if you have a minute: https://youtu.be/n9cnKR5wwW8
Noam Kroll
atAwesome, will check it out soon. Appreciate the share!
Sorin Pavelesco
atAmazing story, I love the background info and insight. Well done to the entire team, the final product is nostalgic, dreamy and full of human warmth.
Noam Kroll
atSo glad you liked it, Sorin.