Nearly two years ago I embarked on my latest feature film project Psychosynthesis which is finally gearing up for distribution. The film was made for only $25K in 9 shooting days using some very unconventional techniques that I want to share here today.
For a little background you may want to check out some of my past blog articles like this one about the production process on Psychosynthesis. You can also read these interviews with about the movie on No Film School and Arri’s Website for more context too. But for now, to bring everyone up to speed –
Psychosynthesis is a feature length arthouse/thriller film about a sickly young mother who loses her sense of identity after a heart transplant, and begins to take on characteristics of her donor.
The first version of the script was written in only 5 days (after nearly a year of research), and after several months of script revisions and other development, I launched our Seed & Spark crowdfunding campaign.
Through the campaign, we were able to raise close to $15K and bring on our executive producer Ryan McCarvill, not to mention secure a grant from the Duplass Bros. I invested the final $10K or so myself into the project, and we were off to the races…
This first phase of the process flew by. From the time I started writing page one of the script until we arrived on set to shoot, only 4 months had passed.
In that short window, not only had the script and crowdfunding come together, but the rest of pre-production did too – casting, crewing, location scouting, props/wardrobe, rehearsals, and virtually everything else.
Before we knew it, this thing that was just an idea a few months before was all of a sudden a reality. We were on set ready to roll the first take, and the next 9 days would be a fun but intense roller coaster ride.
Throughout this post, I want to share as much background as possible to outline exactly how we pulled this film off in that 9 day period.
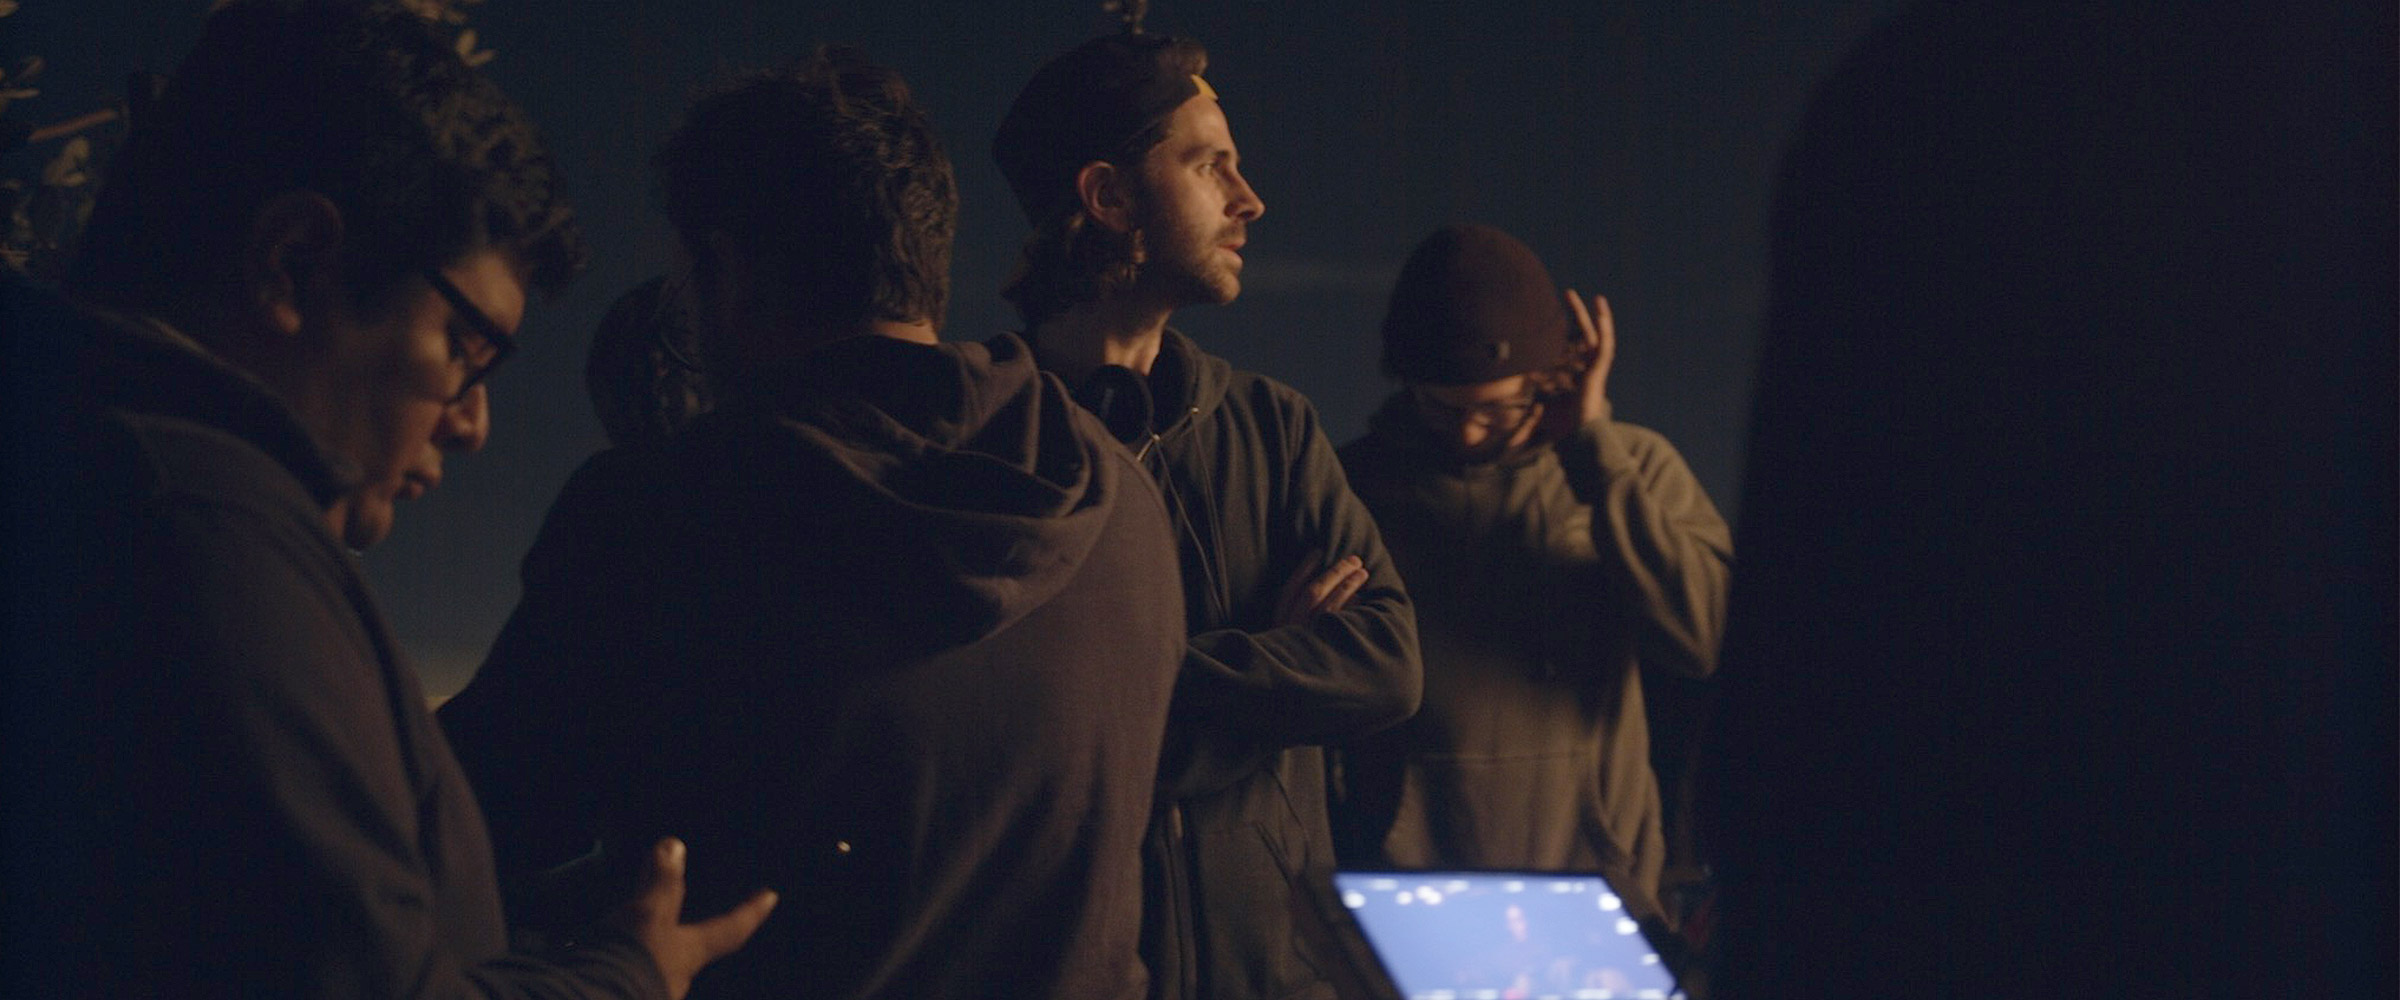
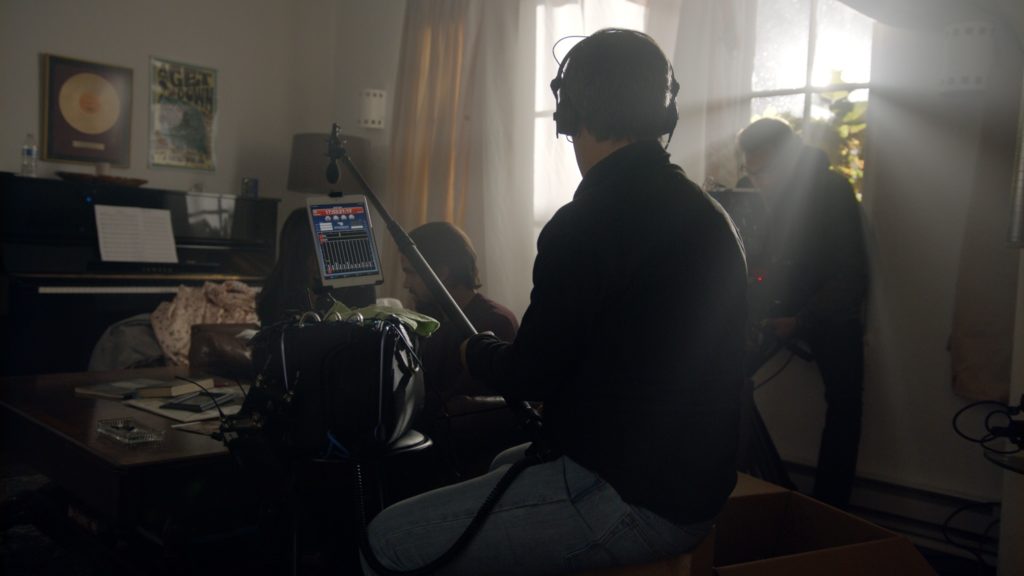
Before we jump in though, here’s a short behind the scenes video I put together last week that will give you a taste of our approach on set –
Now let’s jump in and explore exactly how this film was made…
ENGINEERING THE FILM
This should go without saying, but pulling off a feature for $25K means following some of the golden rules of micro-budget film production – Namely, writing the script with minimal locations and cast, while limiting practical or special effects that may be too costly to pull off.
For the most part, these principles were ingrained in both the concept and the script from day one.
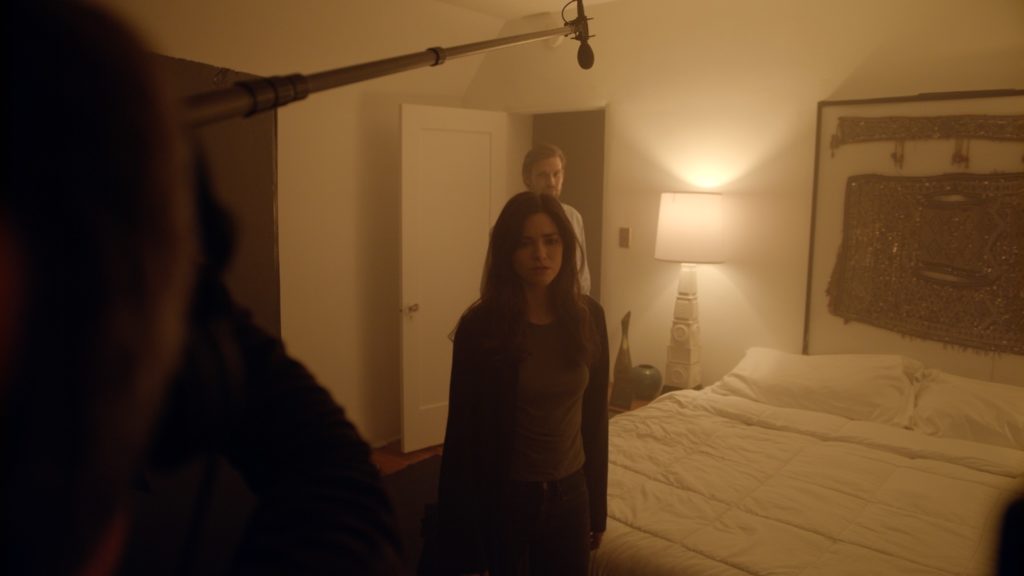
The film was written to take place in just two locations – one is the home of the protagonist, the other the home of the antagonist. Outside of a few establishing shots and driving scenes, literally everything took place in one of these two locations.
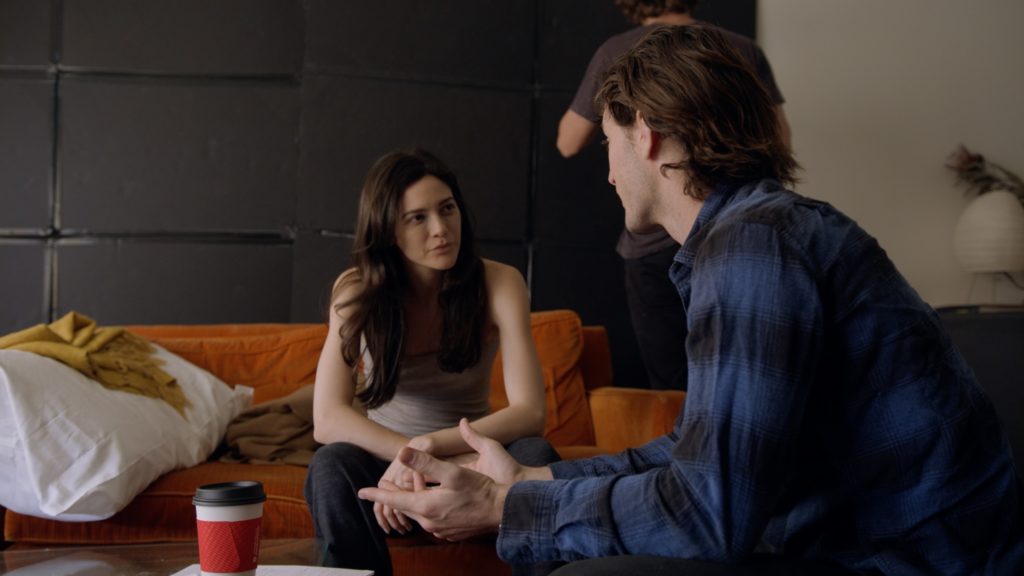
From a cast-perspective, just three actors carry nearly the whole film – Stephanie Pearson, Brandon Alan Smith and Johnny Day.
These two decisions: keeping locations and cast to a minimum, were paramount to the overall success of this project. That’s not to say you can’t break these rules on other micro-budget productions, but on this specific film we had to adhere to those guidelines.
To take things further, I also wrote the script in a way that would maximize the locations we had and maintain visual interest.
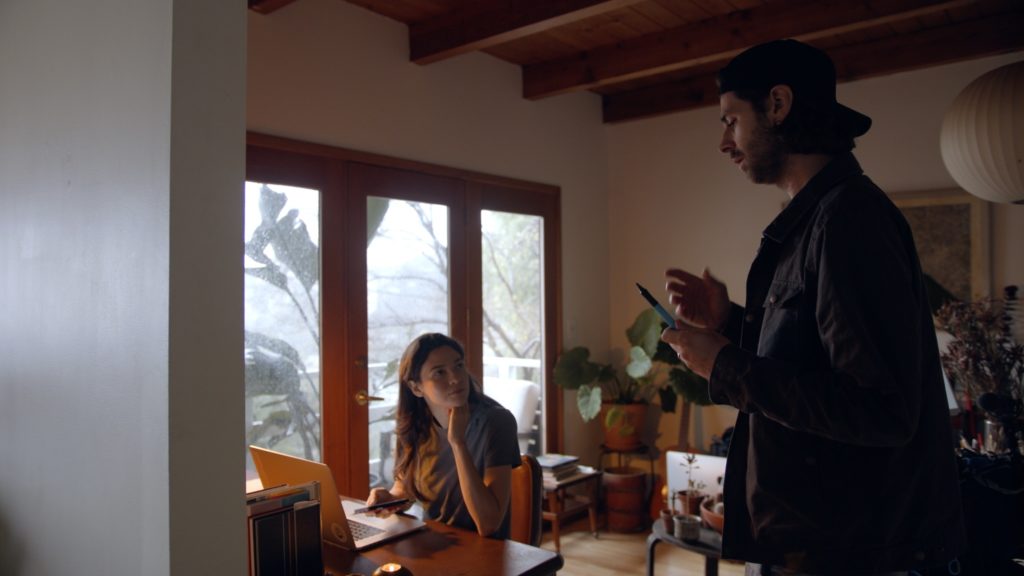
For instance, rather than writing a long 5 – 6 page dialogue scene between two characters in one room of the house, I would break it up into multiple scenes. That way, we could shoot the same amount dialogue across multiple rooms in the same house, which kept the visuals far more dynamic.
My goal while writing was to never have a scene run longer than two pages. There were a couple of times when I had to divert from that plan, but those were very much the exception.
By keeping scene lengths on the shorter side, I knew we would have more ability to experiment with different camera angles and shoot some scenes as “one-ers” which would help us both stylistically and logistically.
Writing a script with these type of parameters in mind may seem limiting, but it’s actually quite freeing. Those limitations really helped me focus on what mattered most, and in turn generated some really original ideas that may not have otherwise came to light.
BUDGETING
Even though the script was written to maximize production value and minimize overall cost, it was still going to be a major challenge to pull things off on our minuscule $25K budget.
Right off the bat I knew my biggest expense would be our two main locations.
While it may be true that minimizing your locations can save you money, it’s equally true that picking the wrong location can have a seriously adverse effect on your final product. Especially for a film like this where the entire movie takes place in two locations – if both aren’t 100% solid, it will show on the screen.
Ultimately about $8K was paid out to the two main locations. While this was our biggest line item, it could have been much worse considering where we shot. Our second location in particular would have likely cost double to shoot in had we not negotiated a deal with the owner.
Spending nearly 1/3 of the budget on locations might not sound ideal, but it’s important to remember all that we saved in going that route. Sure, we may have spent less initially with cheaper locations, but then how much time (and money) would we have needed to spend set-decking them and struggling with lighting and camera placement?
These locations were practically going to serve as characters in the story, so it was the one area where I knew we had to be willing to spend. Ultimately, I’m so happy that we found the locations that we did as this truly wouldn’t have been the same film without them.
For cast, the film was run through SAG-AFTRA which allowed us to work with union actors while paying a reduced rate due to our limited budget. SAG AFTRA’s standard rate for these productions is roughly $125/day, so with an average of 2 – 3 cast on set every day, we were spending about $250 – $375/day on talent.
The crew costs varied significantly, as I did mix of day rates, flat rates and even a couple of barters. Normally on a micro-budget, I like to pick a reasonable day rate and offer the same rate to the whole crew to keep things fair. But in this case, that didn’t make sense.
Some crew would be bringing gear and spending extra hours, while others would be working in a more limited capacity. I discussed options with each crew member individually and created custom agreements with everyone.
Cast and crew accounted for roughly another 1/3 of the budget, but included in that rate was the vast majority of the gear that we shot with too.
The remaining third of the budget (roughly $8K-9K) was spent on virtually everything else – additional rental items (lenses, accessories, etc.), media, food, transportation and other hard costs.
Once all was said and done, we would have roughly $1K – $2K left for post-production. This sounds like nothing (and it is), but my goal was to keep post-production costs nearly at $0, and simply use the extra money left over as a contingency.
My background is in post-production and finishing, so I was very comfortable handling as much post work as I needed to myself in order to keep costs down. I don’t recommend this path for everyone, but for those with a deep understanding of post it’s certainly an area where you can save a lot.
In an ideal world, we would have had another big chunk for post, but really it would have been more of a convenience than a necessity. Money would allow me to be more hands off, and work with a team to get us to the finish line quicker.
By the end of the process I had gone through literally hundreds of versions of the edit, with project files spanning 3 calendar years (2018, 2019, 2020).
Other than a dialogue edit performed on the final cut by the very talented Woody Woodhall of Allied Post and some minor VFX by Sam Vila, I had to go solo on all of the post-production. This included audio mixing and sound design, in addition to the picture edit and color correction.
CAMERA & LIGHTING GEAR
One of the ways we were able to save money while still achieving great production value was by being very selective with our gear setup.
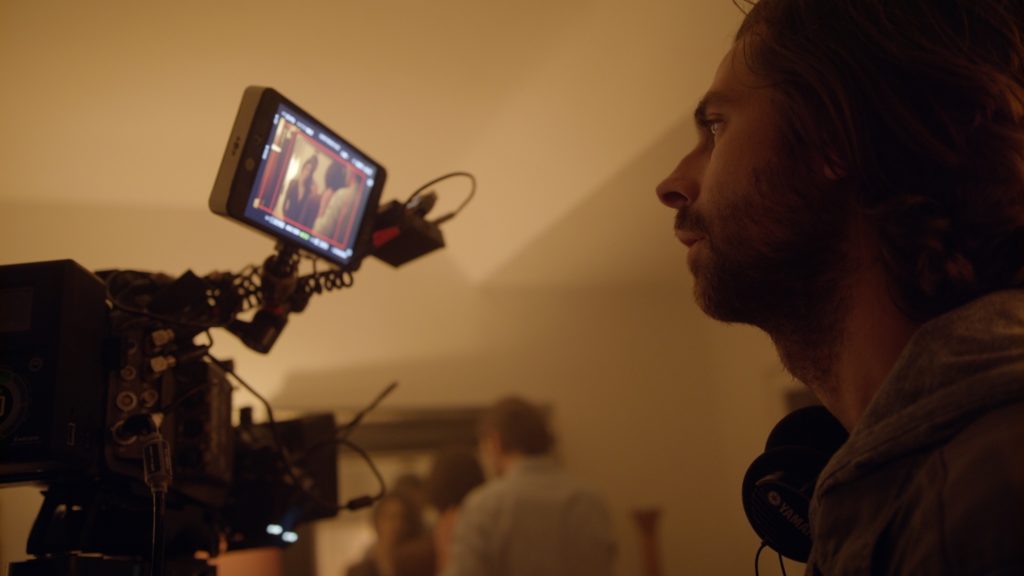
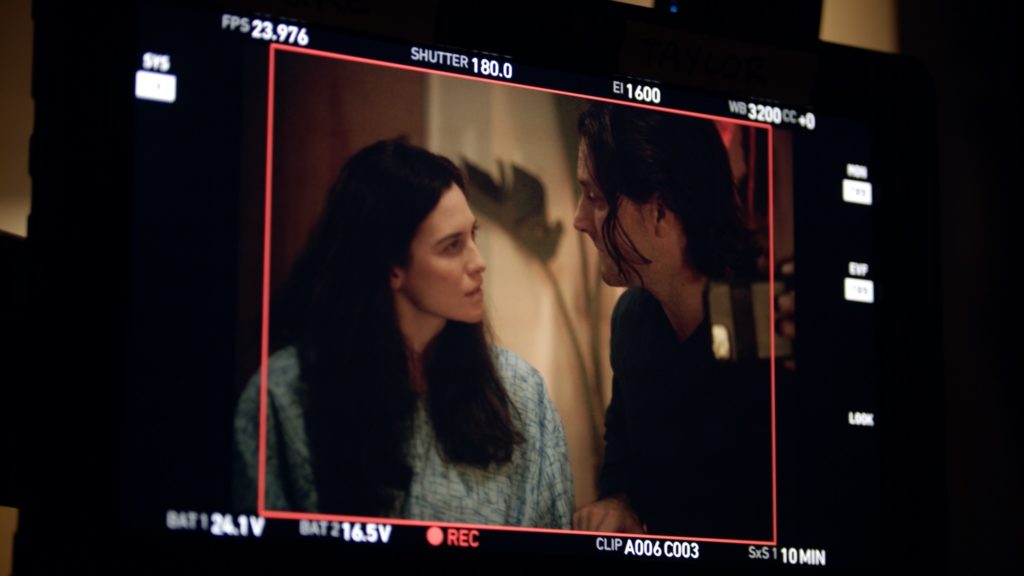
I had recently purchased a CPO Arri Alexa 4:3 through my production company Creative Rebellion. This was a camera I had wanted to buy for my commercial/corporate work for years, and finally pulled the trigger on as it would mean I could also use it on this feature.
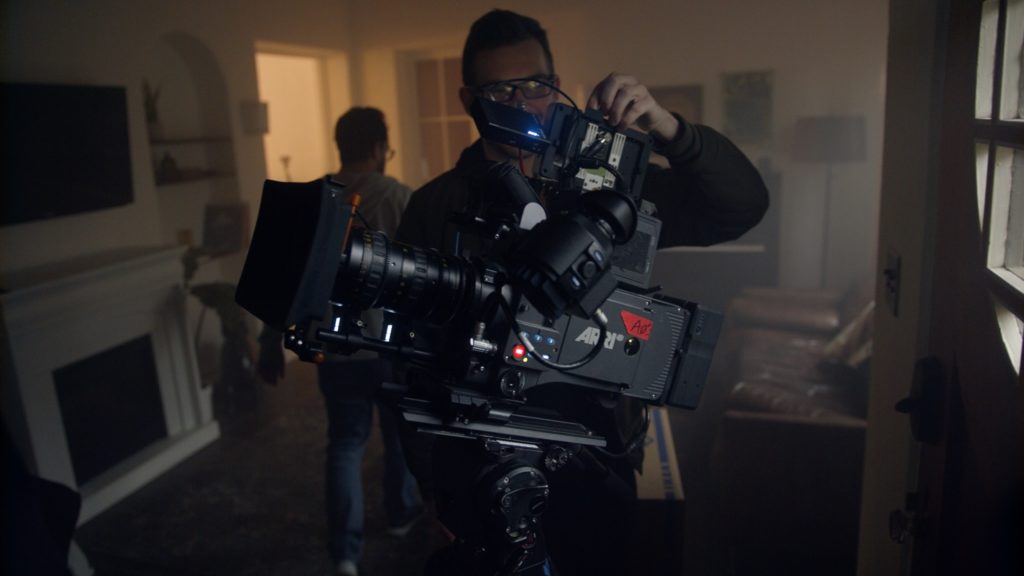
Right off the bat, that helped keep costs down as we wouldn’t need to rent a camera for the shoot…
Had I not owned the Alexa, I would have still opted to shoot with whatever camera I personally had available – whether it was a Blackmagic, DSLR or even an iPhone. This movie was getting made one way or another!
That said, the Alexa really allowed us to achieve some beautiful visuals that really heighten the viewing experience. So in the end, the camera was a win-win.
Lens-wise, we rented two Angenieux Optimo Zooms (16mm-42mm & 30mm-80mm T2.8) that were used for the entirety of the shoot.
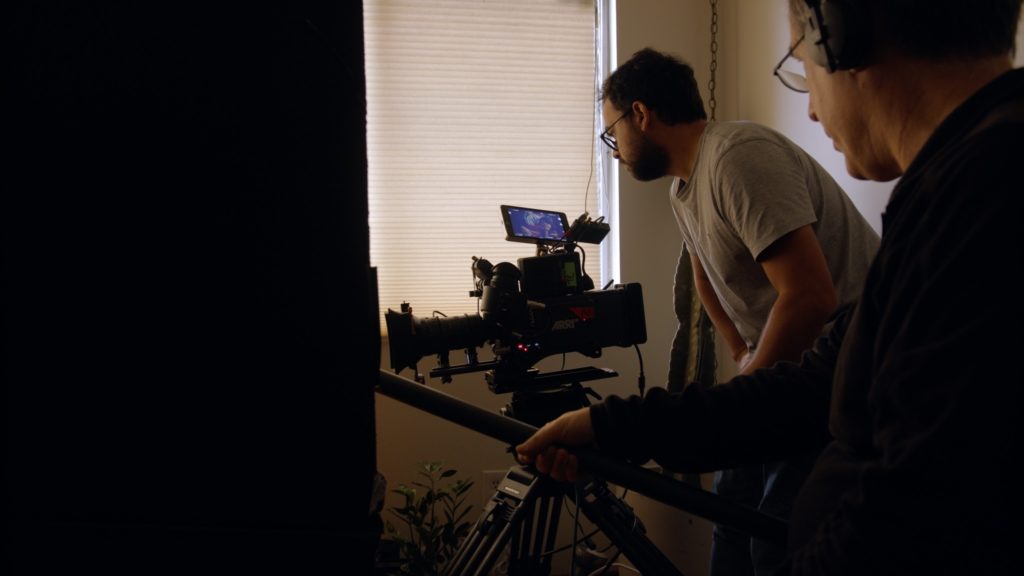
Although I normally shoot on primes, I wanted to shoot with zoom lenses for this feature to achieve some specialty shots that were part of the film’s vocabulary. These slow-zoom shots were in my mind from the script writing phase, so shooting on primes was not even an option.
I was also curious to see how quickly we would move when shooting on zooms. Having to change lenses less often would mean (I assumed) we could work faster on the day and quickly punch in for some extra coverage on the fly. Ultimately, this proved to be the case.
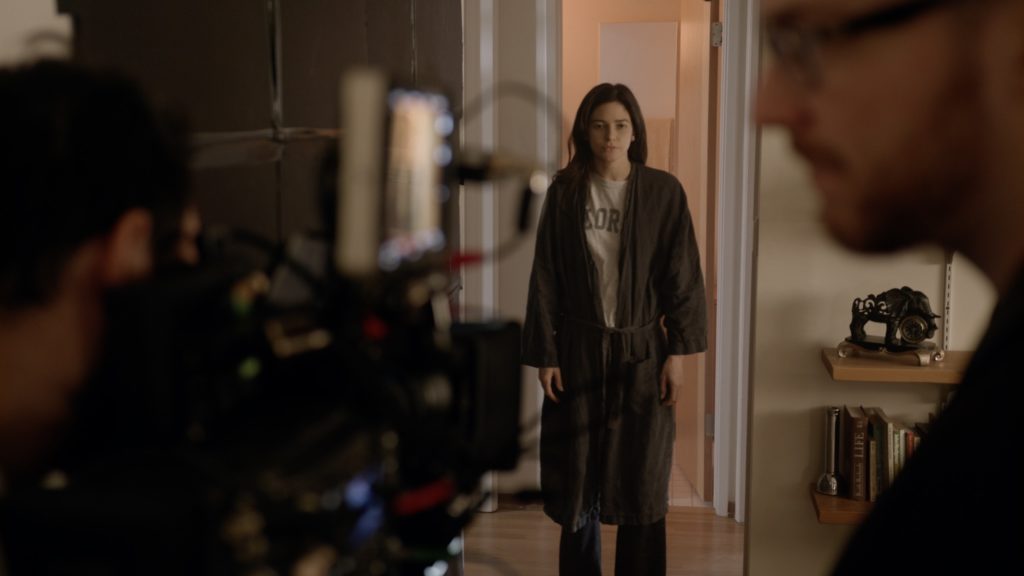
Other than two driving scenes in the film, every scene was shot from the tripod. This was done for stylistic effect, largely to parallel the experience of the main character who had been partially disabled with limited ability to walk… From a gear standpoint though, it meant we didn’t need to bother with a dolly, steadicam, gimbal or any other camera support.
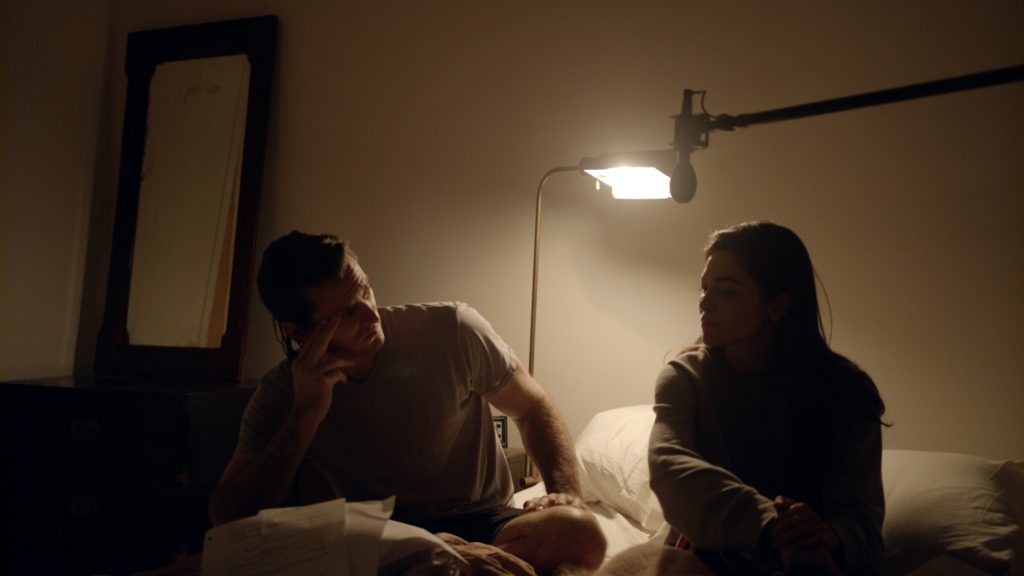
Thankfully our gaffer Taylor Clemons was able to bring out his van which included all the lighting and grip we needed, outside of a 2K lamp that we rented separately.
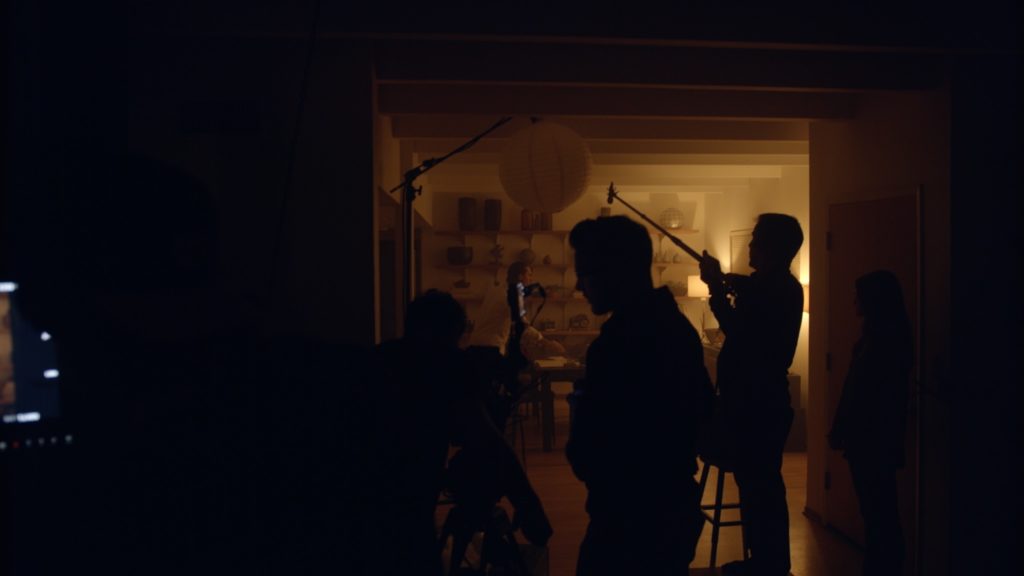
Most of our scenes were shot with either the 2K, a lite-mat, china ball, quasar tubes or just practical lights.
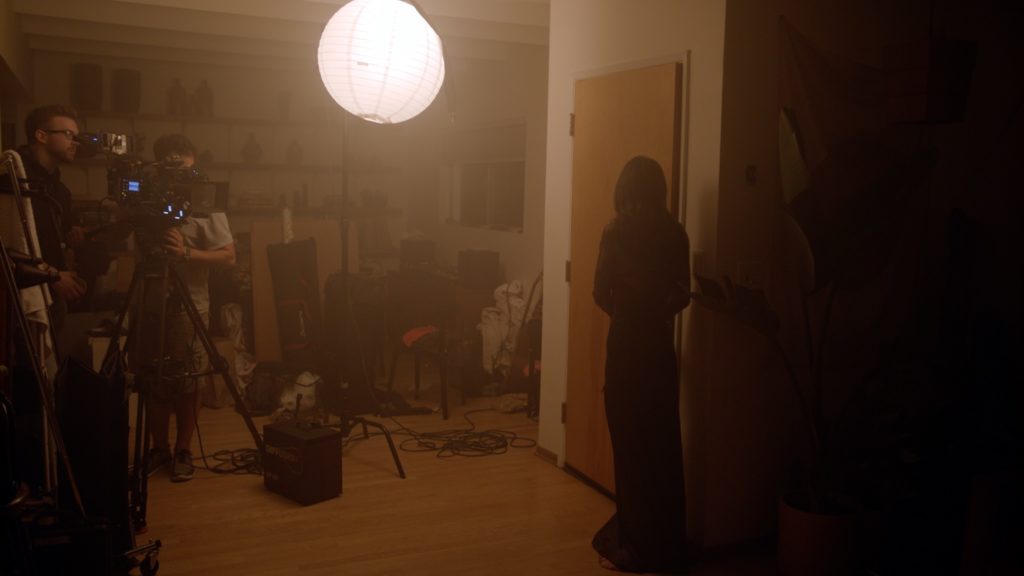
I discussed early on with DP Matteo Bertoli that we would use the lighting to create a soft, contrasty palette that would feel very natural and not overly stylized. By keeping the lighting setup to a minimum, I think we achieved that really well.
SCHEDULING
I’m a big believer that a great schedule can make or break your production. With only 9 days to shoot this film, we had absolutely no room for error – the schedule had to be rock-solid without any wasted time.
You may be wondering why the film was scheduled over just 9 days in the first place. If shooting time is so precious why not just extend the shoot?
After all, even some no-budget productions are able to shoot for 20+ days under the right circumstances…
Ultimately it came down to the locations. As I said above, it was crucial to me that we secured really strong locations, since they would be featured so prominently in the film. Based on the rates of those two locations, we could really only afford to shoot in them for a total of 9 days – 5 in our first location, 4 in the second location.
Cast and crew costs played a role in scheduling too of course. Even if we had the ability to shoot for 15 days at our locations (instead of 9), that would be 6 more days of day rates, rentals, food and other expenditures.
Some productions are able to extend their days by reducing crew size, but for us that just wasn’t an option. Our crew was already so small, that cutting back any further would have been detrimental to the project. So while I knew it would be an insane feat to shoot this entire feature in just 9 days, it seemed like the only viable solution.

The script was nearly 90 pages with roughly half taking place in each location. That meant on average we would need to shoot about 10 pages per day, which is a lot…
To complicate things further, I had to decide which location we would shoot in for 5 days, and which for 4, since we weren’t shooting for an even amount of days. Ultimately, I opted to have the extra day in location #1 – Alice’s house, as that’s where we were going to start filming.
It always takes a day or two for any production to really find it’s groove, so I figured we should build some extra wiggle room into that first location. Even though we would have less time in location #2 to shoot the same amount of pages, presumably by then we would be a well oiled machine. There would be more of a shorthand with the crew, and we would work more efficiently having had a solid work week of practice.
With that in mind, I scheduled 5 days at location #1 with a short break before our 4 final days of shooting at location #2.
From there, I worked with producer Katrina Cebreiro to create a shooting schedule for each of the two locations. My goal is always to shoot as close to sequentially as possible, so whenever we could work that into the schedule we did.
For instance, the very first thing we shot on day one was the first scene of the film. And on our final day of shooting we were filming some of the final moments in the movie. Granted, it wasn’t possible to be 100% sequential, as the film alternates between two locations, and even within the same location rooms are often used multiple times.
So the final schedule aimed to prioritize sequential shooting on a per-location basis, deviating when necessary to avoid unnecessary setups or re-shooting rooms that were already covered.
Shooting (somewhat) sequentially has so many advantages on a micro-budget production. Not the least of which is that it can make continuity much simpler. Rather than jumping all over the script with each passing scene, you are for the most part going in order. This means there’s less hassle in figuring out wardrobe changes or other continuity questions that can become a challenge when working on a small team.
I also found that shooting sequentially helped us on an artistic level. By the time we got to the most intense or challenging scenes in the film (around the climax), we were already well into the shoot. Everyone knew exactly what they were doing by then… And we got to find our footing on some of the earlier scenes which were easier to execute.
Consequently, many of the most critical scenes in the film are also the best shot and executed all around.
Most of our days ran a full 12 hours for the crew and anywhere from 8 – 10 for the actors. My goal was always to have crew arrive early to get a head start, and bring in the actors once we were almost ready to roll. Some days this worked better than others!
Because we were at the same two locations every day, we also didn’t have to worry about striking the set each day. We could simply leave most of our lights/stands set up, and leave the camera built. This saved a ton of time wrapping at the end of each day, and let us start the following day that much faster.
When all was said and done, we only went into overtime on one day.
CREW SETUP
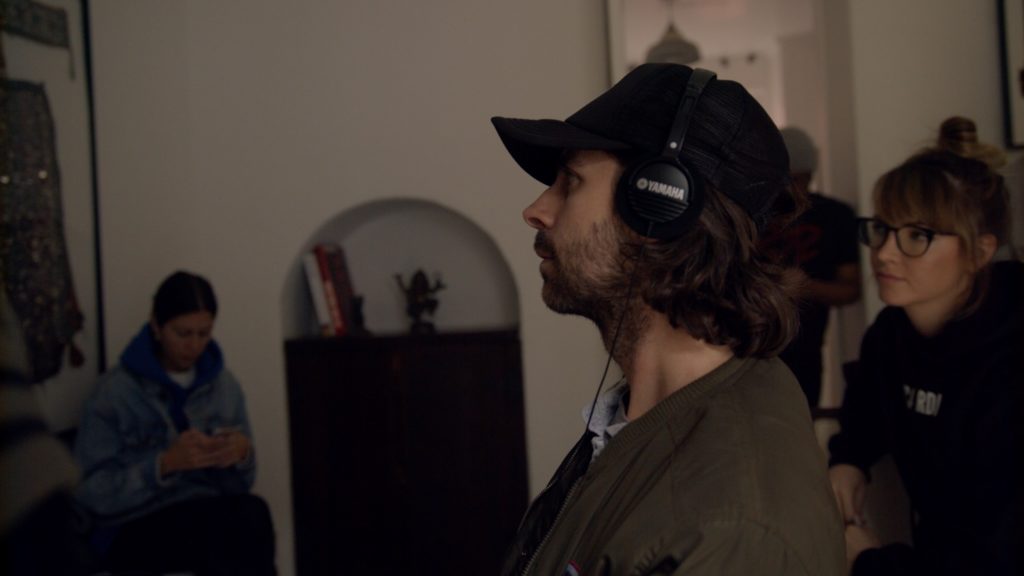
The smaller your crew, the more crucial each member is, and I can’t thank the crew enough for what they helped pull off with this project.
On most days our official crew was 8 people, which included myself, producer/AD Katrina Cebreiro, DP Matteo Bertoli, Location Sound Scott Vanderbilt, AC Casey Schoch, Grip/Gaffer Taylor Clemons, Production Designer Jon Stanley and Makeup Haley Bringel, as well as friends pitching in to shoot BTS.
Some other days were a bit larger if we had additional needs – like a tutor for one of the child actors, but for the most part that was it!
It goes without saying that we all had to wear a lot of hats on this production. In an ideal world, we would have had at least one more set of hands on set (a dedicated PA) to help lighten the load a bit… But in the end we got it done, thanks to the incredible work that everyone put in.
From my experience, the biggest key to working with a small crew is to ensure each crew member can work autonomously. On larger film sets, most crew members are part of a relatively big team. There is a clear heirarchy and chain of command, and they get used to working with that type of collaborative team structure – which works well in those settings.
But on a micro-budget production, sometimes an entire department is just one person. And often times, the person best suited for that job isn’t necessarily the same person that has experience on bigger budget films. It’s easy to make the mistake of hiring someone simply because they are experienced… But is it the right kind of experience?
Crew who have experience on huge productions can really struggle in a micro-budget environment. The set offers a very different working environment, and to them it can seem counterintuitive to be working with such limitations. Despite their expertise, they may fall flat on set simply because the shooting configuration is entirely new to them.
It’s always better to bring people on board with experience on the level you’re on. Those who have worn multiple hats before, thrive in smaller team environments, and will bring a positive energy to set are always your best bet.
Everyone on board with this production truly fit that bill, and ultimately they were what made the production such as success.

COVERAGE STYLE
I really want to touch on our coverage style with this film, as I believe it was one of the greatest factors is allowing us to pull off the movie on this budget and timeline.
While most films follow a more traditional approach to coverage – usually shooting a master shot of a scene followed by individual closeups and insert shots – my goal was to shoot as little coverage as possible.
The rationale behind this was twofold: 1) From a creative standpoint, it would work toward the minimalistic aesthetic I was going for, and 2) from a tactical standpoint it would save us time on set.
In the most extreme cases, some scenes were shot from one angle as a master with literally no coverage at all. In other instances, we would not shoot a master but instead break the scene into 3 or 4 chunks, and then shoot each chunk using a different setup. This helped us capture a really dynamic visual palette with multiple angles, without having to repeat the same scene 5 or 10 more times unnecessarily.
It was tempting to shoot the film with a two camera setup, which is a path many micro-budget productions go down. Doing so allows you to theoretically capture twice the amount of material in the same amount of time… But for me, this wasn’t an approach I wanted to explore on this film.
Shooting multi-cam can complicate lighting setups and in turn slow the set down in many ways. Another camera also means double the media, support gear and at least another operator, if not also an additional AC. This adds a lot of cost to the production, which is something we couldn’t have afforded with this shoot.
That said, even if it were affordable, I still would have shot single-cam. Perhaps I’m just a traditionalist, but I do find it more intuitive to work with one camera. It allows you to focus on one thing at a time, and avoid splitting your focus between two different angles, potentially missing something in the process.
I also liked the challenge that shooting single cam with minimal coverage imposed on us. We knew we couldn’t rely on another angle or additional coverage for many of the scenes to work, so we had to nail the one shot we had. This forced us to work at the highest level possible, and develop new creative ideas that would never have emerged otherwise.
There were of course some scenes where we did need to shoot coverage, particularly for those rare dialogue scenes that ran more than a couple of pages… But even then, the goal was to break the rules and do things differently.
For instance, we shot a dinner scene in the antagonist’s dining room using four distinctly different angles. In the scene, Michael (the antagonist) is sitting across from Alice (the protagonist).
Normally, the angles used for their closeups would match very closely – we would frame them in the same way, so the shots would look uniform when cutting. But in this case we did the opposite, using different framing for Michael’s closeup than we did for Alice’s. This was then cut with a wide shot and a 3/4 angle taken from opposite ends of the room. Far from traditional, but it worked beautifully for our needs.
This general approach to coverage is something I’ve always been drawn to, but it wasn’t really until this film that I felt I was able to pull it off exactly how I had imagined it. Things don’t always translate so seamlessly on camera.
FINAL THOUGHTS
Everything I’ve outlined above barely scratches the surface, and we haven’t even gotten to post!
I plan to do a full post-production breakdown of this film at some point soon in a separate blog article… But for now, I hope this post has given you insight into how we pulled off this unique feature throughout production.
The takeaway here shouldn’t be that you need to follow anything that myself or my team did. Rather, the insight should be to do things your own way, and that anything is possible regardless of your budget level.
This is a film that I could have made for $0 on an iPhone or for $10MM with a crew of 70+ people. I made it for the least amount I possibly could for one reason alone: That’s what would actually allow this movie to get off the ground.
I wasn’t interested in spending years trying to raise funds for this project, without any guarantee it would ever happen. I may have other projects in the works that will take a more traditional path and utilize a longer timeline, but this wasn’t one of them.
This film was a total experiment… What happens if you a first draft in 5 days, crowdfund a few weeks later and then go straight into production?
Apparently with the right approach, you can come out the other side with a pretty cool final product.
Are there things I would have done differently in retrospect? Of course! There always are, but you can’t torture yourself over that. The only way to continue evolving as an artist or filmmaker is to keep making. Keep experimenting… Figure out what doesn’t work and eliminate it. Figure out what does work and do it even better next time.
So hopefully this has inspired some of you to do the same. It’s never too early or too late to start developing your next film. It feels like a mountain to climb in the early days, but before you know it you’re at the finish line.
By truly diving head first into a project you believe in with an ability to see obstacles as opportunities, anything is possible.
Stay tuned for more news very soon about distribution and the release date for Psychosynthesis.
And don’t forget to follow me on Instagram, Facebook, and Twitter!
402 Comments
satowatch.com
athttps://satowatch.comSatoWatch is the crypto-only marketplace for
authentic luxury watches and fine jewelry —
Rolex, Patek Philippe, Audemars Piguet, Omega and beyond.
Pay discreetly in Bitcoin and
crypto, with full-set authenticity, the manufacturer’s warranty and fully
insured delivery
worldwide.
https://lesskyc.com
athttps://lesskyc.com LessKYC is an independent, ad-free directory that helps
you find crypto and online services you can use without
handing over your identity. Every listing — from no-KYC exchanges and swaps to anonymous VPNs,
private wallets, encrypted email and offshore
hosting — is researched directly from the
provider and scored 0–10 on its KYC and privacy practices using
one transparent, open rubric. No trackers,
no fluff, just clear answers on which services respect your privacy.
xmrlist.com
athttps://xmrlist.comXMRList is the up-to-date directory of
merchants, stores, and online services that accept Monero (XMR).
Browse by category to find VPNs, gift cards, hosting,
travel, electronics, and everyday goods you can buy privately with XMR.
Spend your Monero with confidence — every listing points you
to a real place that takes XMR payments.
https://nokyc.app
athttps://nokyc.appNoKYC is an independent directory of
no-KYC crypto services — exchanges, swaps, wallets,
VPNs, hosting and more — each ranked by a transparent privacy score and KYC level.
Use crypto without identity verification: no account, no tracking, browse freely on clearnet
or over Tor.
https://cryptosextoy.com/
athttps://cryptosextoy.comCryptoSexToy is a premium online adult boutique offering body-safe sex toys, lingerie, and
intimate wellness essentials with plain, discreet worldwide shipping.
Shop in complete privacy
and pay with Bitcoin, Ethereum, Monero, and 350+ cryptocurrencies — no cards, no bank
statements, no trace
btcmints.com
athttps://btcmints.com BTC Mints | Buy Gold and silver with
bitcoin and cryptocurrency anonymously
www.mexc.com
athttps://www.mexc.com/news/642490Shop from Amazon, eBay,
Walmart, and 500+ stores worldwide using Bitcoin, Ethereum,
USDT, and 150+ cryptocurrencies — no bank account or credit card needed.
Simply paste any product link, pay with your favorite crypto,
and get it delivered to your door with full order tracking and buyer protection.
MyNodePay makes crypto shopping fast, private, and secure with transparent pricing and
24/7 support.
richbycoin.com
atYou said it very well.!
https://www.ttlxshipping.com/
athttps://www.ttlxshipping.com/forum/topic/30307/the-best-method-for-buying-gold-and-silver-using-bitcoin Bitgolder | Buy Gold and silver with
bitcoin and cryptocurrency anonymously
www.bignewsnetwork.com
athttps://www.bignewsnetwork.com/news/278850391/is-mynodepay-legit-a-technical-deep-dive-into-the-crypto-shopping-platform-2026-reviewShop from Amazon, eBay, Walmart, and 500+ stores worldwide using Bitcoin, Ethereum, USDT, and 150+ cryptocurrencies —
no bank account or credit card needed. Simply paste any product link, pay with your favorite crypto, and get
it delivered to your door with full order tracking and buyer protection. MyNodePay
makes crypto shopping fast, private, and secure with transparent pricing and 24/7 support.
mynodepay.com
athttps://mynodepay.comShop from Amazon, eBay, Walmart, and 500+
stores worldwide using Bitcoin, Ethereum, USDT, and 150+ cryptocurrencies — no bank account
or credit card needed. Simply paste any product link, pay with your
favorite crypto, and get it delivered to your door with full
order tracking and buyer protection. MyNodePay makes crypto shopping fast, private, and secure with transparent pricing and 24/7
support.
applecryptos.com
athttps://applecryptos.com Apple4 bitcoin | buy apple products with bitcoin and cryptocurrency
MMOO
atThis paragraph presents clear idea designed for the new users of
blogging, that genuinely how to do blogging.
applebitcoins.com
athttps://applebitcoins.com Apple bitcoins | buy apple products with bitcoin and cryptocurrency
https://applebitcoins.com
athttps://applebitcoins.com Apple bitcoins | buy apple products with bitcoin and cryptocurrency
ราคา รักษารากฟัน
atบทความนี้ช่วยให้ตัดสินใจเลือก คลินิกทันตกรรม ราคาดี ได้ง่ายขึ้นมาก โดยเฉพาะข้อมูลเรื่อง ทำฟันปลอม ราคาประหยัด คลินิกแนะนำ
และการเปรียบเทียบ ทำวีเนียร์ ราคาเป็นกันเอง คลินิกไหนดี เหมาะกับคนที่อยากดูแลฟันโดยไม่เกินงบ
cryptoshop
athttps://bitcryptomarket.com Bitcryptomarket | Online Shopping with Cryptocurrency
https://bullminers.eu
athttps://bullminers.eu Bull Miners | Crypto Mining Equipment at Unbeatable Prices
https://applebitcoins.co
athttps://applebitcoins.co Apple bitcoins
| buy apple products with bitcoin and cryptocurrency
applebtcs.com
atSuperb write ups. Cheers!
applebtcs.com
athttps://applebtcs.com Apple bitcoins | buy apple products with bitcoin and cryptocurrency
applebtcs.com
athttps://applebtcs.com Apple bitcoins | buy apple products with bitcoin and
cryptocurrency
Applebtcs
athttps://applebitcoins.net Apple bitcoins | buy apple products with bitcoin and cryptocurrency
Ipl2025Unort
atvery good
cryptobitmart.com
athttps://cryptobitmart.comCryptobitmart | Online
Shopping with Cryptocurrency
applewithbtcs.com
athttps://applewithbtcs.com/ Apple4 bitcoin | buy apple products
with bitcoin and cryptocurrency
bitgolder.com
athttps://bitgolder.com Bitgolder | Buy Gold and silver with bitcoin and cryptocurrency anonymously
Shalamar Hospital
atWhen it comes to heart health, Shalamar Hospital proudly offers the expertise of the best cardiologist in Pakistan , ensuring the highest standards of cardiac care.
Osh University
atOsh University, the leading kyrgyzstan medical college , is dedicated to producing competent healthcare professionals. Its reputation for high-quality education and a world-class faculty makes it the ideal choice for medical students.
jewelgalore
atJewelgalore presents a captivating collection of jewellery set . Elevate your style with meticulously designed pieces that add elegance and charm to your look.
Larry Martin
atDreamYard Landscaping stands out for exceptional lawn care services in Southampton. Meticulous and dedicated, they nurture lawns to perfection, ensuring lush greenery that enhances the natural beauty of any property.
Amon
atGreat detailing,so infirmative thank you 🙏🙏
Noam Kroll
atAny time!
My Strategy For Writing & Directing A Feature Film In 2021 | Utah Video Production
at[…] resources, they still resembled more traditional productions in some respects. Especially Psychosynthesis, which felt (to me at least) more like some of the larger commercial shoots I’ve directed in […]
David Peterson
atYou need to do the same detailed breakdown for audio as you did for camera! Maybe ask Scott Vanderbilt to write it?
Noam Kroll
atGreat idea. I will ask him!
João Augusto Quint de Souza
atAwesome post. And really, it is very hard to keep each crew member working by himself during a big productions, kudos for that!
Noam Kroll
atAppreciate it!
Isaac
atThank you
Tim
atThank you, Noam.
Noam Kroll
atAnytime!
Lokesh
atSir,
Was just going through your article on your movie psychosynthesis.the greatest takeaway was the fact that crew of large prod may find difficult in working in micro budgets.. That was indeed very insightful..coming next you mentioned you used zooms.. Regarding zooms want to hear your response on the fact that many dps say zooms will not produce the desired results in films meant for Theatre screens but in earlier years I think lot of dps used zooms ..whats your view on that ..please enlighten..
And looking forward to your article on post prod of psychosntheses..thanks
Noam Kroll
atThank you! Zoom lenses are often used on big budget productions – Although many DPs prefer primes as they can be faster and sharper. It all depends what you’re shooting, you just have to pick the best tool for the job.