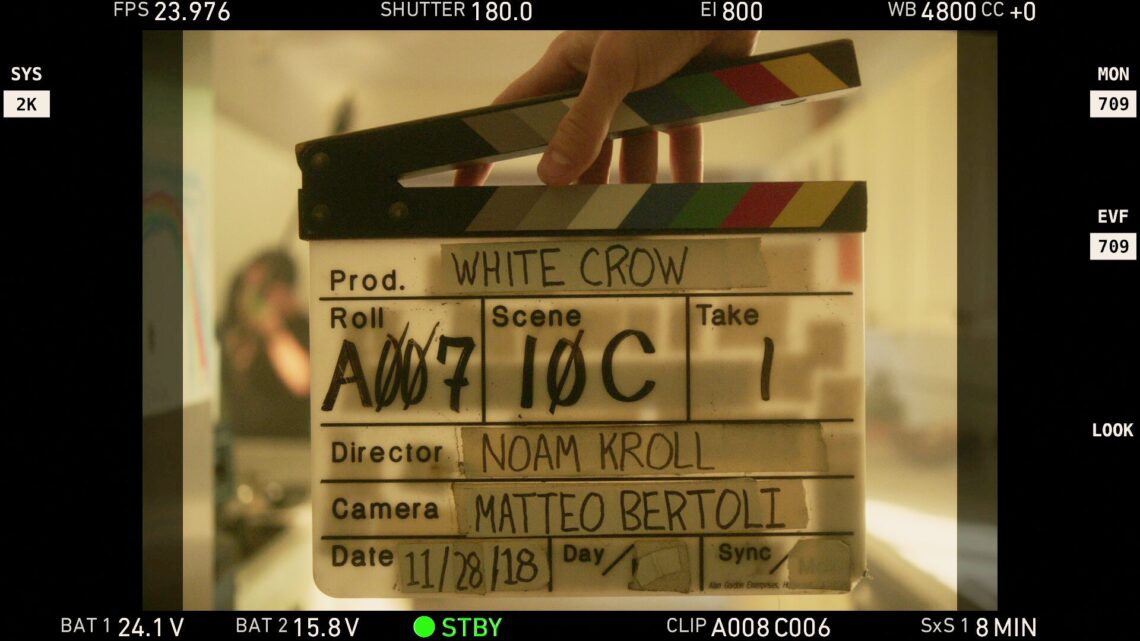
I write a lot about no-budget filmmaking, but usually from the perspective of directing and producing.
Today, I want to briefly unpack the world of no-budget cinematography – which is crucial to the success of any DIY production.
If there is one issue that ultra low / no-budget short and feature films are plagued with, it’s poor camera work.
Either the filmmakers chose a look that was too ambitious to pull off, they relied on gear over skill, or they didn’t understand how to maximize their aesthetic within the limitations of their production.
In most cases, the issue is rooted in attempting to replicate a high budget look or on-set workflow without the resources to get there.
Much like no-budget producing, capturing strong visuals on a DIY level requires a complete re-invention of the process.
Only by breaking many of the rules and approaching it as a new and completely different art form, can you maximize results.
Here are just a few of the things to consider when approaching no-budget cinematography from this vantage point:
No-Budget Cinematography: Camera Choice
On a higher budget production, camera choice is all about aesthetics, and to a lesser extent utility. If a director or DP is set on shooting Sony Venice for whatever reason, that will be decided on and the crew / support team will be built around it.
With DIY productions, it is exactly the opposite.
The only thing that really matters is how functional a camera will be for your specific needs. An Alexa SXT is of no use for a guerrilla style run-and-gun production, despite it offering stunning visual quality.
So many low-budget features suffer by choosing a camera they think is great because it’s what “real movies” shoot with. Only to wind up with less raw footage, less coverage, and less ability to experiment.
Camera Operating Workflows
On truly no-budget productions, crews are extremely small. Sometimes (like on my last feature film) the crew is non-existent. This dynamic calls for entirely different workflow on set.
Focus pulls are often replaced by creative blocking that allows the actors to walk in and out of frame. Tripods may be used on every shot to allow the director to simultaneously operate and direct talent.
Or the camera might be used exclusively handheld with no rig, making it easier to work in live environments without drawing attention to yourself.
No two DIY productions are alike in their needs, but the goal should always be the same:
Choose the camera and workflow that will prioritize coverage.
Quality comes from quantity. The idea is to capture as much variety on set as possible, which will inevitably benefit production value. This only possible when the workflow is engineered with this goal in mind.
Lighting For No-Budget Cinematography
If there is one area where “less is more” on a no-budget production, it is in the lighting department.
As I’ve written about extensively in the past, I shot my last feature film entirely with natural and available light, and it was arguably the best decision made throughout the entire process.
By simplifying lighting to the extreme, productions can reduce downtime on set dramatically. Sometimes adding as much as 3 – 4 hours back in the day.
This added time is inevitably used to cover more angles, get better performances, and ultimately tell a better story.
That’s not to say it’s a bad idea to use traditional film lights. But they should be used very sparingly.
If a single soft box or LED panel is enough to shape the light in a given scene, that’s what should be used. Setting up more gear just to make the BTS photos look more impressive is always a recipe for disaster.
Lensing On No-Budget Productions
Similar to lighting, simplicity is key when it comes to choosing lenses on a no-budget production.
I thoroughly enjoyed shooting my last movie entirely on a 50mm lens, as it eliminated the need for lens swaps, tests shots, or decisions on set regarding focal length changes.
Again, not every production needs to take it to that extreme. But even limiting a lens kit to 2 – 3 lenses (or a single zoom lens) can benefit just about any DIY short or feature film.
Specific lenses need to be chosen based on their utility and functionality, not just their optical qualities.
This will often result in gear decisions that are completely opposite from high budget productions. Like using autofocus lenses or DSLR glass that will elevate production value beyond aesthetics alone.
Locations & Production Design
On any budget level, great cinematography and great production design go hand in hand. But it’s especially true on no-budget projects.
Without the ability to shape the light with precision, or rely on the camera / lens combination to do the heavy lifting, much of the production value will come from the shooting environment.
This makes choosing optimal locations the key ingredient in elevating production value on these type of films.
A movie that’s shot entirely during golden hour in a remote seaside location will look amazing, whether shot on Alexa or iPhone. But a movie shot entirely in a drab basement with all white walls is going to look terrible, no matter what camera it’s shot with.
Too many DIY productions settle for poor locations or skimp out on production design to favor other things (like another lens rental) that matter so much less.
To understand cinematography on a no-budget level, is to understand the importance of a dynamic environment. Choosing locations with built-in production design, or including a production designer on the team will always heighten the visuals more than any piece of gear.
For exclusive filmmaking articles every Sunday, sign up for my newsletter here!


2 Comments
Ty Stone
atHi Noam
I’ve been a fan of yours for years. I recently moved to Australia and I was wondering about your no budget course.
Your work flow and insight can be taken anywhere? I understand things would be different depending on where you live but the core basic and principles could work in theory anywhere right?
Cheers
Andreas Ingo
atGreat Article!
I’m also a DIY-filmaker and I think we have a lot to learn about the fact that expensive equipment not necessarily translates into an expensive looking film.
Instead using available locations, natural light and much more to create a look bending the look of the film to something pretty much impressive for the average viewer in the target audience chosen by the film-maker.
The most important thing I learned from this article was that it’s important to not go for a truly expensive look because the eyes can’t be fooled all of the time.
Better to be realistic.
Finding the balance between an expensive look and a cheap one to suit the material one has to work with.
Great Article!