In this post, I’ll walk you through best practices for shooting, producing, editing, and finishing a multi-cam video project for a corporate video project or event.
If you are a business or brand looking for multi-cam (or single cam) production services for a project or event, feel free to contact our production company directly here.
For any filmmakers or content creators out there looking to set up their own multi-cam project, read on for a full breakdown of my recommended workflow.
Multi-Cam For Corporate Productions
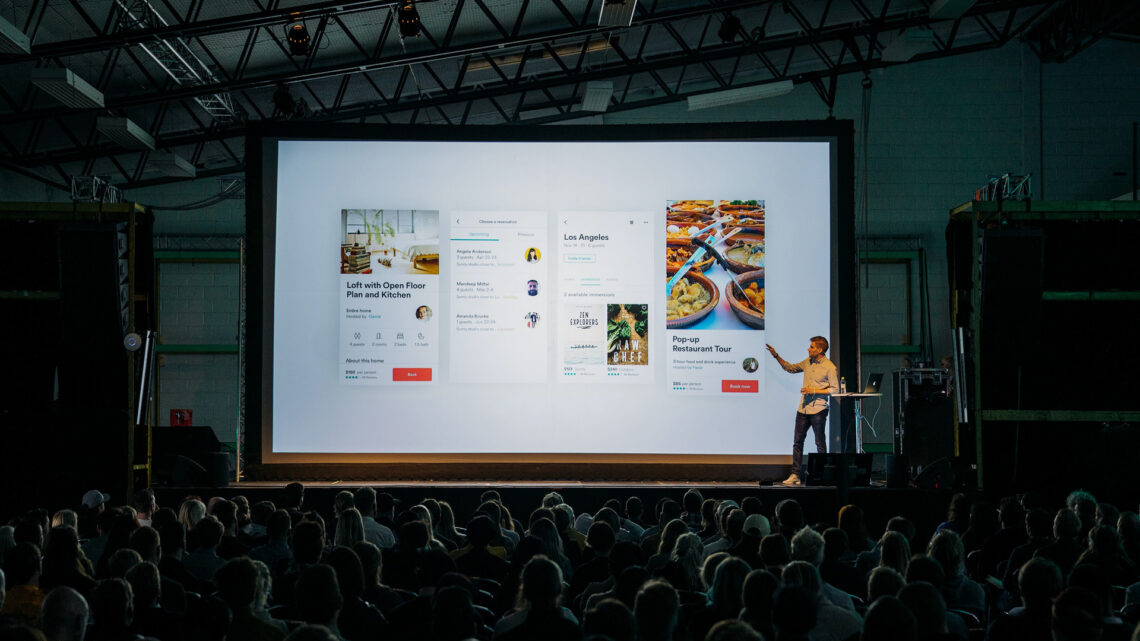
For company events, keynotes, or other live presentations that need to be captured from a variety of angles, multi-cam is often the best (and only) option for production. Single cam coverage of an event only works when you plan to cut the entirety of the footage down into a sizzle reel, and can simulate multiple angles by moving the camera throughout the day.
Assuming you need to cover the entirety of an event end-to-end, multi-cam is the only option. But it’s a very different beast than single cam production, and without the right planning and workflow, technical issues can cause major headaches down the line. Or worse, result in the loss of footage.
Below are some key considerations at each phase –
Camera Choice For Multi-Cam Corporate Project
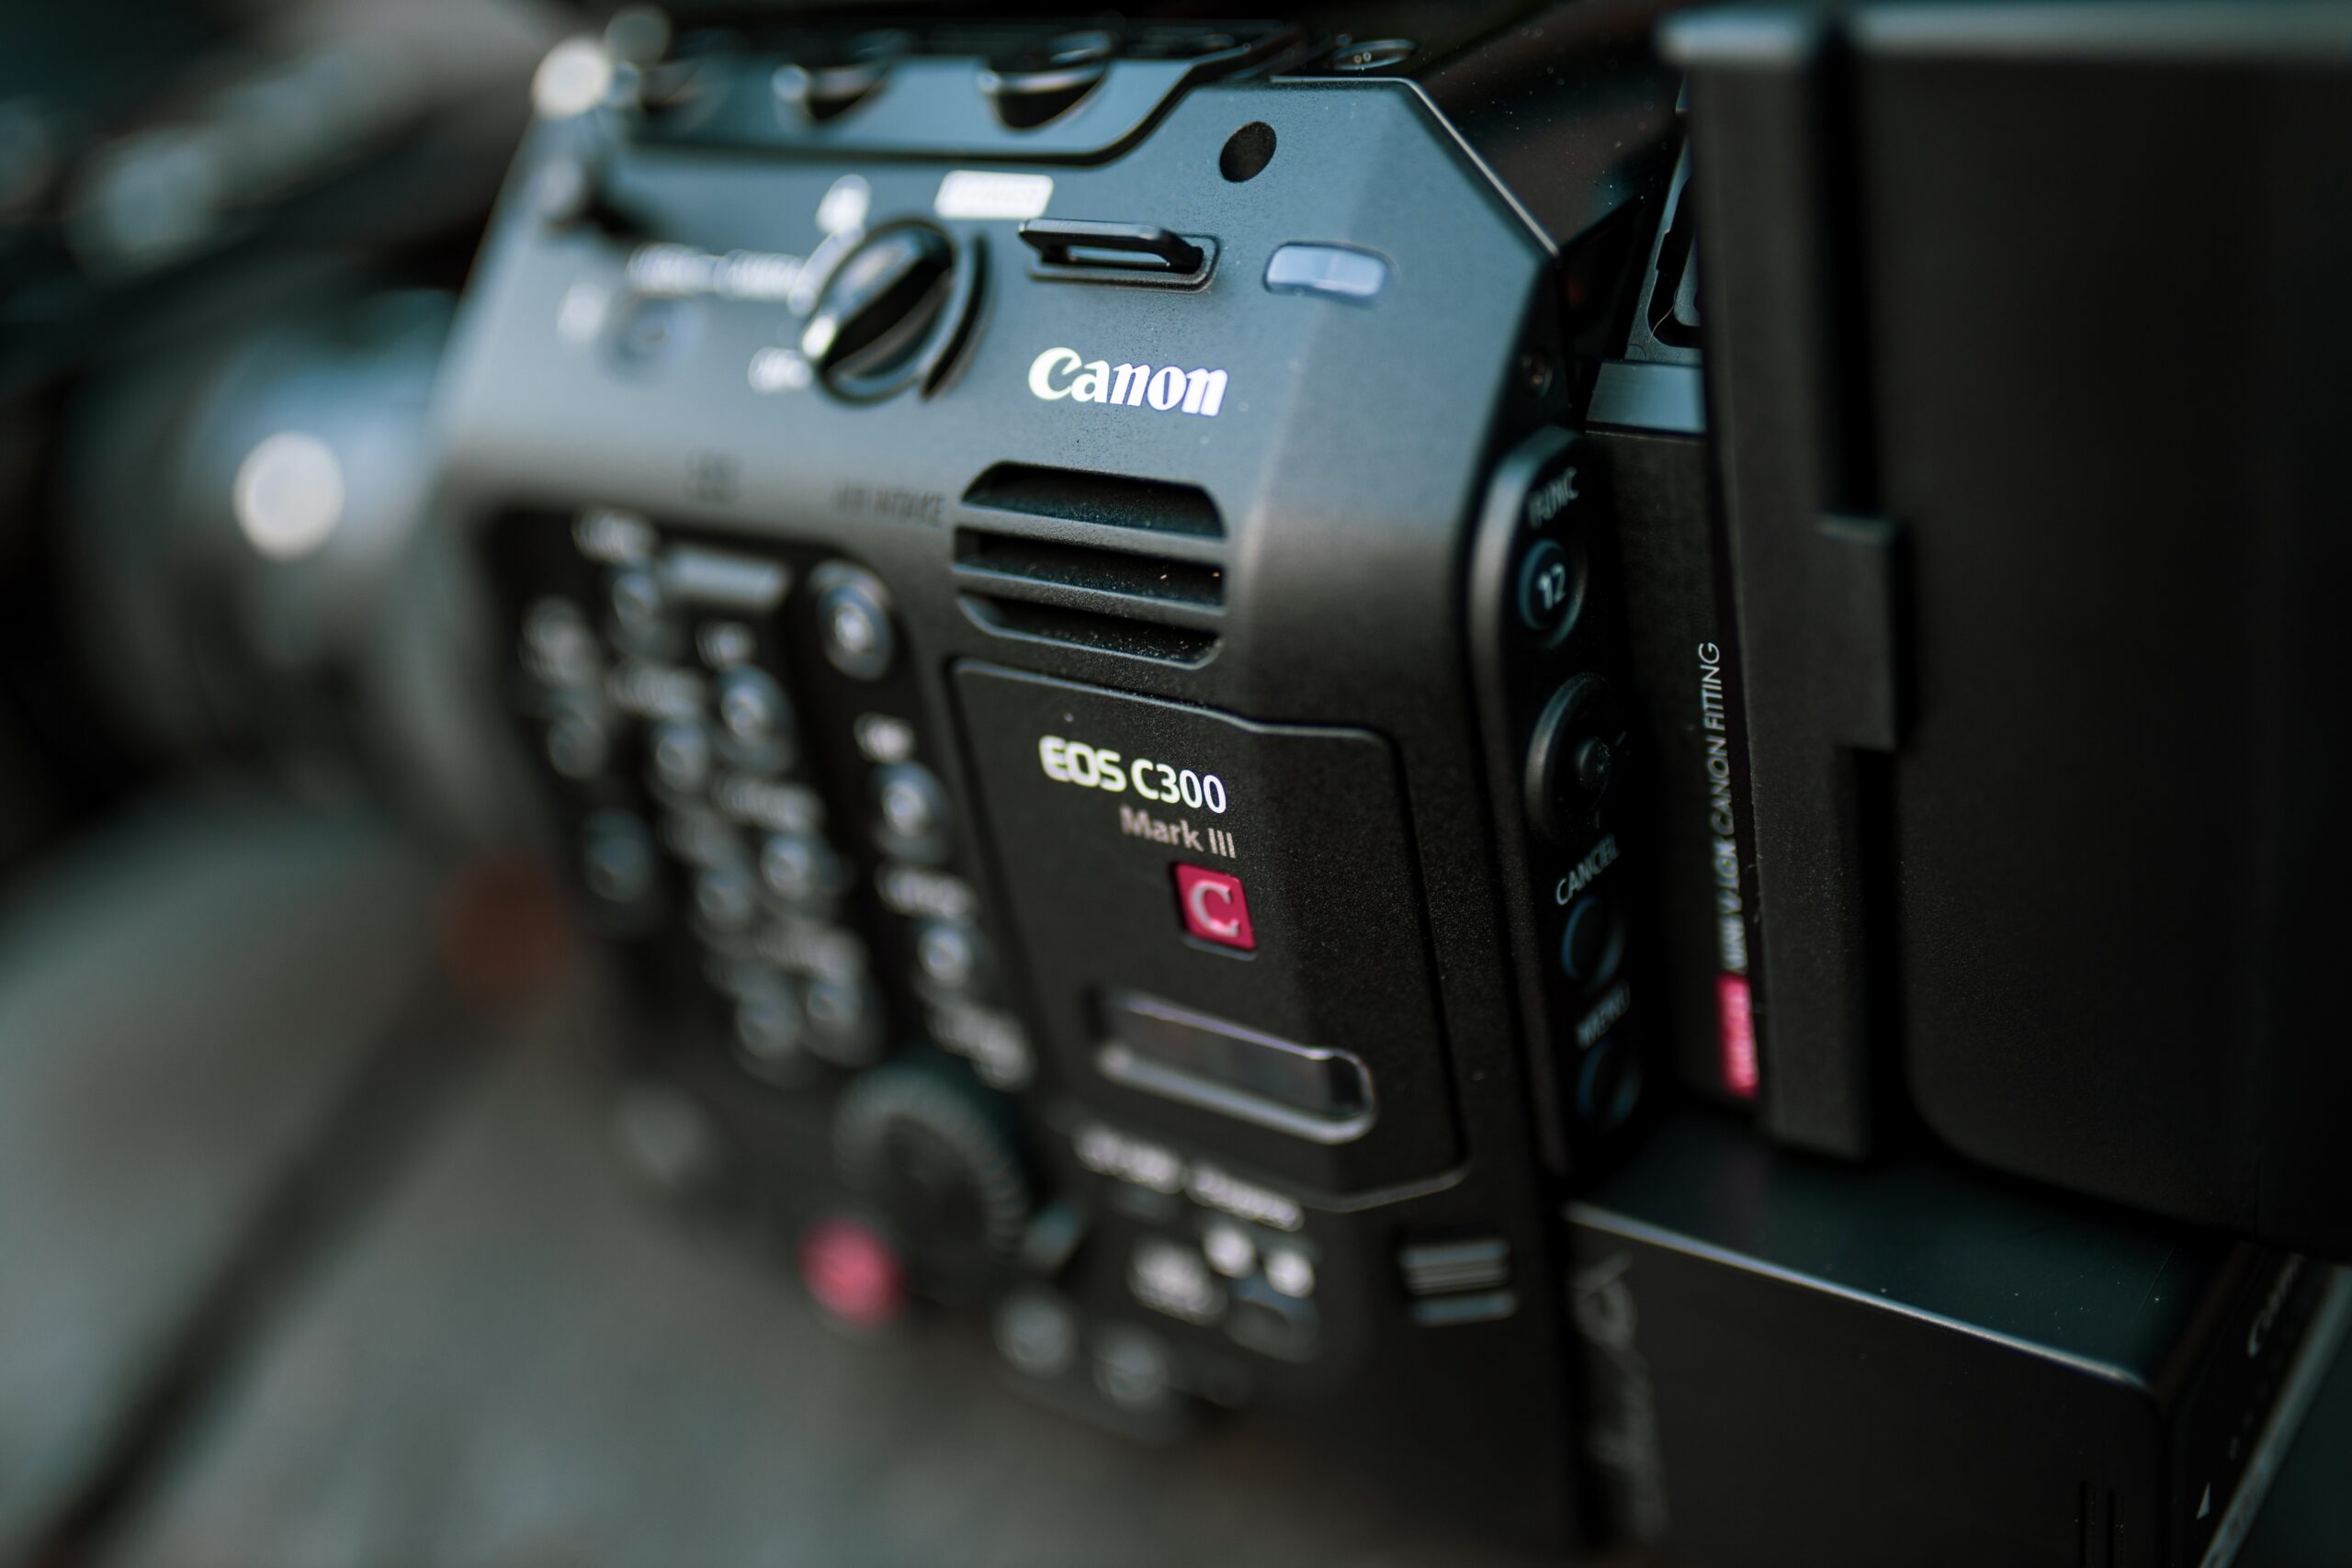
You can achieve great results with just about any camera when shooting multi-cam, so long as you don’t run into battery or overheating issues.
As a first step, run some tests with your chosen camera / battery setup and ensuring you don’t run into overheating issues. Mirrorless cameras are especially prone to overheating issues, but even some cinema cameras will overheat in the wrong conditions – namely when they are run for hours on end non-stop.
The most important factor when it comes to camera choice is reliability. If one (or all) of your cameras overheat during a live event, you may lose a significant amount of raw footage that would otherwise be necessary for the edit.
I also tend to look for cameras that have dual SD (or Cast) slots. This often gives you the option to either record a redundancy / backup, or avoid cutting the camera to swap cards if your media doesn’t have enough space.
Camera Matching
Once your cameras have been selected, you can configure them all to have identical settings. Ideally, you are shooting on 3 (or more) of the exact same camera model and brand.
If that’s the case, simply lock your white balance, shutter speed, frame rate, and ISO (on the day), and the cameras should match quite well. If you’re working with cinema cameras that have a black balance option, you can and should also run it on all of your cameras prior to the shoot.
When working with cameras from different brands that don’t naturally match as well, you will also want to manually adjust your white balance and tint to get them as close as possible. Later on in post, more color grading match work can be done to refine the look.
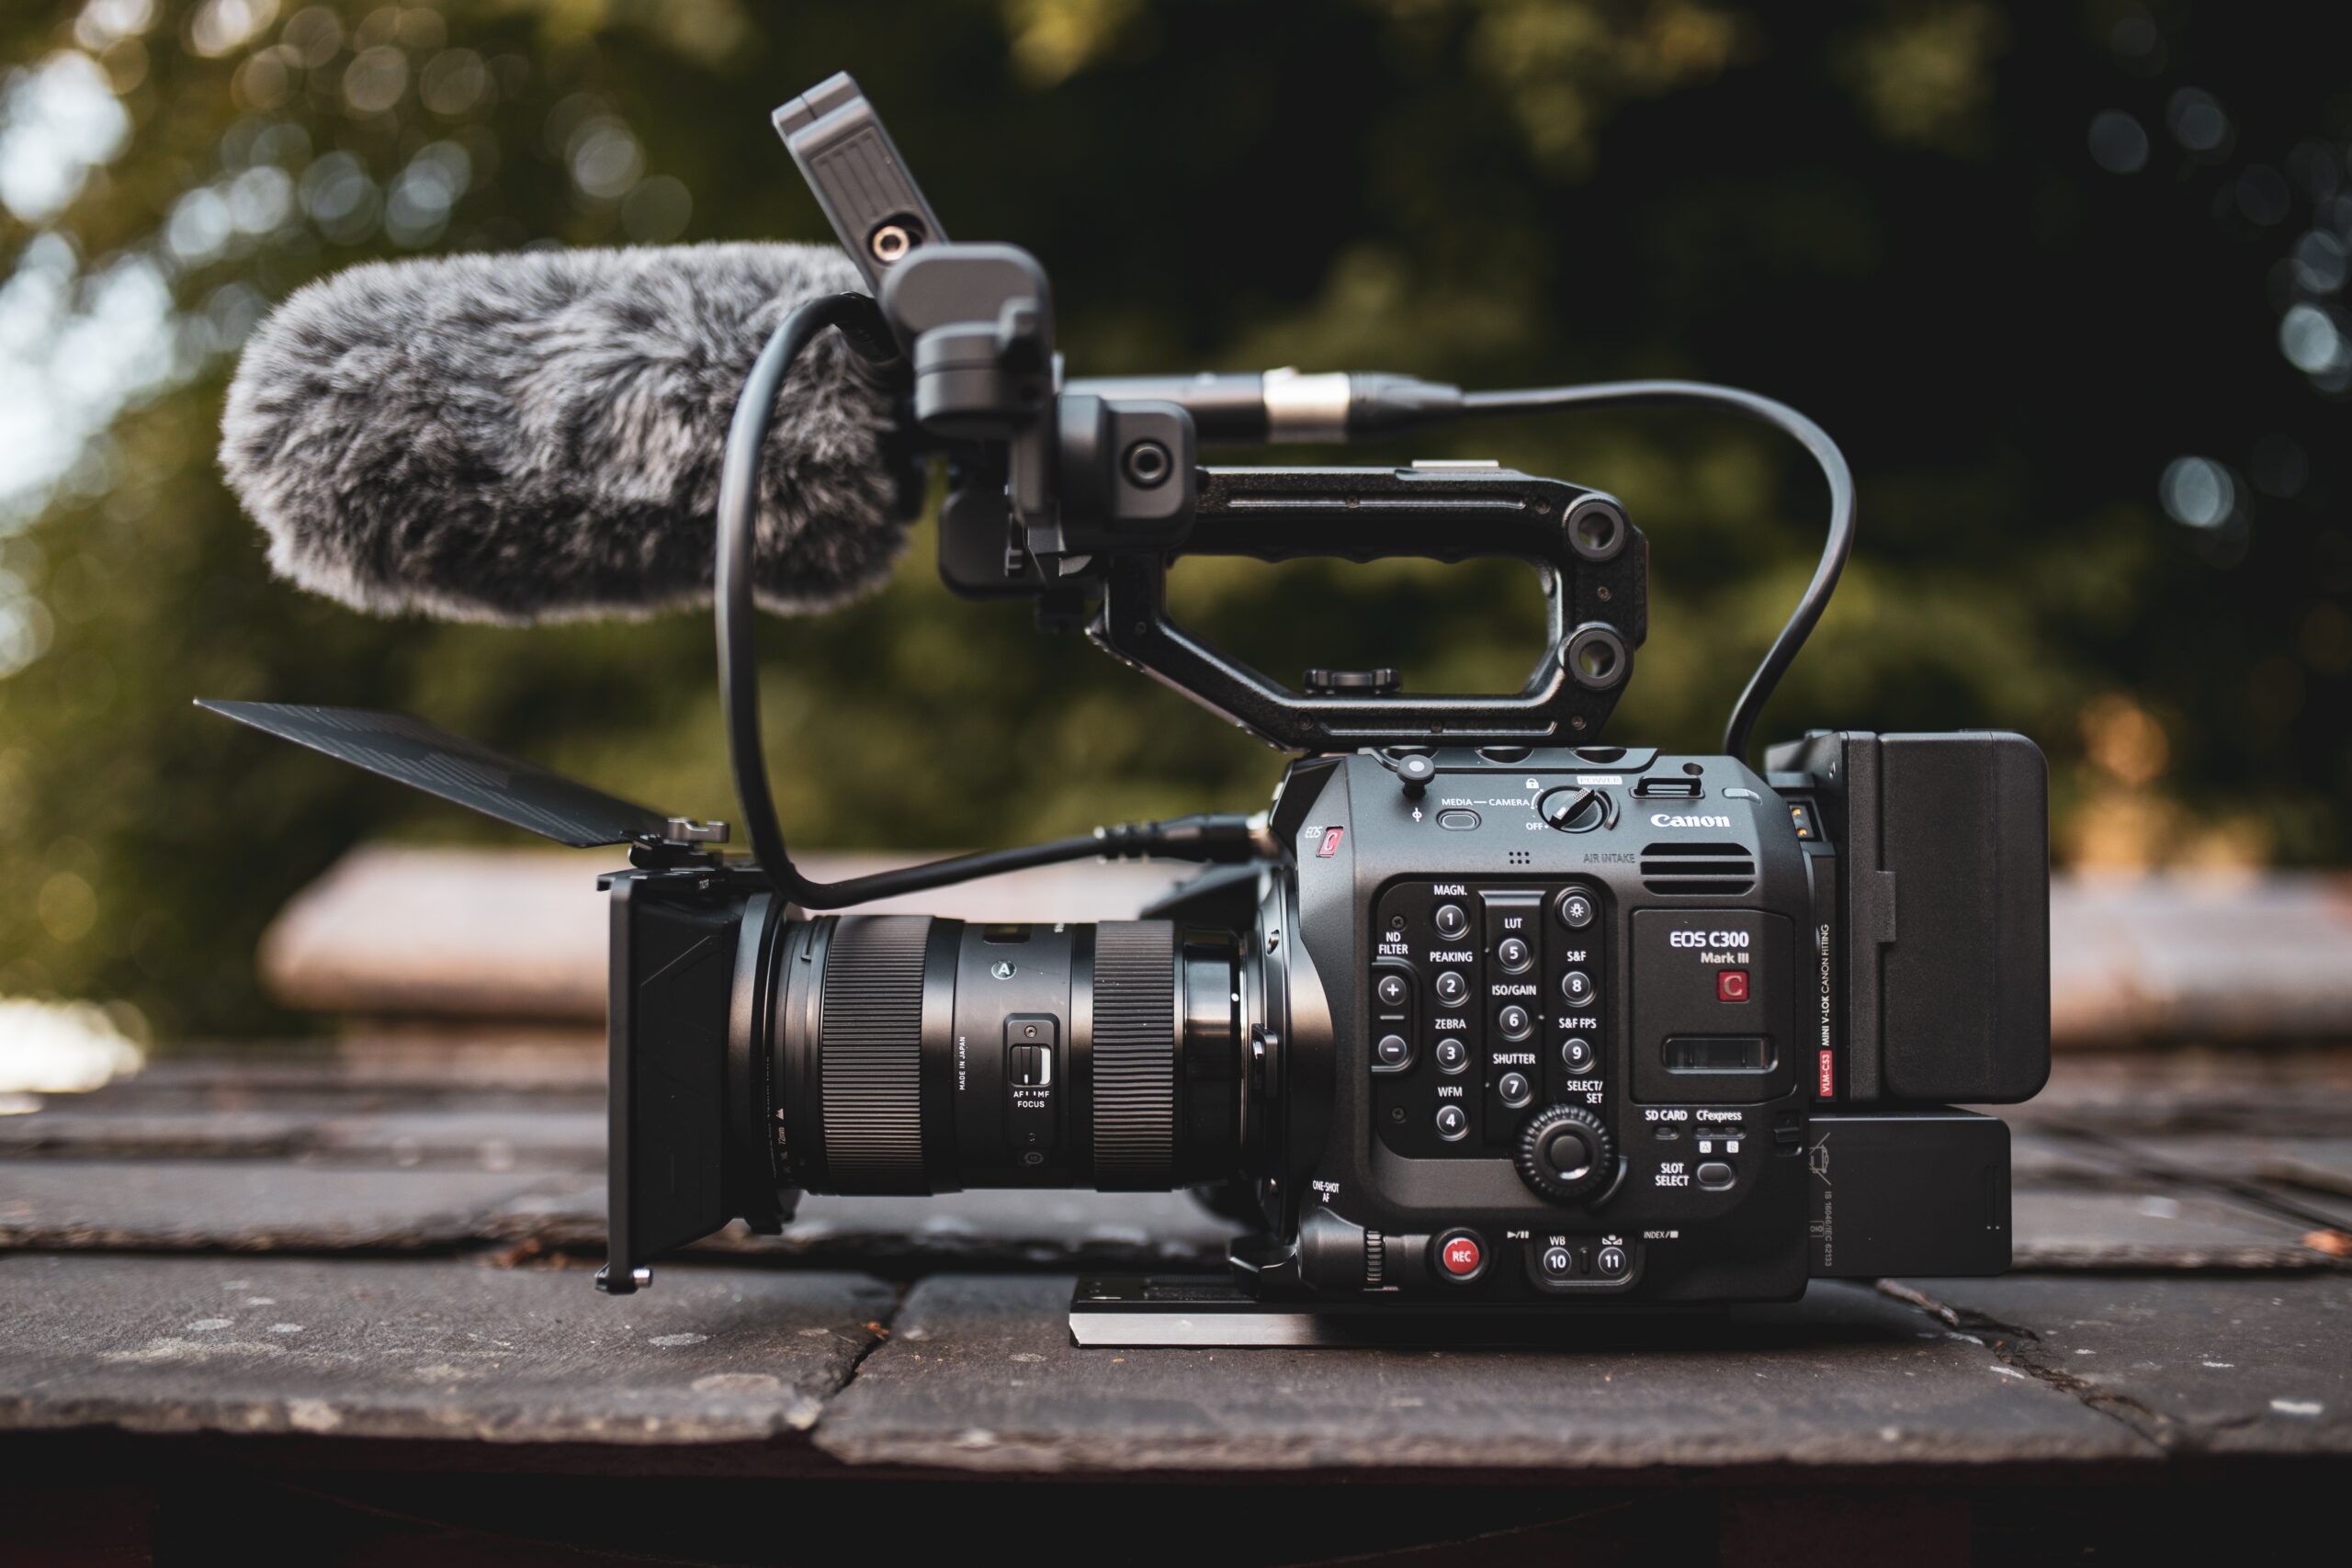
Lenses & Camera Placement
On a multi-cam project – especially for a corporate event – your lens choice will likely be dictated by your camera placement.
In most scenarios, a 3-camera setup is used, with one camera in the center pointed at the stage / speaker, and the other two cameras on the left and right sides.
In this type of standard setup, identical zoom lenses are used on each camera to allow for quick and easy re-framing on the go. Since zoom lenses tend to be slower than primes, you also have to ensure you will have enough light on the stage to compensate. Or at the very least, have a camera that can perform well at a higher ISO.
Prime lenses are also acceptable of course, but will give you less wiggle room to improvise if the stage movement changes at any point.
In the event that you prefer to or need to shoot on prime lenses, for a standard three-camera setup you might consider something along these lines:
Camera A (center): 35mm
Camera B (left): 85mm
Camera C (left): 85mm
Optimally, these lenses are from the same manufacturer and product line to ensure color consistency.
As for autofocus, that’s a choice that can be made based on your specific lens and camera pairing. Some autofocus lenses work far better than others, depending on the configuration. Run some tests beforehand, and early on in the day to determine whether or not you can rely on it.
Manual focus is also perfectly fine, since minimal focus pulling is typically needed given the lack of overall stage movement.
Audio Setup For Corporate Multi-Cam Video
Audio is so often overlooked on these productions. It’s not uncommon for a video producer to only record a single feed straight from the board, and have no other audio to work with in post.
It is of course a good idea to pull a feed from the main sound board and run it into an external recorder (like a Zoom H6). But that is just one of several audio sources to be recorded.
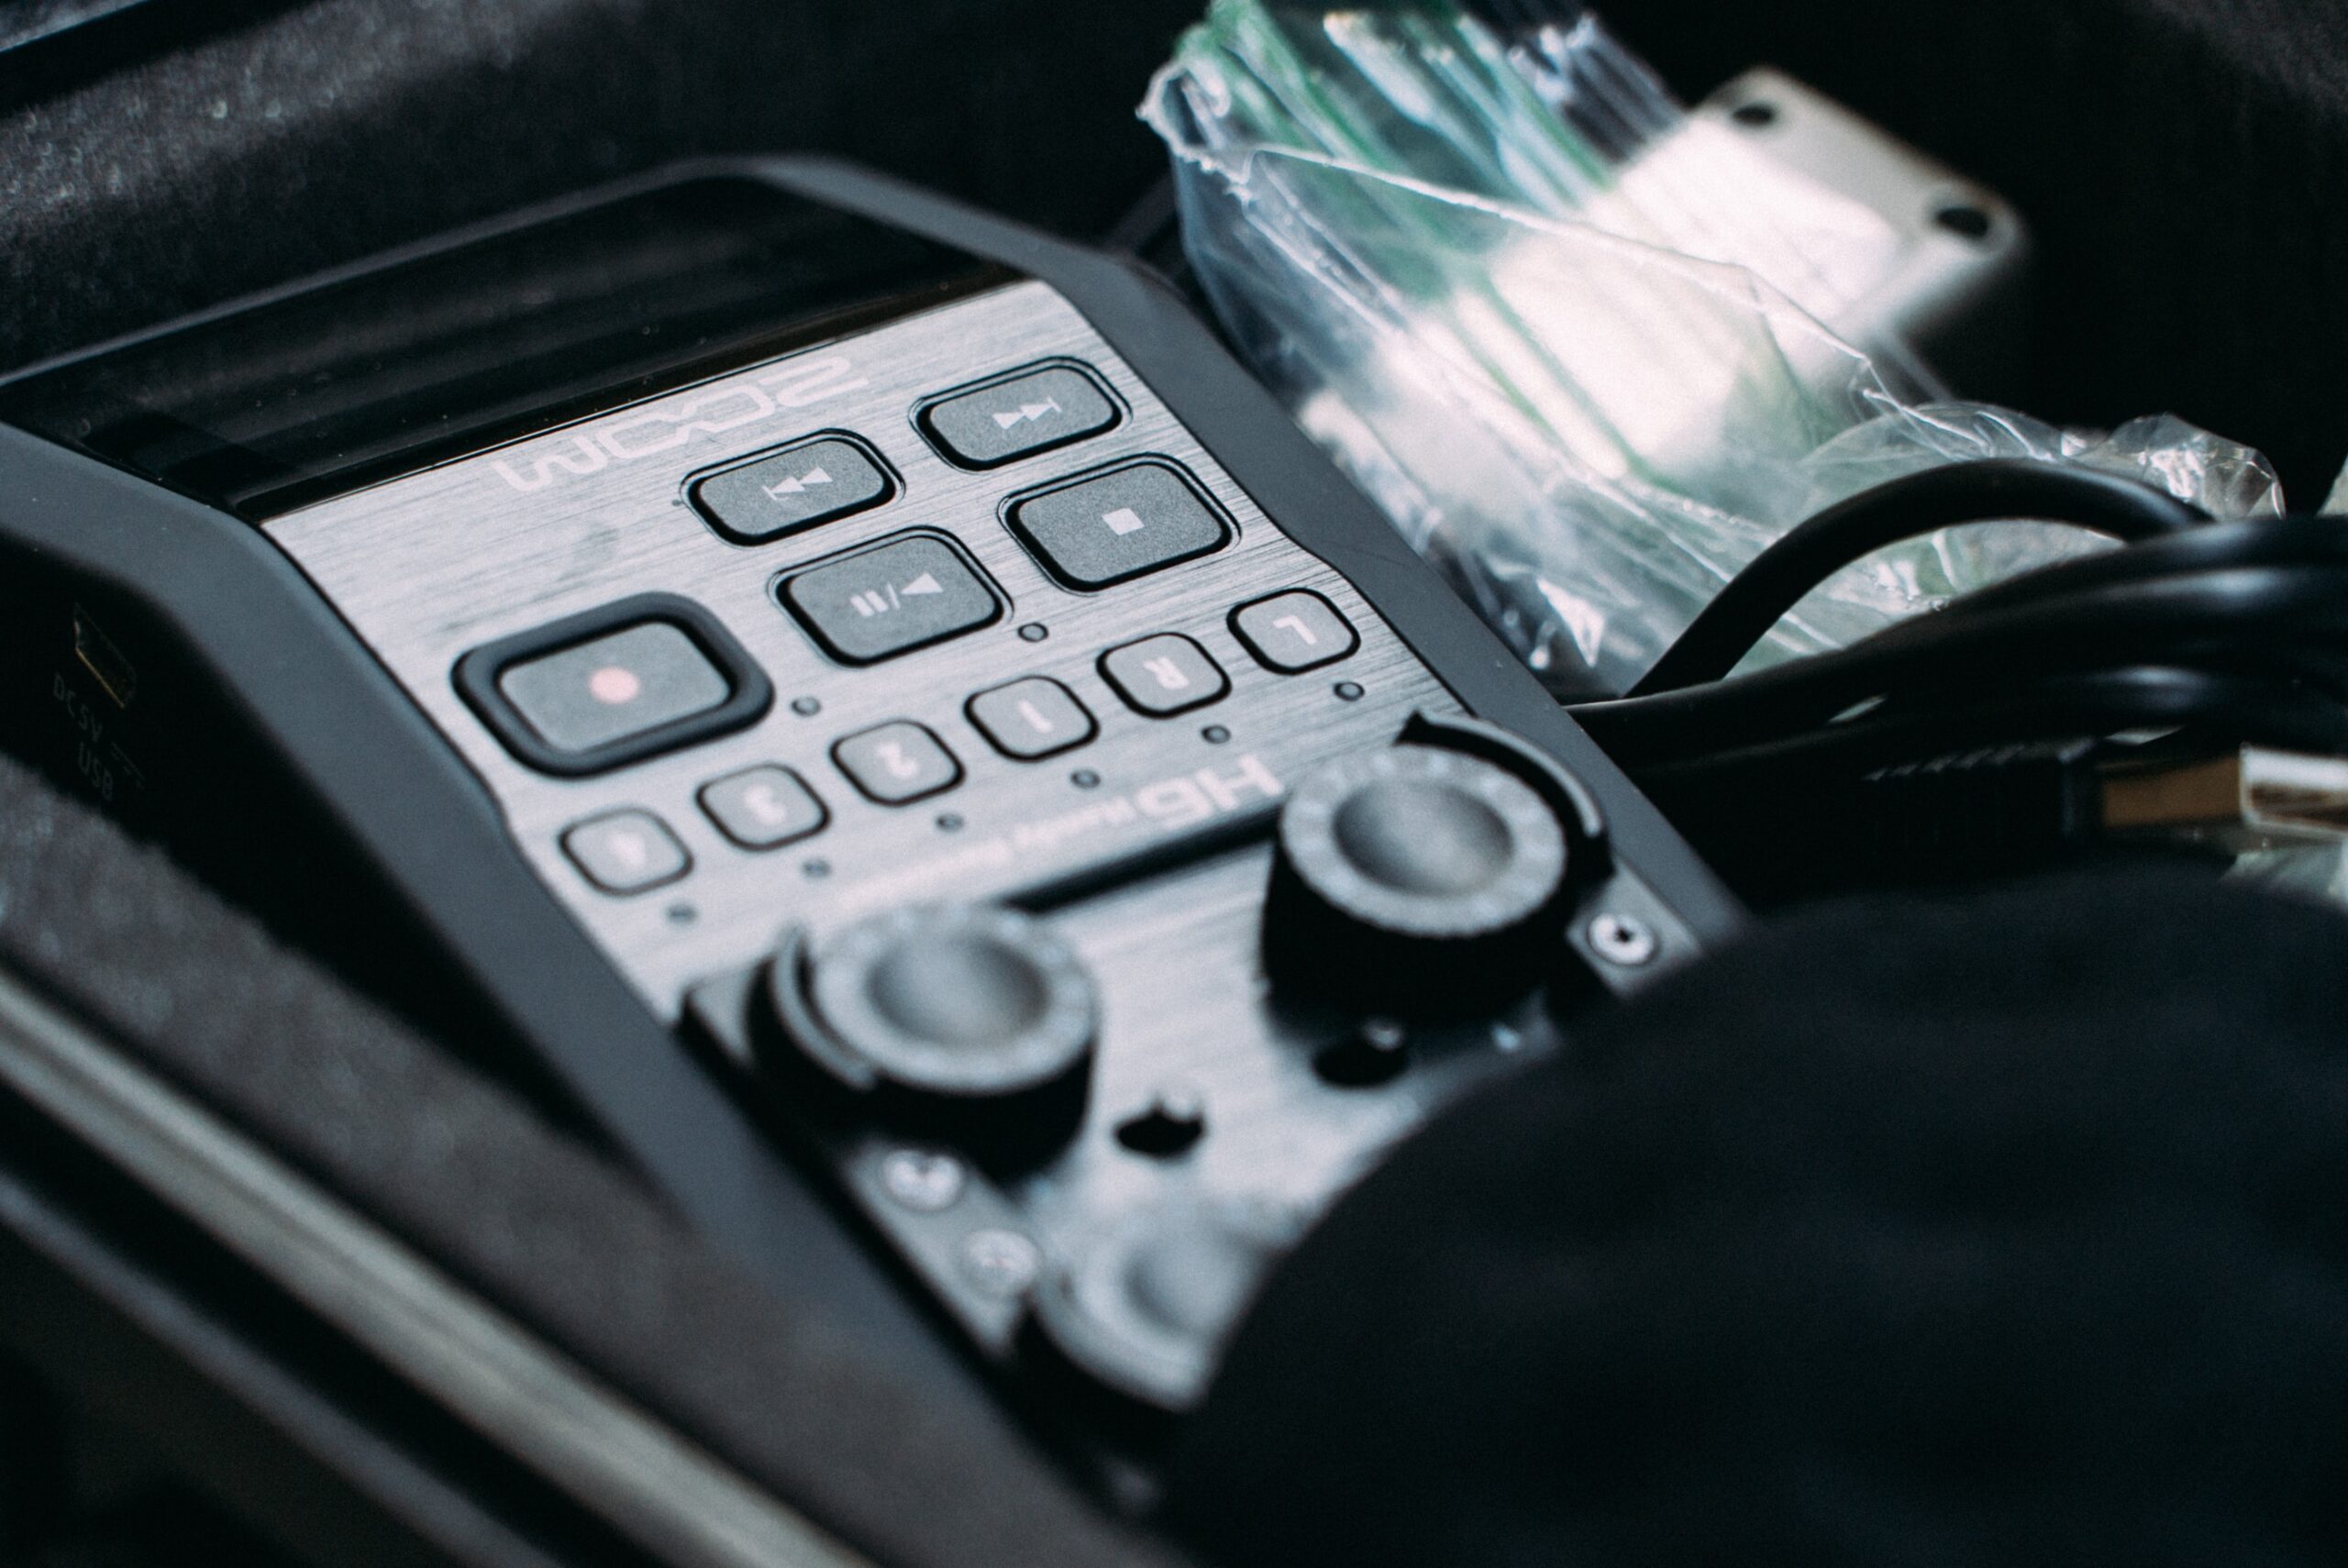
Each camera should also have its own on board shotgun mic. These mics can pick up crowd ambience, and also serve as a scratch track for easier syncing in post.
I also recommend setting up an additional shotgun mic near one of the speakers. Run that feed into the Zoom H6 as well, so you have one channel from the board, and another from your own mic.
If you have a dedicated sound recordist and more audio gear to work with (namely lav mics and a professional mixer), you can also mic up each of the presenters beforehand, and have their audio run to individual channels as well.
Post Production Workflow
Virtually all major editing software today has the option to edit with a multi-cam project or timeline. This is of course the best option for your project setup, and will streamline the edit in many ways.
Start by auto-syncing all audio channels and video files together using your multi-cam tool / interface. Once all of the audio and video is sync’d up, you can disable all of the audio tracks except for the main feed (likely the audio you pulled from the board).
From there, I suggest editing the entire project in realtime. Watch it back and make cuts organically, playing into the natural qualities of the live event. This often yields better results than just scanning the footage briefly and giving yourself a formula to cut to – such as cutting every 15 seconds or always cutting from a wide shot to a close up. Too much rigidity will make the edit feel flat and will lose the energy of the live experience.
Once you’ve locked picture, you can then commit your edits and move through the standard color grading and audio mixing stages as you would on any other project.
Hope this has been helpful to those of you working on multi-cam projects.


1 Comment
Henry Larry
atYour comprehensive breakdown of multi cam corporate video production is invaluable. Understanding camera reliability and the importance of testing setups beforehand is crucial for seamless event coverage and avoiding footage loss.
Professional Auto Paint Correction Services in Gloria AZ