Want to make your digital footage look like it was shot on analog VHS tape? This easy tutorial and free download will help you get there quickly.
Creating a VHS look in post is extremely simple, and very similar to adding film grain to your footage in terms of workflow. Done right, it can make just about any modern digital footage appear as if it were shot on analog VHS tape.
It’s important to note that there are three main ingredients to the VHS look:
- VHS Texture
- Color correction
- Letterboxing
Below is a breakdown of each of the above items, with simple instructions for creating the VHS look.
VHS Texture
Giving your clean digital footage some gritty texture is half the battle when it comes to the VHS look. This can be done very easily by downloading a VHS texture, and then applying it to your footage in post.
I’ve hand crafted several VHS textures using real scans of VHS tapes, and made them available to purchase on CINECOLOR. If you want to pick up the full set, you can do so here.
Otherwise, you can use the free texture I just released as part of this article in the next section:
Step 1. Download Texture
If you don’t already have a VHS texture on your system, your first step is to get one.
You can click here to download my free VHS texture now.
The texture linked to above is just a regular video file, mastered to ProRes 422HQ. The next steps will show you how to apply it to your footage in any editing software.
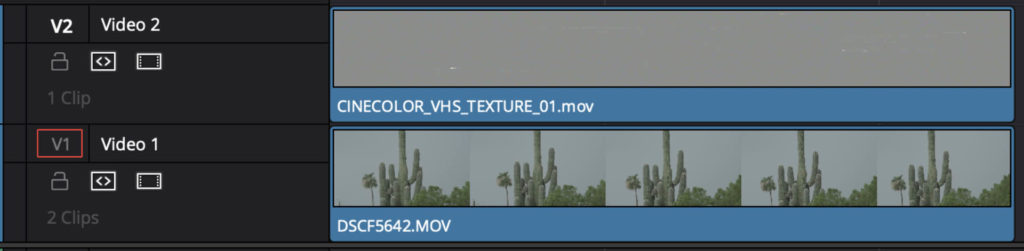
Step 2. Import Clip
Begin by importing your VHS texture clip into your editing software and stacking it directly above your main footage in the timeline
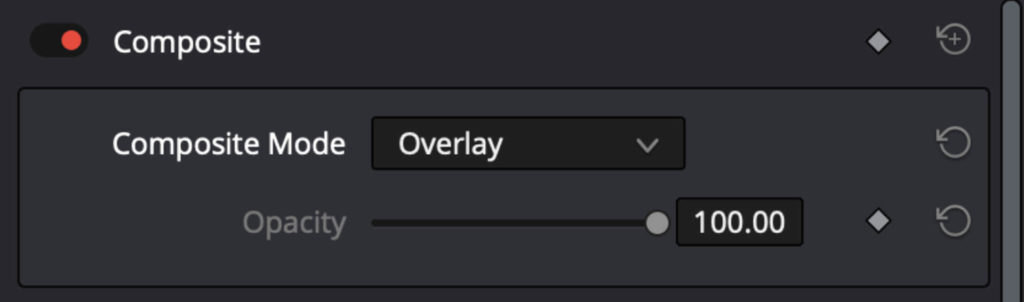
Step 3. Composite Texture
In your editing software, change the composite mode of the VHS video clip to “Overlay.” Doing this will now apply the VHS texture to the clip underneath it.
At this stage, you can also adjust the contrast and saturation levels of the video file to customize the final effect on your image. For instance, if you want a more aggressive look, dial up the contrast until it looks right to you. Or leave it as-is if you like the appearance.
Step 4. Adjust Scaling Settings
VHS footage was traditionally only captured in a 4:3 aspect ratio.
If you are working in a non 4:3 timeline (for instance, 16:9), change your scaling setting to “Fill” so that the texture covers the entire frame. If you are working in a native 4:3 timeline, you can skip this step.

Step 5. Extend The Video
The video file for the free VHS texture I have released is 20 seconds long. If your shots or sequence extend past the 20 second mark, simply copy and paste your VHS texture as many times as needed to cover your entire project.

That’s all it takes to apply the texture.
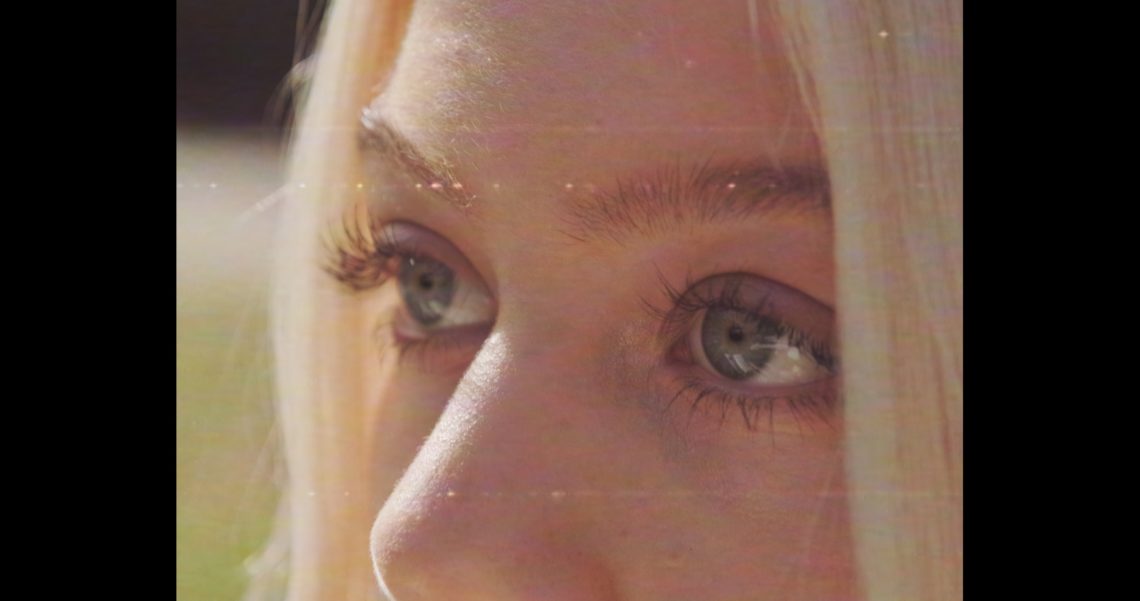
VHS Look (TEXTURE): Before & After
Here is a quick before and after screengrab of some recent footage I shot. The first image is raw footage, and the second has a VHS texture applied.
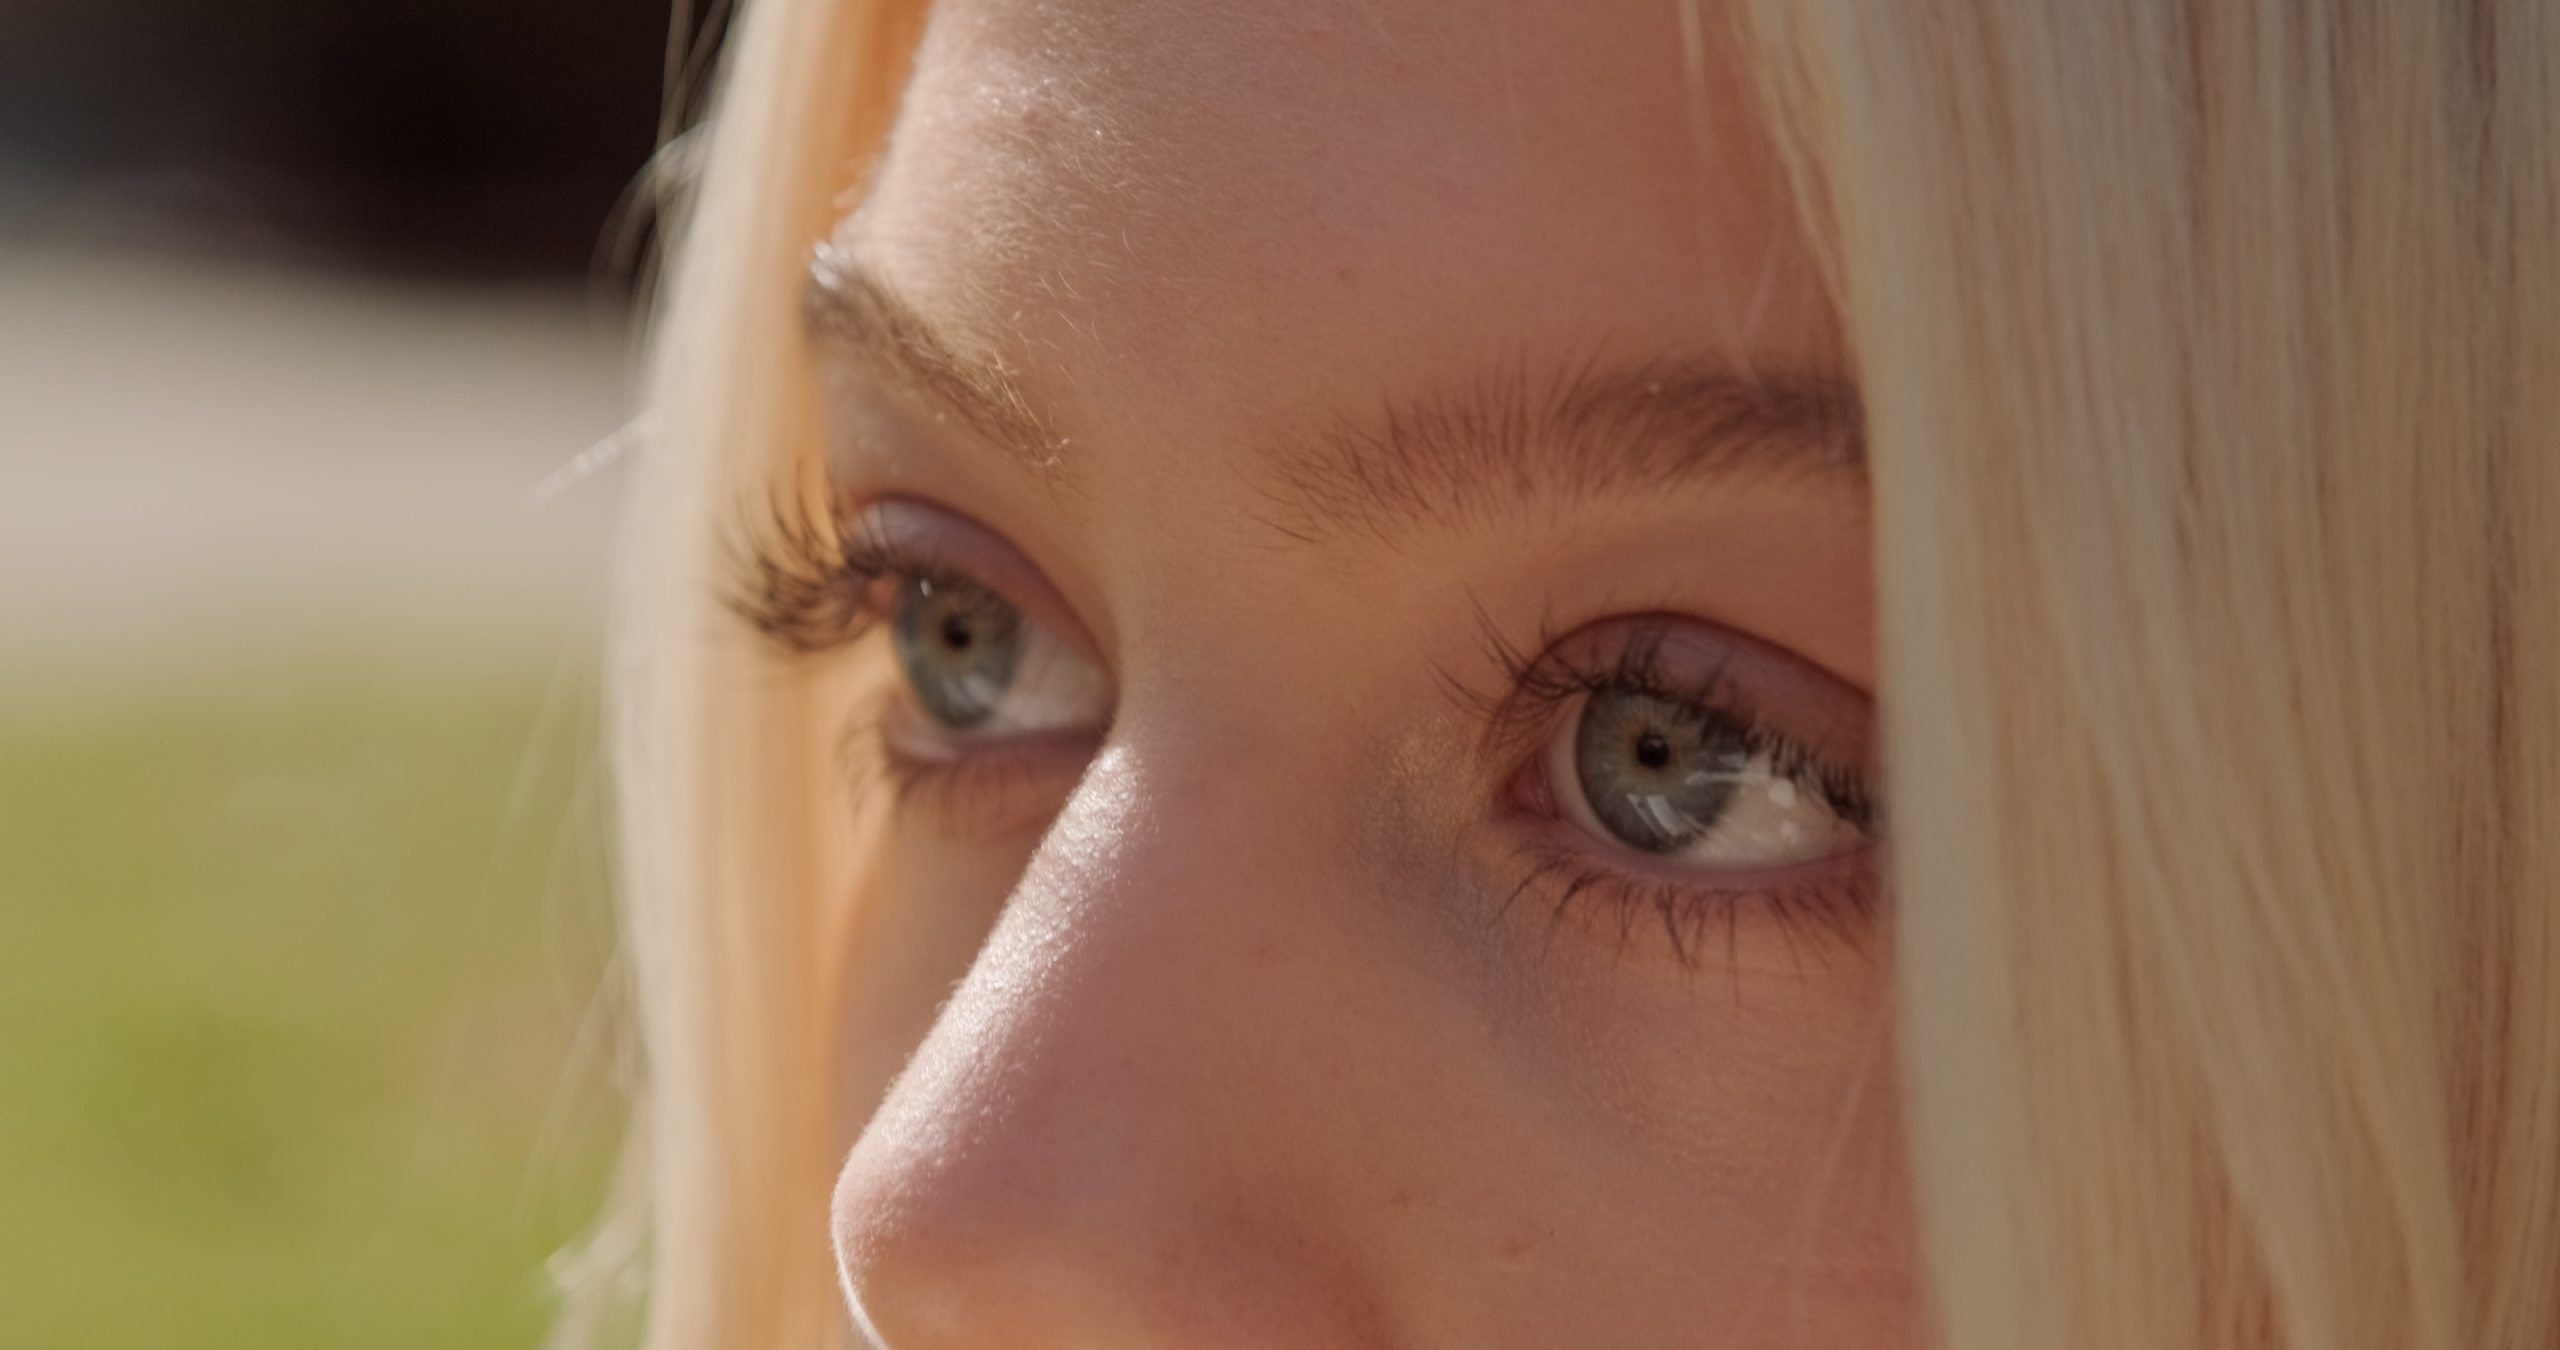
Just applying the texture alone gets us pretty close to a VHS look. But we’re only really half-way there.
Color Correction For The VHS Look
Our next critical step is to apply some color correction to the footage to give it a more authentic analog look.
If you’re following a standard order of operations, you would color correct your footage before applying the texture. At a minimum, all the shots should be balanced and match each other before adding your texture.
But once the texture is applied, you will likely need to do some additional tweaking to your color palette to really sell the effect. VHS tapes have a very distinct look to them, specifically with regard to color quality.
Generally speaking, you want to desaturate your shots, skew the green/magenta axis, and reduce shadow contrast. But to which degree you do this (or deviate from these instructions) really depends on your source footage.
To make things easy, I’ve created a set of VHS color correction LUTs that can be used as presets in any video editing software. They are available on CINECOLOR as part of this bundle.
Whether you manually correct your images or use a LUT, you don’t want to skip this step. Without the right color palette, most shots will look too modern and clean.
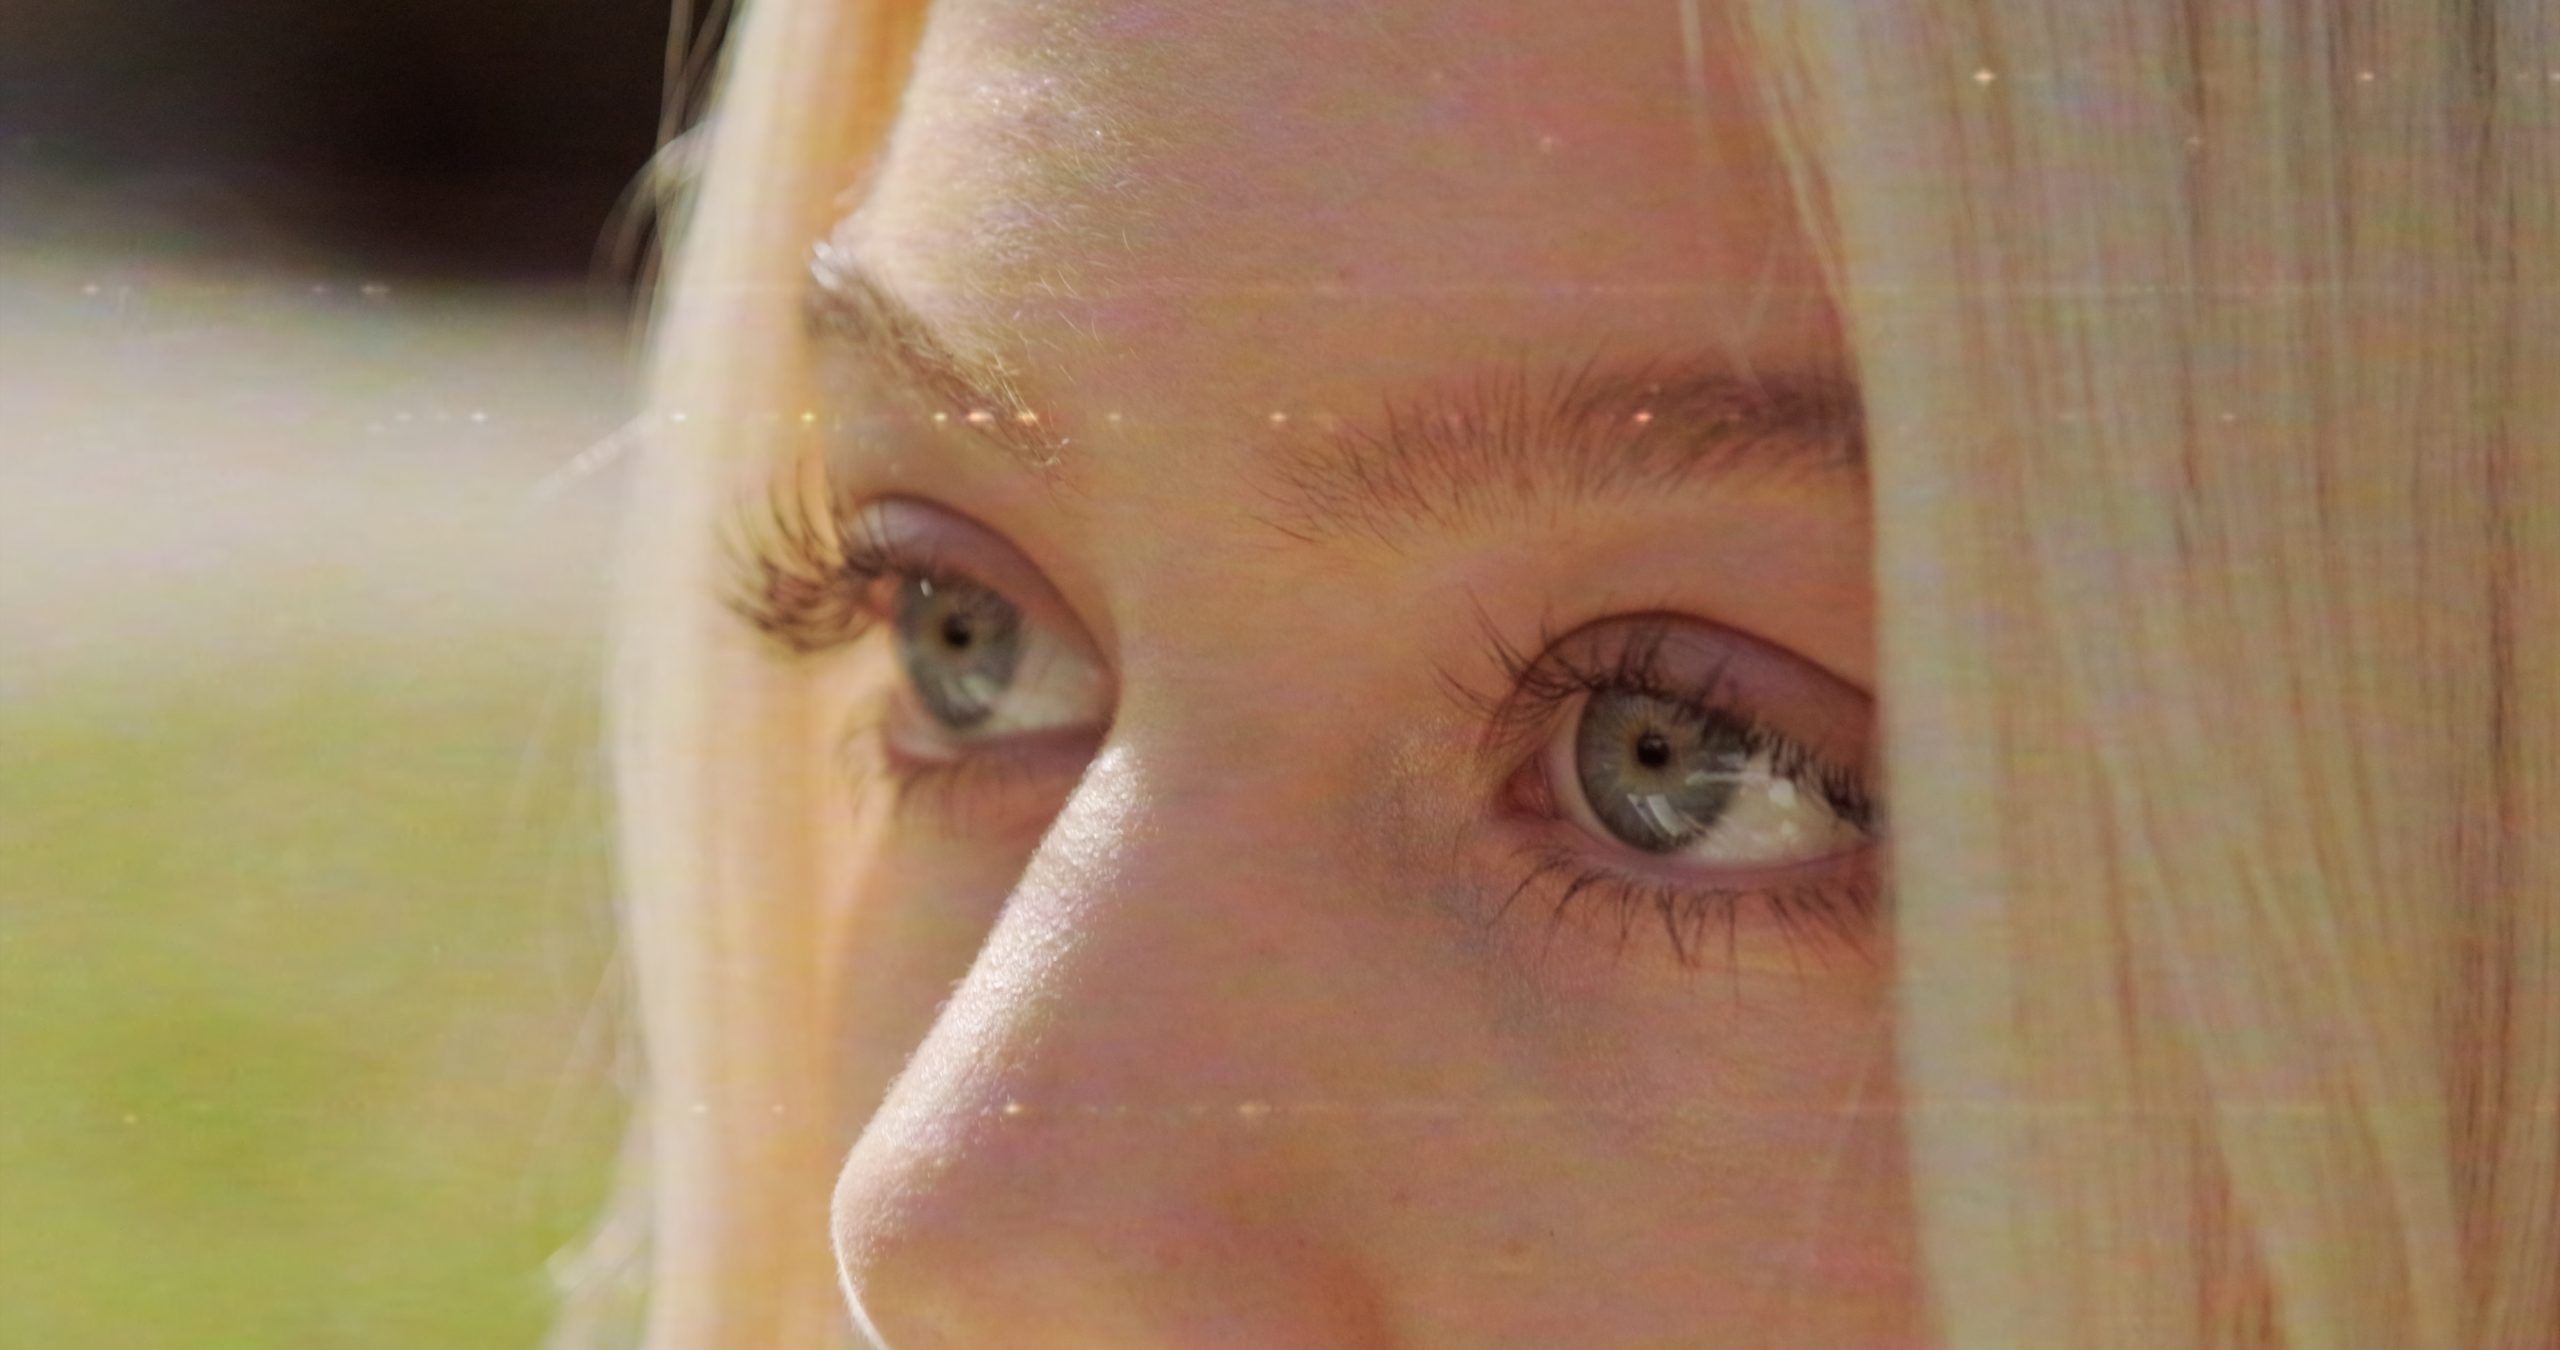
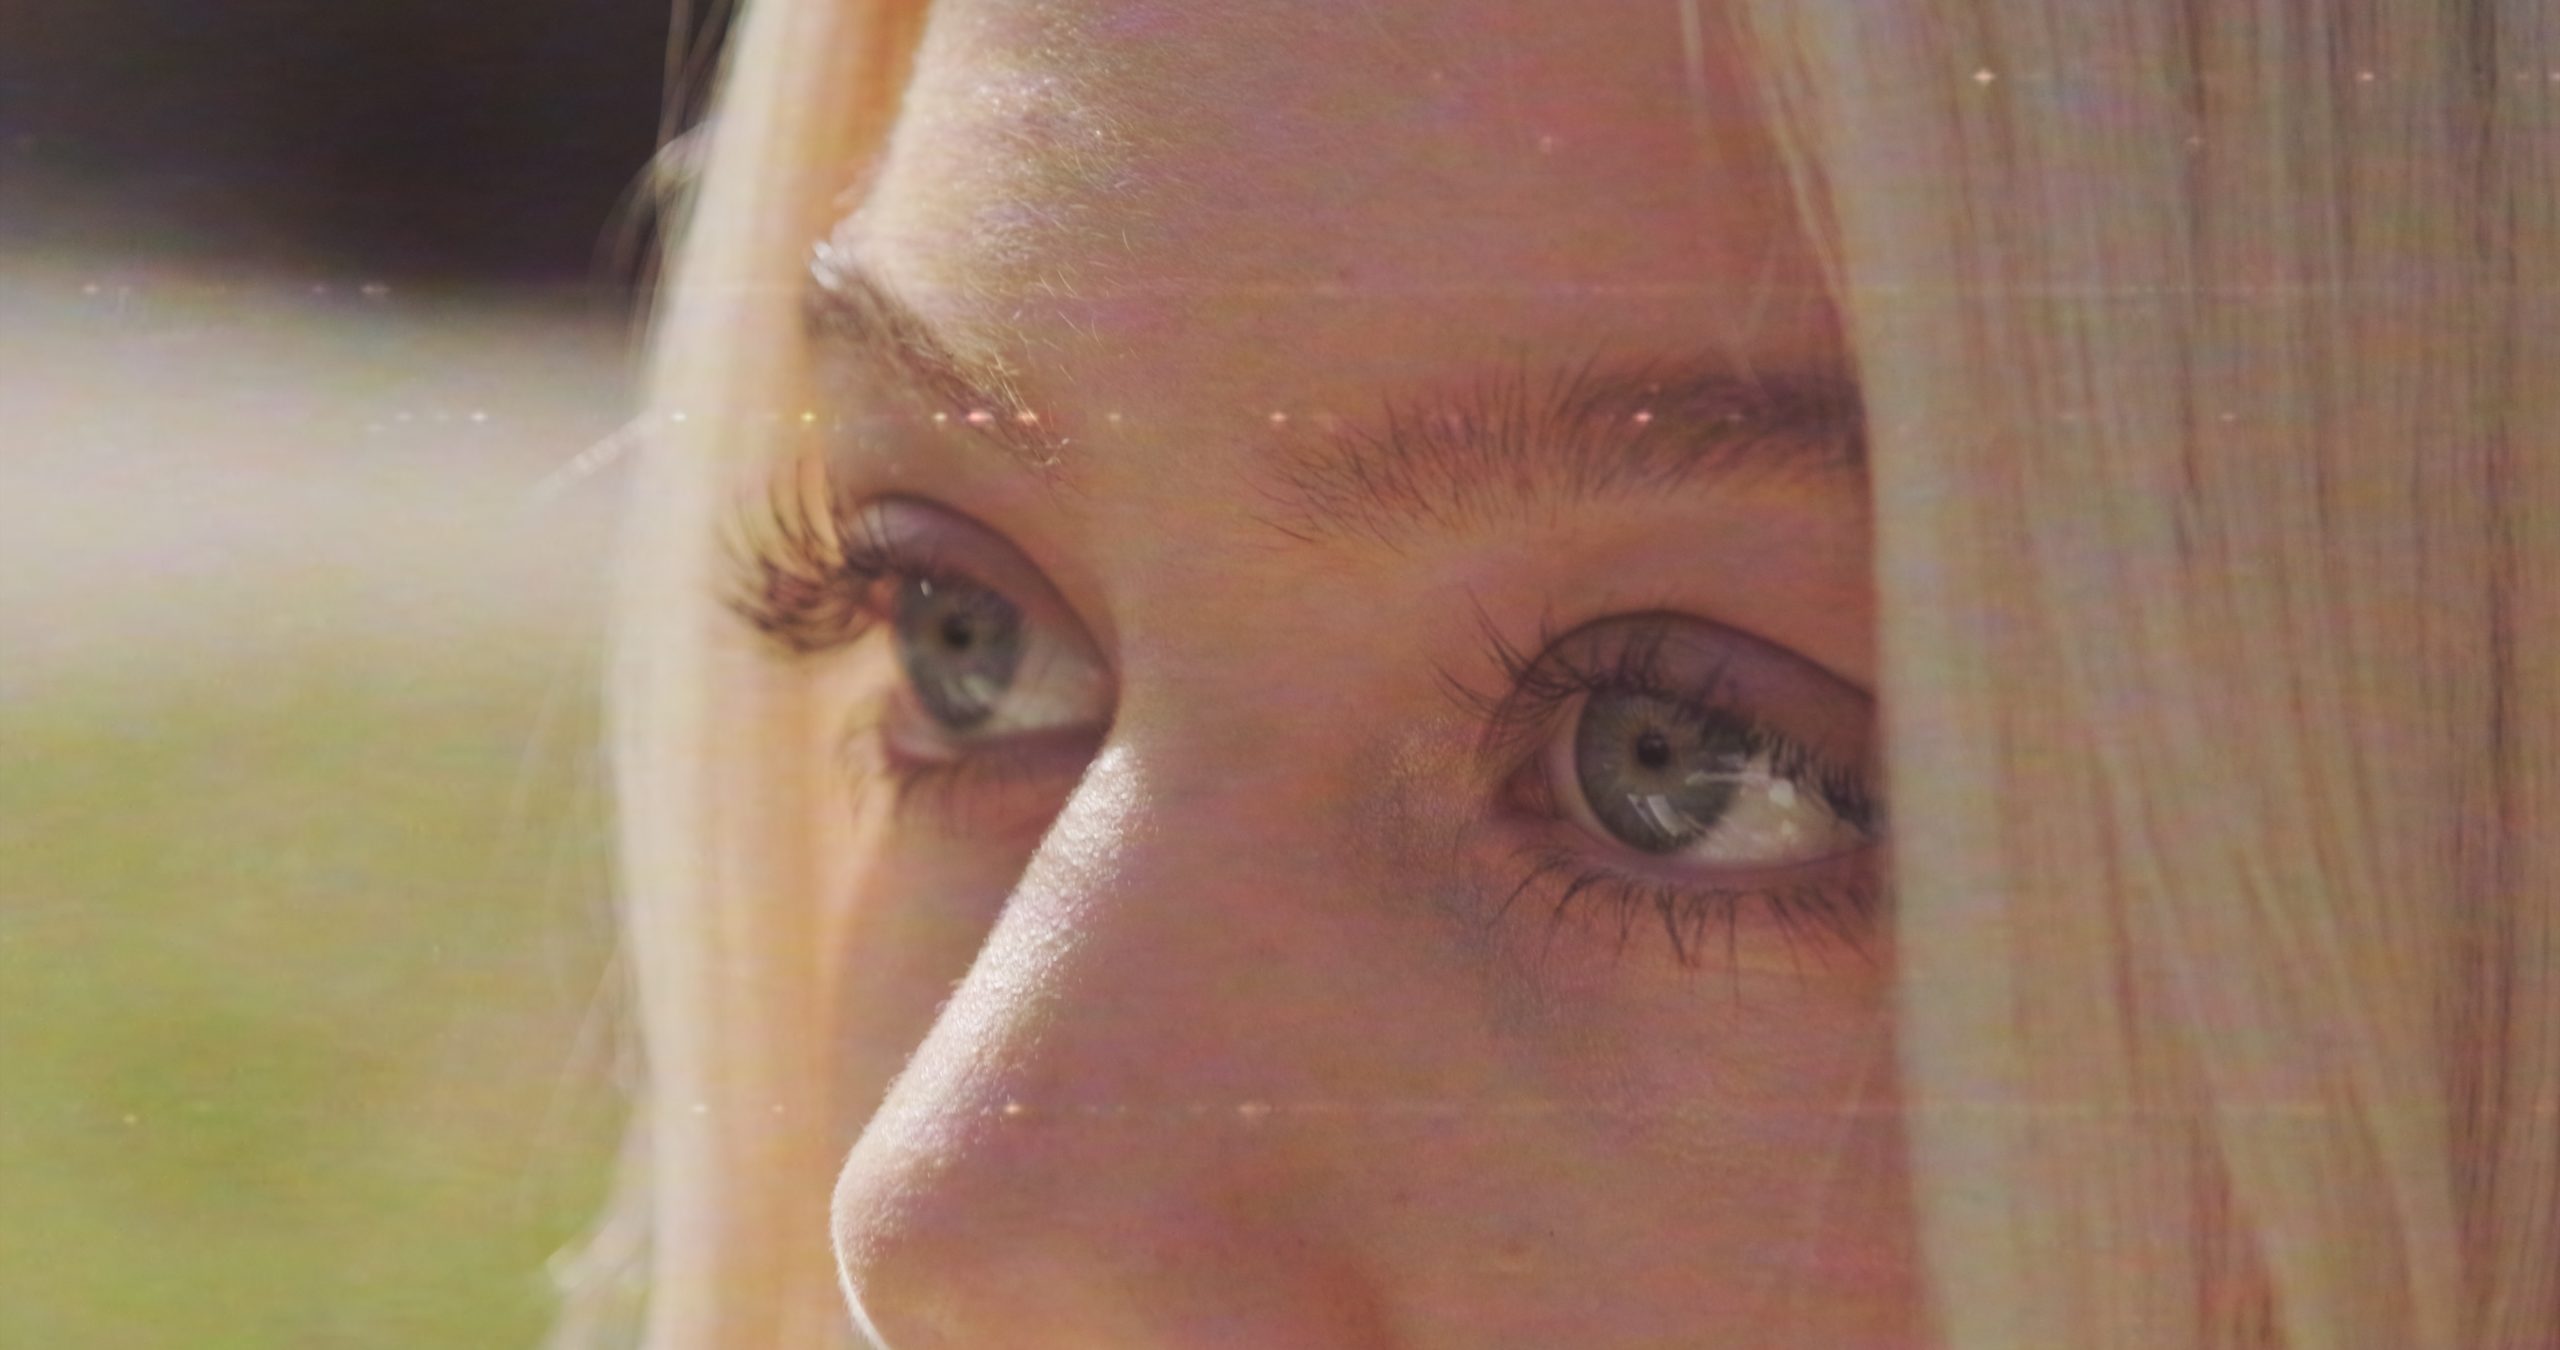
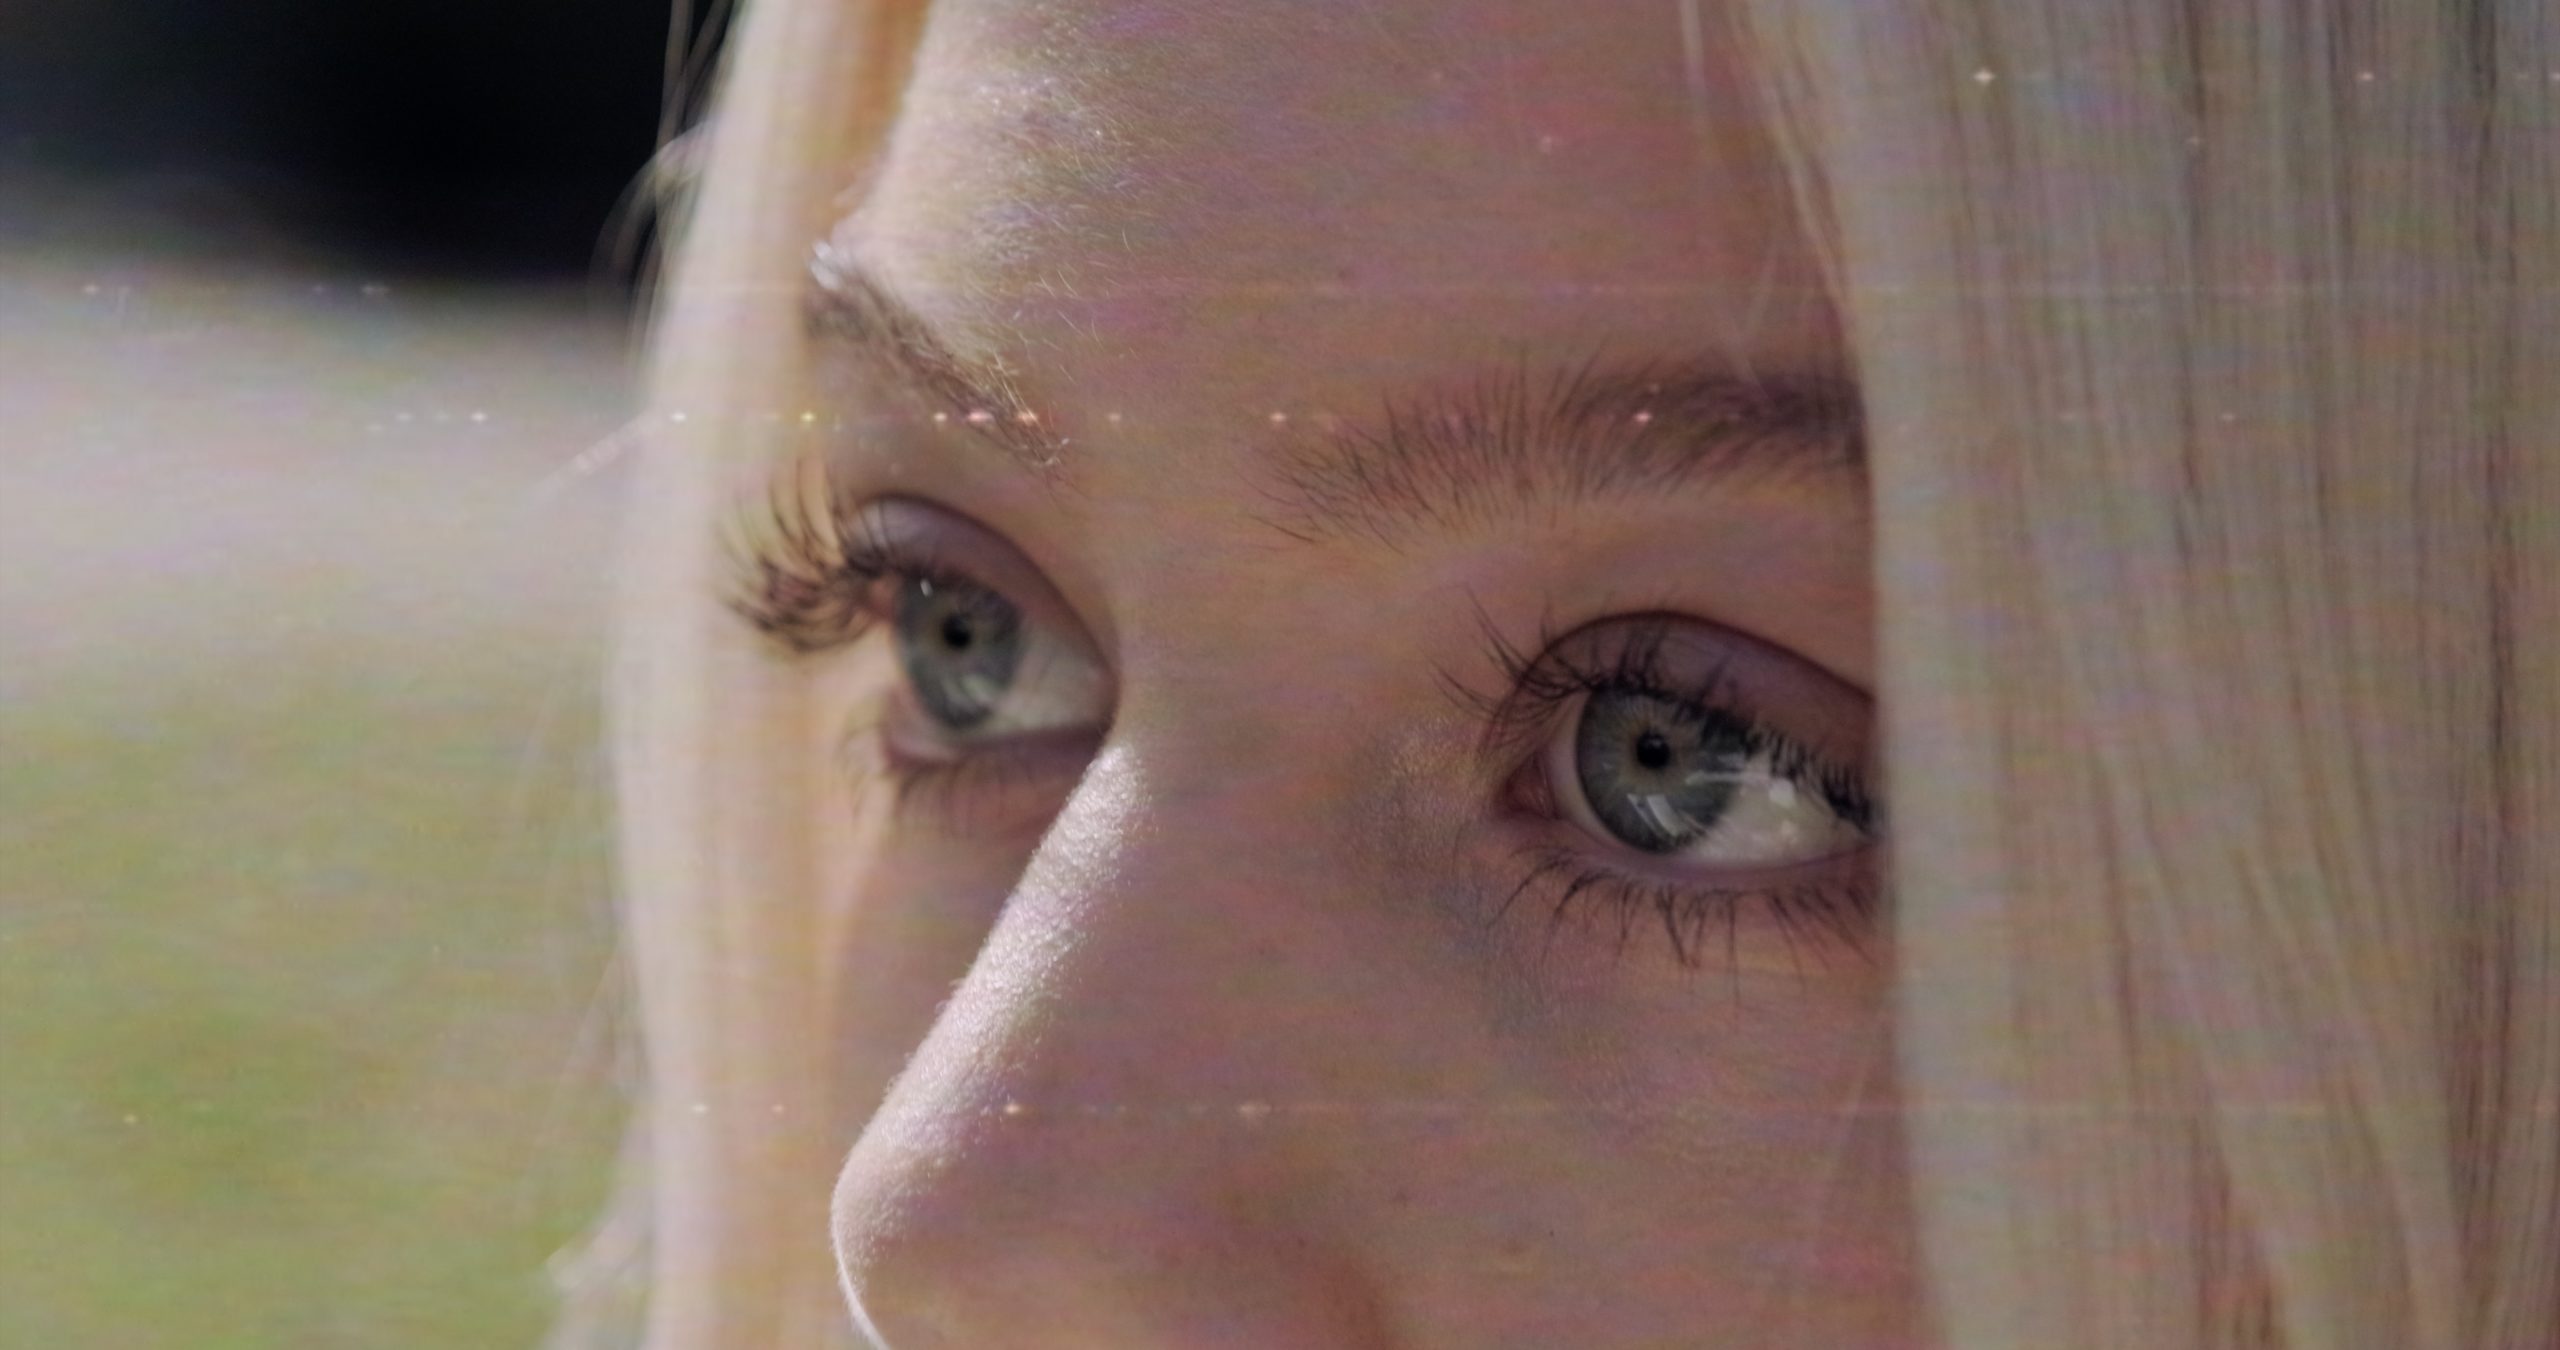
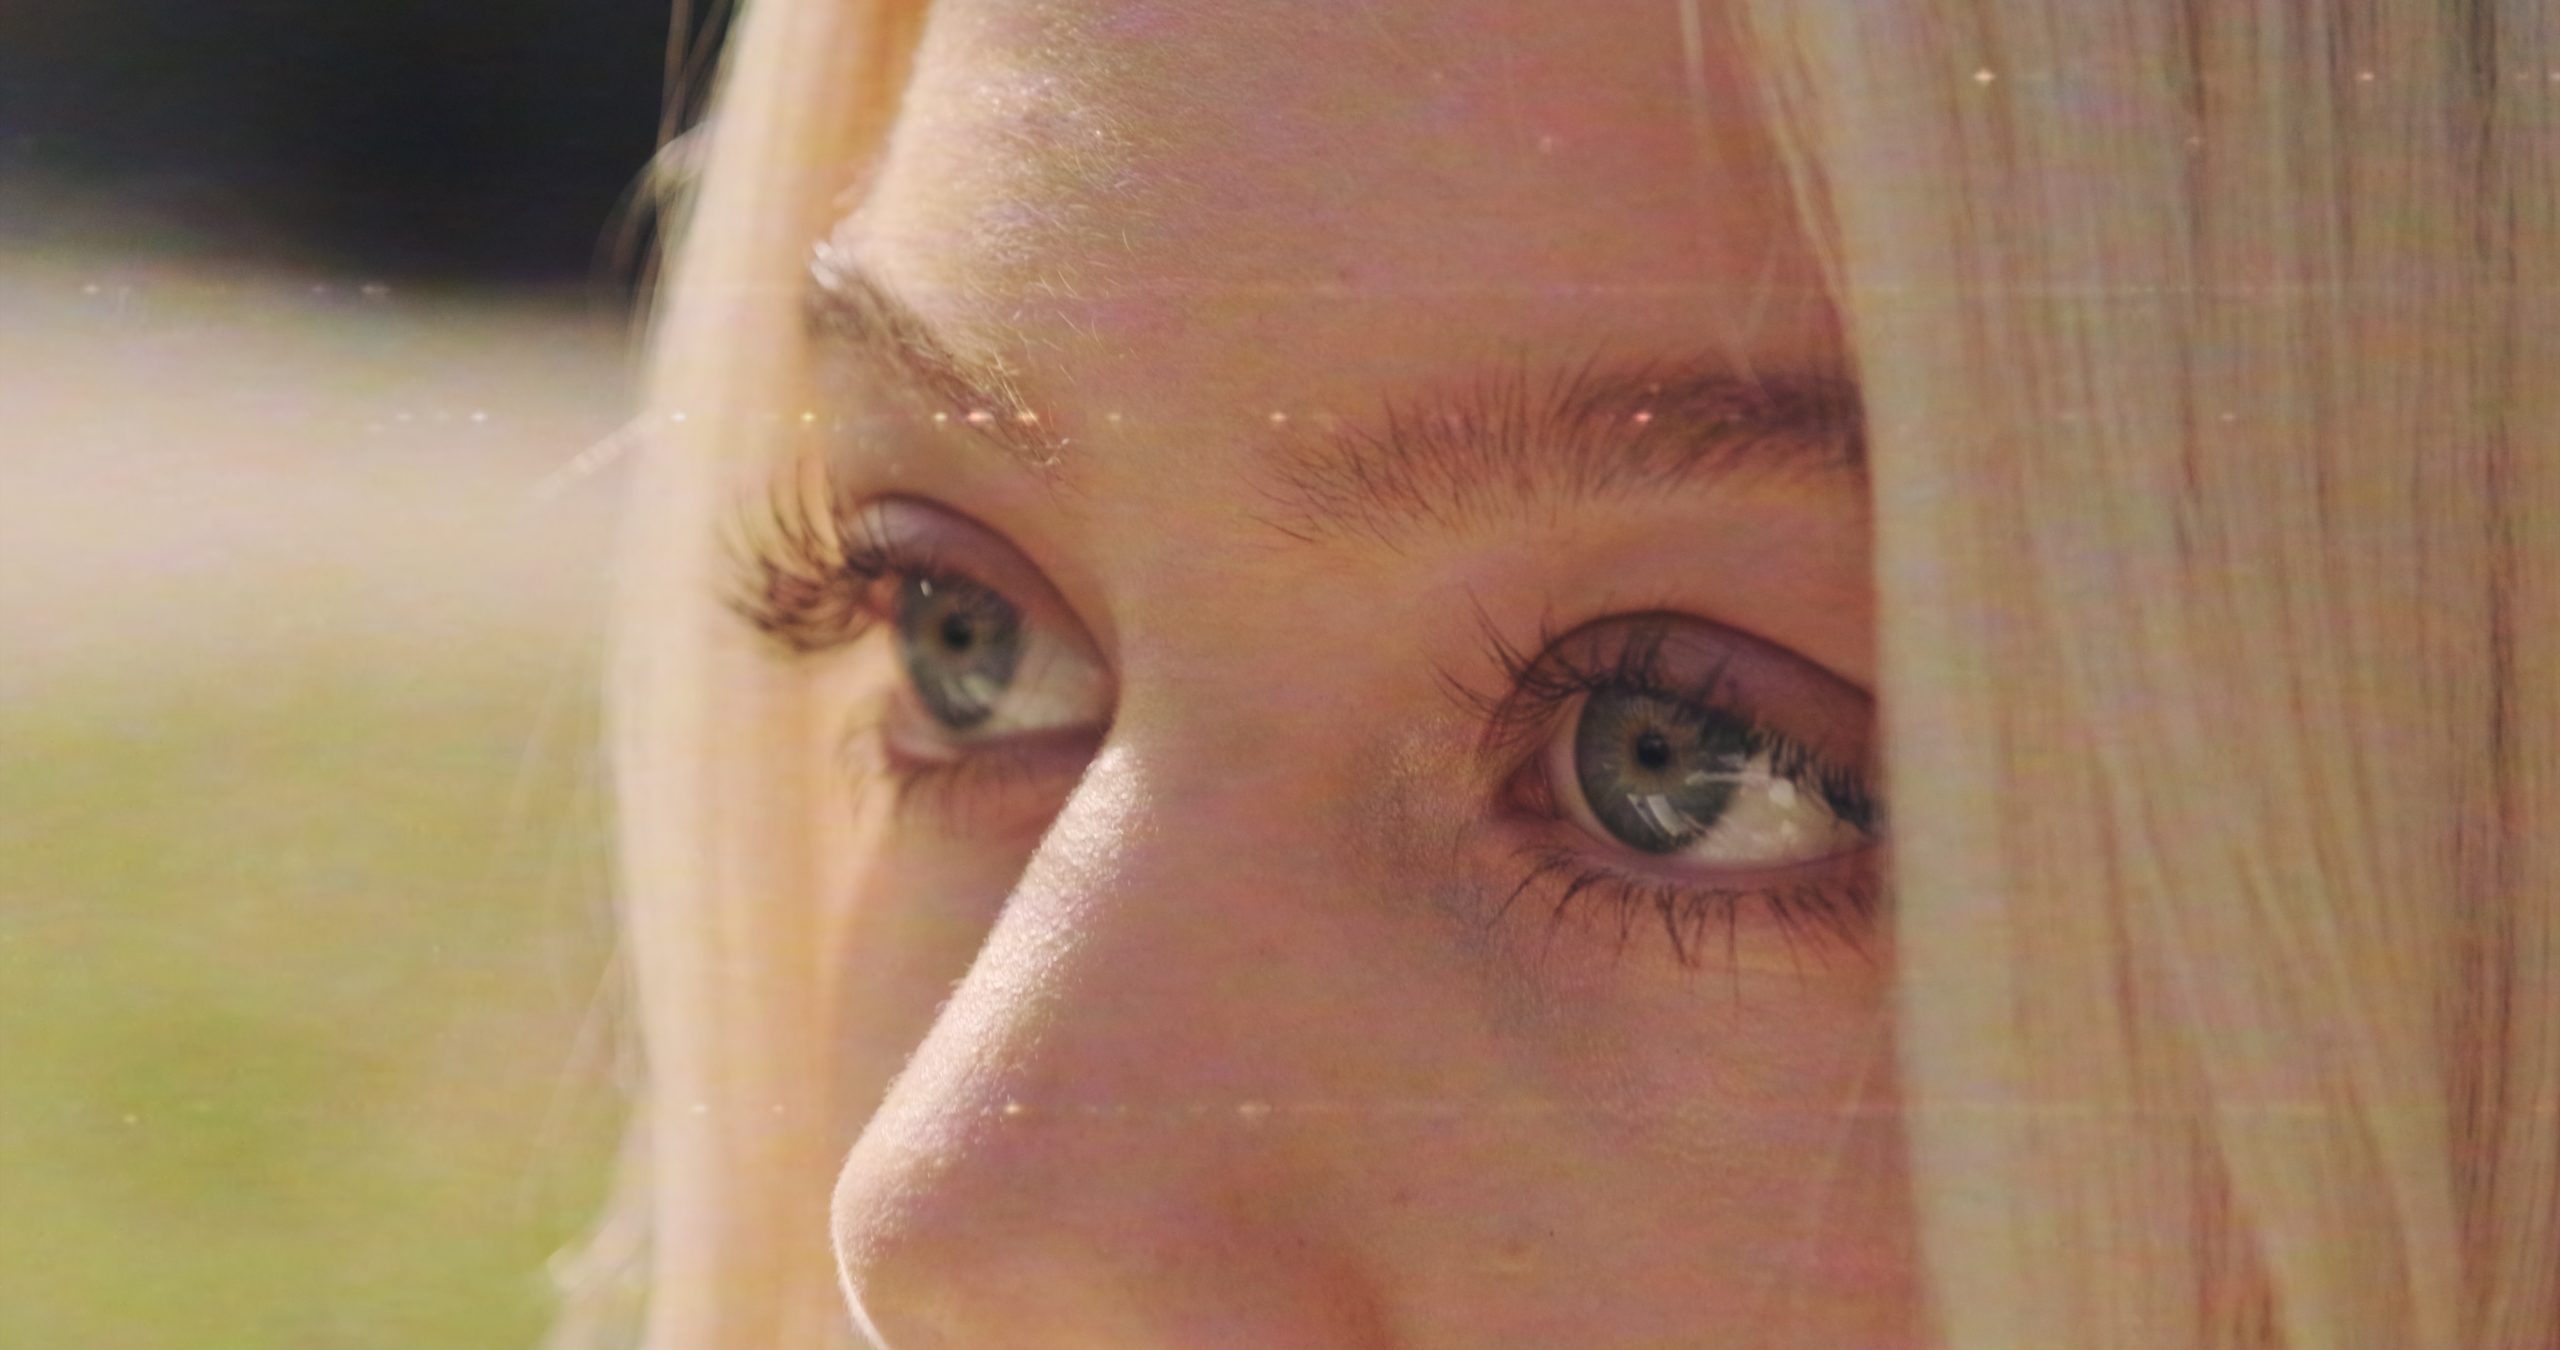
VHS Look (LUT): Before & After
Below is another set of sample images. The first is the same shot from above with only the texture applied, and the following three shots have different versions of my VHS LUTs applied.
You can play around a lot with color here, since there are many variations of the VHS look. Like film stock, no two analog tapes ever looked the same.
Just a few variables that impact color quality on VHS are:
- Tape Stock
- Camera/Record Device
- Age of VHS Tape
- Playback Device
- Capture Method
I recommend watching old VHS footage and finding some references that you can help you find the right color palette.
Letterboxing
This step is optional, but I recommend following it if you are going for the most authentic final result.
As mentioned, real VHS footage is always captured in a 4:3 aspect ratio, so if you really want to make it realistic you need to transform the footage to 4:3.
To do so you have two options:
- Work natively in a 4:3 timeline
- Work in a widescreen timeline and add a letterbox
If you choose option 1, you don’t need to add a letterbox since the project is already set to 4:3.
If you are mixing and matching different aspect ratios in the same project though, you will likely choose option 2. For example if you’re working on a feature film that is supposed to look contemporary, but has a limited amount of “VHS footage” peppered in for effect.
In this type of scenario, you will need to add a letterbox in your editing software.
You can download my free pack of professional letterboxes here.
The letterbox files I’ve linked to above are simply .png images with transparency. You can drag them on top of your clips in the timeline of any editing software, and adjust their sizing as needed.
The link I shared also contains more detailed instructions for applying your letterboxes in post, if that is helpful.
VHS Look (LETTERBOX): Before & After
Below is one of the composted images from above in 16:9 aspect ratio, compared to the same image with a 4:3 letterbox applied.

There is no denying the impact the letterbox has on the final image.
Audiences today associate 4:3 with older formats from bygone eras. For casual viewers, it’s an entirely subconscious association, but the impact of aspect ratios on the audience experience is very real.
But like everything else, it’s a creative choice. I’ve seen the VHS look applied in unconventional ways to modern footage, often with some really unique and cool results.
So do with it what you will, and I hope this is of benefit to those of you emulating that VHS look in post!
Don’t forget to check out my full VHS Bundle on CINECOLOR available here.
6 Comments
Henry Larry
atThe breakdown on adding VHS texture color correction and letterboxing makes it so easy to achieve that nostalgic VHS vibe. Can not wait to give this a try for my next project!
Patterned Vinyl Flooring Services in Anaheim CA