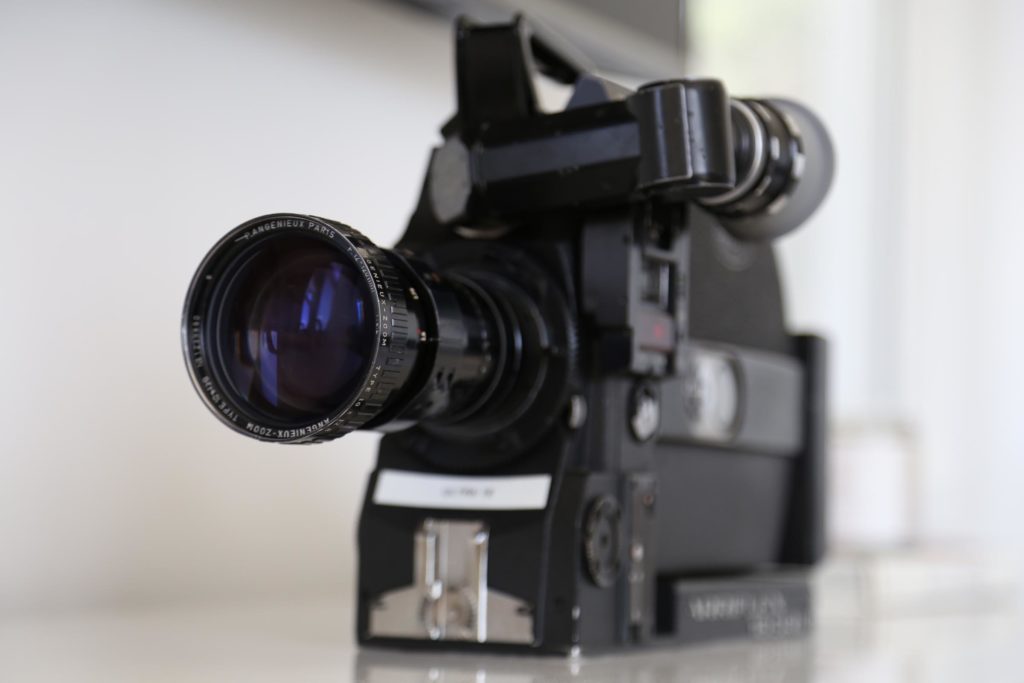
Back in March I shot a very short film called Dopamine with my Arri SR II Ultra 16mm camera. In a previous post, I talked about our unique production process that involved a skeleton crew, a single roll of Kodak 200T and 6 hours of shooting time.
Now that the film is complete, I thought I would write a follow up article outlining the entire post-production workflow. I’ll be covering everything from getting the film processed/scanned to locking picture, along with the entire finishing process; color correction, audio mixing and more.
It’s worth noting that while I’m writing this post 8 months after our shoot, all of the post-production done on this film was completed in just two days.
The speed of the edit was partly thanks to a short runtime (under 3 minutes), but also a result of the limited amount of raw footage we had – many shots were captured with just one take.
So technically the film has been finished for months, but I let it sit on the shelf for a while in lieu of the pandemic. I’m planning to submit to a handful of festivals for fun this month, and then will release online when the time is right.
For now, let me take you back to the beginning of my post production journey, which started at the film lab…
Processing & Scanning The Footage
This step was particularly important to me, as one of the main purposes behind this film was to test out my Arri SR II camera. I had only shot standard 16mm with the camera previously, but with it recently modified to Ultra 16, I was eager to see what the footage would look like.
I had modified it to Ultra 16 to get a wider aspect ratio, since the camera natively shoots 4:3. The Ultra 16 conversion is a bit easier to do than Super 16, and is supposed to make the image a little wider than Super 16 – which clocks in at 1.66:1. Ultra 16 is quite uncommon, so I wasn’t sure exactly what I was going to get (aspect-wise) until the process and scan was complete.
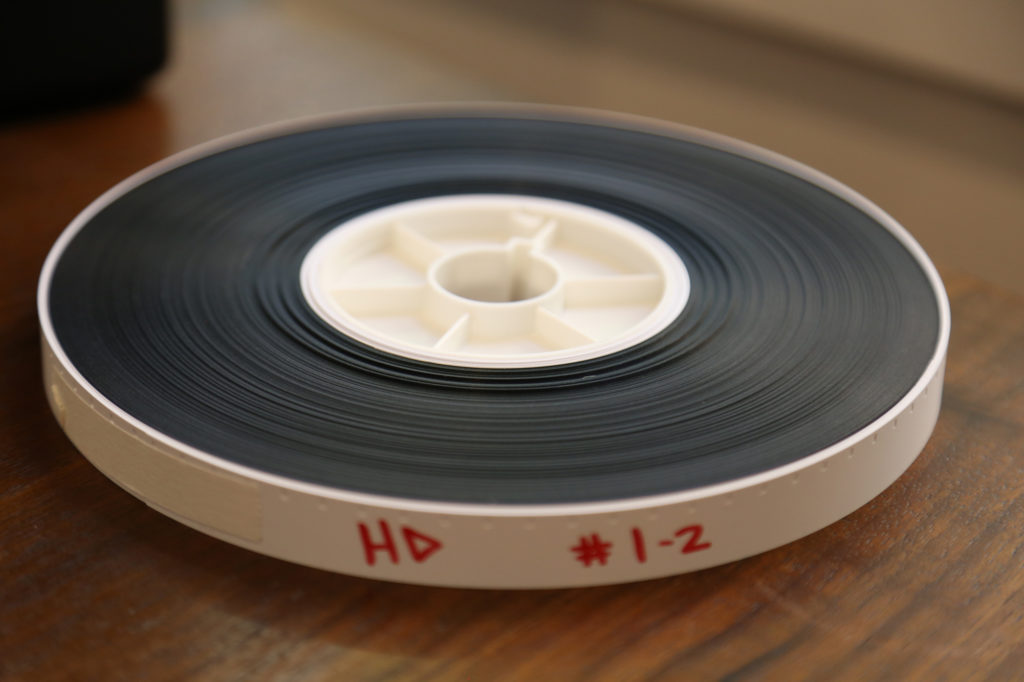
I took the footage to Spectra Film & Video in North Hollywood who did both the processing and scanning of the footage.
The film was pushed 1 stop during processing, which is something we had planned in production. Shooting 200T film is like shooting at ISO 200 on a digital camera, giving you a very low exposure. To compensate, we rated the camera at 400, which effectively creates another stop of light. This would also make the image grainer once it was developed, which is something I had no problem with… From the get-go, this film was supposed to have a dirty, grungy kind of look.
As for the scan, it was done in HD resolution. While I could have scanned it at 4K (or probably even 6K), there was really no need for this project. As I’ve written about many times in the past, 2K is plenty of resolution for the vast majority of my needs.
Ultimately Spectra did a great job with the film and delivered a single HD ProRes 422 HQ .mov file.
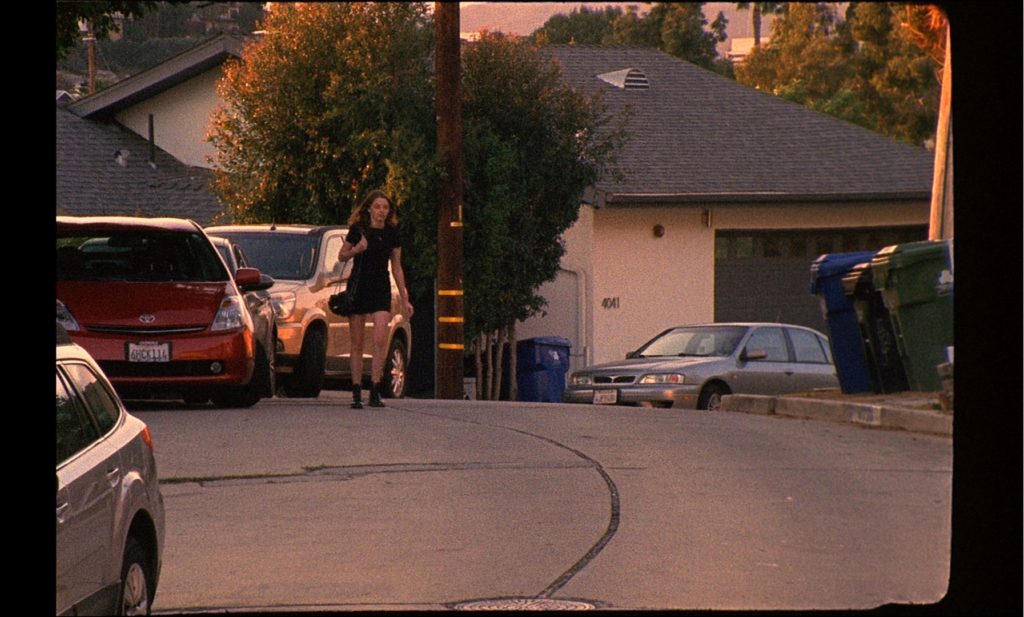
I had asked the lab not to crop the image when scanning the footage, so they pulled their optics back far enough to see (and scan) the edges of the frame. I was actually hoping they would have pulled it back even further, and considered having them re-scan the footage at one point, but that was when everything was shutting down due to COVID, so I decided to leave it as-is and just start cutting.
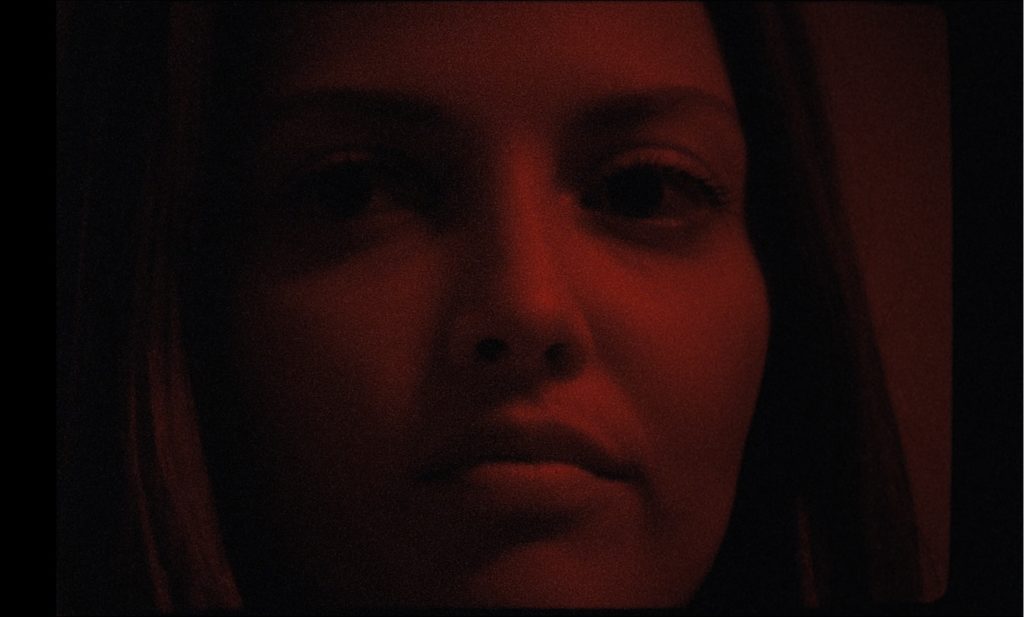
The image below is what the frame looks like with the edges. I’m keeping it like this for the final cut, intentionally not cropping in for stylistic effect –
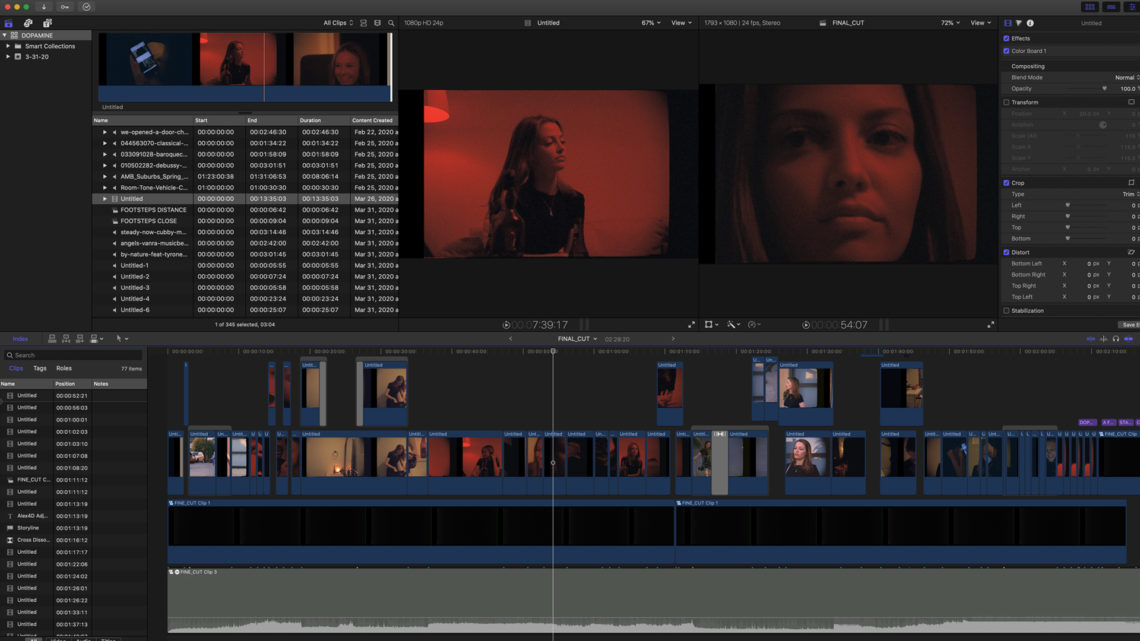
Picture Editing In FCP X
The picture edit for this film came together super quickly, with the bulk of the work completed in just a few hours during the first edit session.
Working in FCP X definitely helped me get to the finish line sooner, as I continue to work fastest in it. I run Premiere occasionally as well, and more often DaVinci Resolve, but FCP X is just most intuitive to me.
To kick off the edit, I simply imported the single .mov file that the lab had delivered to me and started dropping shots straight into an HD timeline.
As I said, we captured very little coverage, so there was really no need to pull individual selects from various takes into the timeline first, and then narrow them down. That would be my normal workflow, but in this case it would be redundant.
Instead, I just grabbed whichever shots I needed based on the script/shot list and placed them in the timeline sequentially. In many cases, I only had one option, so that’s what went in.
We didn’t record any sound on set, so this first rough pass was entirely silent. I just needed all the best shots/takes in order, to lay the groundwork for the audio to be built in later. My timeline at this point was super minimal –
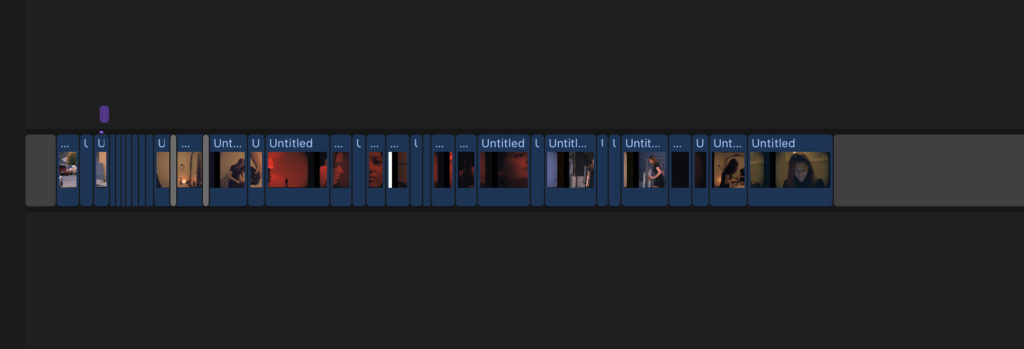
There was very little finessing of the shot order/arrangement on this first pass. With the exception of some b-roll shots that I shuffled around in one scene, most of the footage was practically locked in from the get-go.
Adding Music & Locking Picture
Since this film has no dialogue in it, I knew early on the music would have to be the driving force for pacing and flow. With that in mind, my next step after creating that first assembly/rough cut was to source the right music track.
This short takes place at a house party, and my idea was to use a track that could play as if it were natural sound from the party, while also acting as a score for the film. It took quite a bit of digging to find something that could work in this context, but I found a great track on Music Bed that did the trick.
Once the music was brought into my FCP X project, I pulled all of the main video clips into a secondary storyline. For non-FCP X users, that’s like pulling your b-roll onto track 2 in your editor, so you can leave track 1 open for your main footage. Only in my case, my “main footage” was just the music track. I set it up like this to ensure the music would always the driving force behind my editorial decisions.
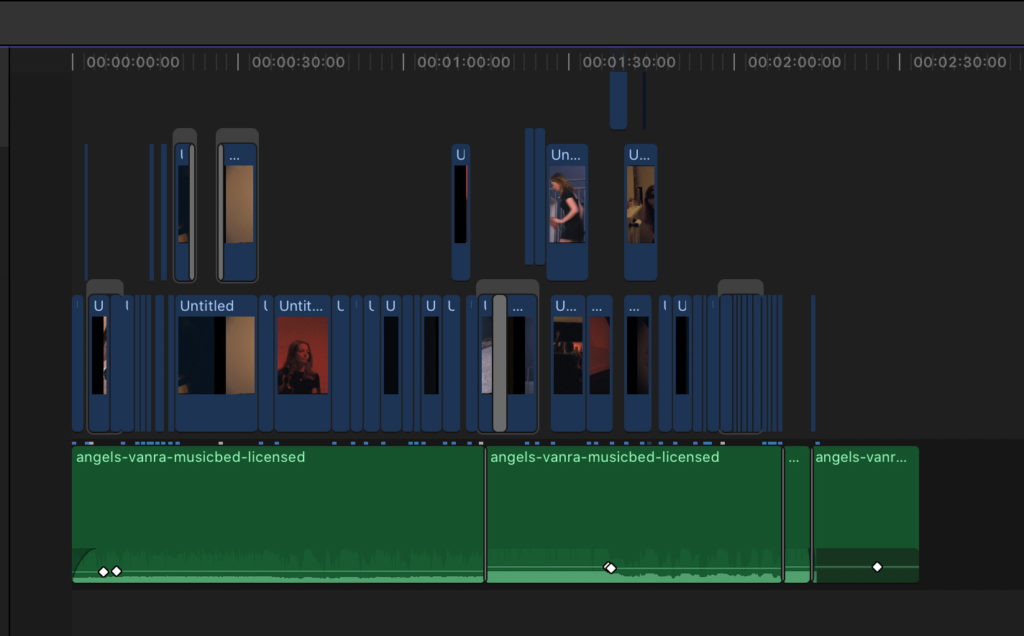
With the music laid in, I simply went scene by scene and adjusted the visuals to better match with the track. This immediately gave the edit a cohesive rhythm, and made the cutting points much less arbitrary.
Although this was my first editing session, at this point I was basically picture locked. I didn’t have to officially lock it for any reason (and I planned to keep tweaking it further), but between the super short runtime (>3 minutes) and the scarcity of raw footage, there was only so much work that had to be done.
With the picture unofficially locked, I stepped away from the film for a little while, planning to coming back later to add in the sound and complete the finishing work.
Building a Sound Bed
After some time away from the edit, I came back to it with fresh eyes for my second (and final) editing session.
Most of what I had done previously had worked, but the cut did need some finessing on the visual side – some of the ordering of shots wasn’t quite right, and there was room for tightening throughout. The end also needed some massaging, but nothing too major.
I made these final picture edits quickly and then jumped straight into the sound edit, where I had already done some of the heavy lifting – dropping in the music track and timing it to the visuals. Now I just had to add sound fx and do some simple mixing.
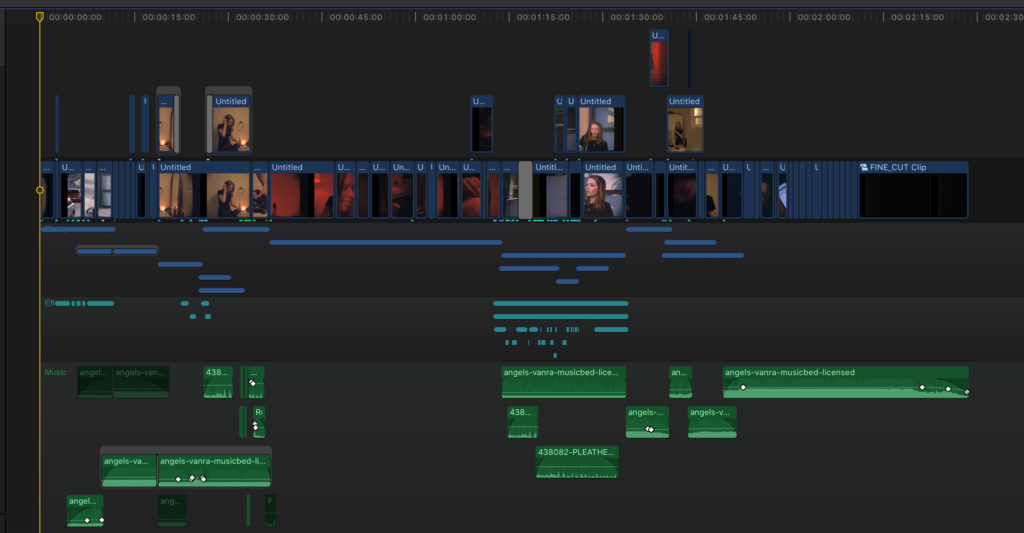
My first sound pass was entirely focused on background textures. I pulled two of them from my archive/local sound library and the third was pulled from soundsnap.com.
Then I did a whole separate sound pass for additional sound effects, taking care of all the usual suspects; footsteps, clothes rustling, doors closing, etc. Of all the work I did on this film in the edit, this section definitely took the longest. Between timing up footsteps one by one and mixing sounds from different libraries to match together, it took a lot of trial and error to dial in.
At a certain point I thought I was finally through with the sound edit, but then realized I had missed something critical – two small lines of dialogue.
On set, I meant to record wild lines with our lead actor (Morgan), that would be used in two scenes where she mutters something under her breath. But on the day of, I completely forgot to record them and only remembered they were missing while making final tweaks to the sound edit.
Normally I would have recorded ADR at this point, but due to COVID restrictions I wasn’t able to do any in person recording, and had to think outside the box.
Morgan (the main actor) was also in my first feature film, so as a possible solution I thought about going back into the raw sound from that movie and cherry picking a couple of lines that could be mixed into the short. Unfortunately though, I didn’t find what I was looking for in the raw files. So instead, I tried an experiment that I was sure would fail, but somehow didn’t…
The experiment was to record the two lines of audio using my own voice, and modify it in post to play as a female voice coming from the main character.
This was a long shot and I really didn’t think it would work, but it did. And it was shockingly easy to do, largely because the lines are performed in a whisper. That already makes it harder to distinguish between vocal ranges.
Still though, there is an audible difference between and male and female whisper, even if it’s not as pronounced. To make my ADR whisper sound believable, I used the Pitch tool in FCP X to pull up the pitch of the dialogue by a couple of octaves. This little tweak made it sound 100% realistic, and once it was mixed into the rest of the audio you would never know.
With that complete, so was the rest of the sound process. All that was left was the picture finishing.
Color Correction & Picture Finishing
There were three main components I was dealing with while finishing the picture: Color correction, some minor visual effects, and titling. I’ll start with color –
Going into the color process, I knew I wasn’t going to want to push the levels around too much – largely because this was shot on real film and I didn’t want to mess with the organic look.
That said, there’s always a little work that can be done. Adjusting contrast here, pushing the color balance there… Nothing major, but just enough to enhance what’s already working, so that’s exactly what I did for about 70% of the film.
There were a few shots that needed a more stylized treatment however, including both of the exterior scenes in front of the house. I wanted these to feel very different from each other (color temperature-wise), but didn’t quite know which palette would be right.
To nail the color, I auditioned a bunch of my CINECOLOR LUTs on the footage, which allowed me to experiment with multiple color palettes very quickly. Before long, I had a strong starting point for each of those two exterior scenes, and simply made a few final color balance/contrast adjustments to get them just right.
The most challenging scene to color was the second daytime exterior, as it had to play as blue hour (post-sunset), but we actually shot it pre-sunset. Not quite a day for night look, but in that vicinity. It took a bit of experimentation to get it looking natural (mainly getting the magenta/green tint just right), but I think the final result totally works.
Throughout the color process I also avoided using any power windows or color keys. Using more advanced techniques and secondary corrections would start to work against the analog/filmic look I was going for, so I kept it really simple. This also meant I didn’t need to bring the project into DaVinci Resolve – all the color was done right in FCP X, shot by shot using the built-in color panel.
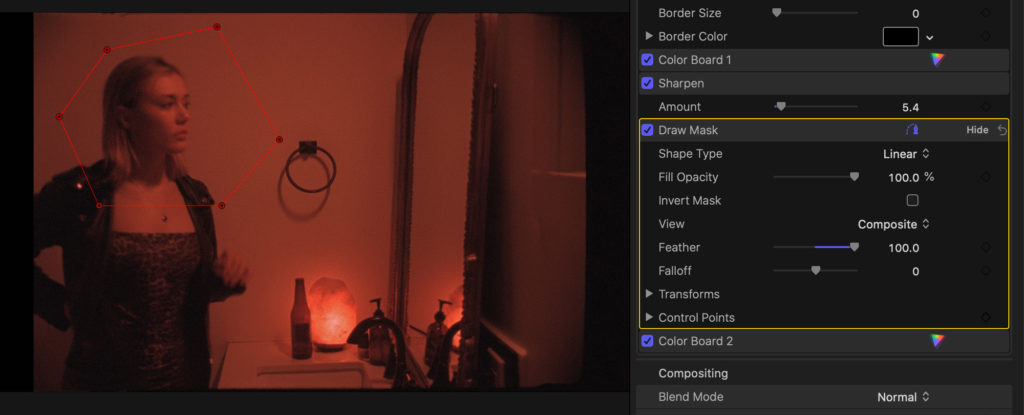
One thing that had been bugging me throughout the edit was a single shot near the middle of the film that was slightly out of focus. It wasn’t terrible, but you could notice if you were looking for it, and I ultimately knew I’d have to “fix it in post.” After all, we only captured one take of that scene!
To remedy the issue, I doubled up the video layer for the problem shot, and added a slight sharpening effect to the top layer. Then I used FCP X’s draw mask tool to ensure the effect would only apply to the actor’s face, and not the whole shot. I then added some feathering to the mask and key framed the opacity as needed, and voila – it was done.
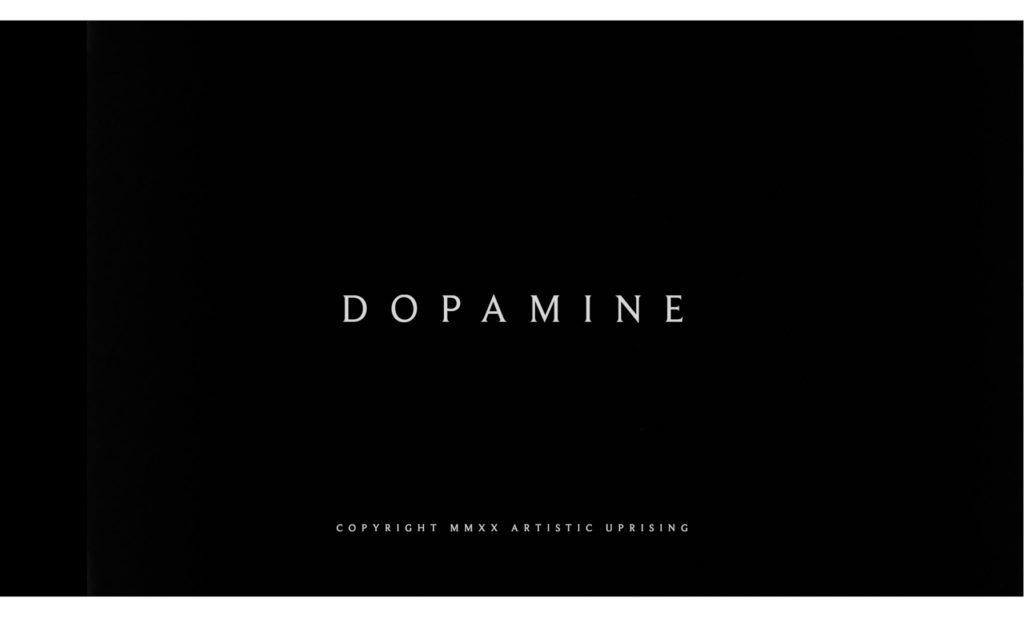
With that complete, the last thing left to do was drop in the main title card and cast/crew cards for the end credits. I used a fairly minimalistic serif font, with equal sizing and spacing across all the titles, which I think adds to the analog, retro vibe.
I didn’t want the credits to play over a plain black background, because that wouldn’t match the graininess from the rest of the film. So to avoid any sort of digital look, I pulled some extra footage we had shot of a blank wall, crushed the levels way down so that the shot was almost entirely black, and then placed it underneath the titles. This created a more organic black background with just enough detail and fine grain that you can feel it behind the text.
As an alternative to this process, I considered using by brand new 6K film grain under the titles, which easily could have done the trick. But I figured if I already had 16mm grain from the very same roll we shot the movie on, I may as well use it!
And with that completed, the film was done.
This was clearly a super experimental process in every respect, but it was a lot of fun. I will definitely be shooting some more Ultra 16mm soon and look forward to sharing the final film publicly in the near future.
Let me know if you have any questions about the production or post-production process. Leave a comment below!
10 Comments
Scintilladigital Academy
atFollowing these strategies and utilizing FCP X’s capabilities effectively with successfully edit, color, and mix your Ultra 16mm short film within the challenging timeframe of two days. To creative problem-solving, and editing in the field of FCP Short film. Thank you for sharing these updates.
Shalamar Hospital
atShalamar Hospital’s Audiology Center is a hub of expertise in hearing health. Our team of specialists at the audiology center provides comprehensive services to address your hearing needs.
Osh University
atOsh University stands tall among international universities , offering a global perspective to students. Immerse yourself in a culturally rich environment where academic excellence and diversity converge, shaping well-rounded individuals.
jewelgalore
atAdorn yourself with the timeless beauty of Kundan choker set available at Jewelgalore. Our exquisite collection embraces the traditional craftsmanship and elegance of Pakistan, allowing you to make a statement with sophistication and charm.
Henry Larry
atAbsolutely impressed by your efficiency in achieving a stunning post-production workflow within just two days! The concise runtime and one-take shots truly emphasize the meticulous planning and execution. Can’t wait for the online release and best of luck with the festival submissions!
Private Money Lending for Real Estate in Circle Pines