I just finished the first assembly cut of our new feature film, and am now in the process of creating an initial rough cut.
Typically my assembly cuts are very bare bones (with no music, sound design, or editorial stylization). Only once I begin the rough cut do I begin to stylize the film.
There are a thousand ways to stylize your film of course, and there’s never going to be one approach that works for every movie.
That said, today I want to share a few quick techniques that have been really helpful for me as I work through my own editorial process.
I’ll start at the beginning though, with how you can optimize your screenplay to maximize creative potential in the edit…
Under-stylize the script
This point is specific to directors who also write their own material:
I highly recommend you avoid over-stylization in your screenplay.
It’s so easy to manipulate a reader on the page with the right choice of words, an aggressive cadence, or flowery scene descriptions. This is common practice on most screenplays, especially those which are written with the intent to be optioned or sold.
But writing your own micro-budget script with heavy handed stylization can bite you later on in post.
You know it when it happens – the raw footage just falls flat. Elements from the script just didn’t translate from the page to the screen.
Conversely though, working with a very basic / unstylized script can help you avoid this issue in large part.
The goal is to challenge yourself more throughout production to make stronger creative (and stylistic) decisions, since you can’t entirely just rely on what’s on the page.
Done right, this usually results in malleable raw footage that can be more easily stylized in post.
Start with a bed of (natural) sound
When it comes to actually editing / stylizing your film, remember:
90% of the stylistic impact of your film will come from the sound bed.
It doesn’t matter how strong your visuals may be – your choice in sound editing, design, mixing, etc. will always be the most defining factor.
I suggest creating your first rough cut by focusing entirely on audio, and not worrying at all about visual stylization until later.
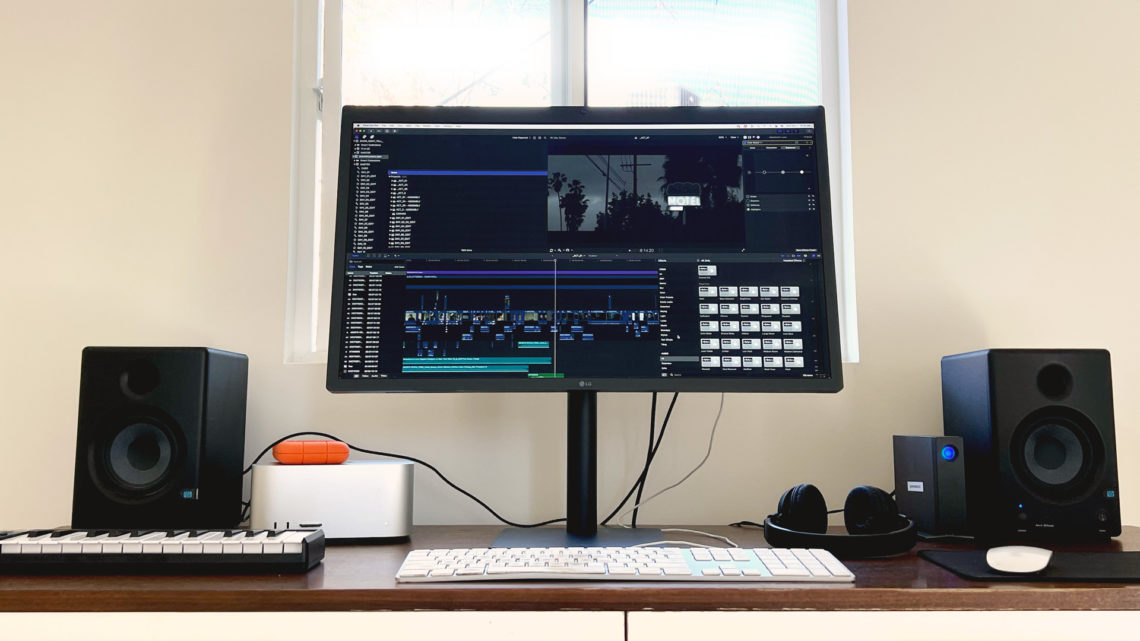
This is exactly what I did on the initial rough cut for our feature too –
I went through scene by scene and just listened to the sound of the movie, as if it were a piece of music or a radio play.
I then made sound edits and re-timed the cut as I went, but only using assets I already had.
For example, if I wanted a scene to feel more unsettling, I would crank up the room tone a bit rather than download a background ambience from a library.
The goal is to find the organic rhythm of the film, and to build a strong foundation that you can layer more style onto in a subsequent cut.
It’s much more effective than dropping in a bunch of effects / music cues while the edit is still in its infancy, which can lead to a messy edit that lacks uniformity.
For me, the rough cut process looks something like this:
Pass 1: Adjust timing, dialogue edits, room tone, etc.
Pass 2: Add background ambiences, sound design, minor picture edits
Pass 3: Add music cues and adjust picture to match
Ideally, you will do the heavy lifting with the most basic tools you have (timing adjustments, natural sound, etc.), and only then bring in the musical score.
This way you don’t run the risk of missing stylistic / creative opportunities that would have been completely drowned out by dropping in music cues prematurely.
Use untapped raw footage
At this point, your cut should be in pretty good shape. You had strong source material to work with, and then enhanced it with timing adjustments, sound effects, and music.
Now it’s time to add some style to the film visually. This will be a far smoother process than if you attempted it earlier in your workflow, since there is now a rhythm to the film that can guide you.
As to how you stylize your footage, that is of course up to you. You could add more coverage, or go really sparse with it. You could use transitions, create montages, punch in on shots, create digital zooms, dutch angles – the choice is yours.
I can’t tell you how to stylize your movie, but I will tell you one tip that’s worked well for me:
Tapping into unused raw footage.
I’ve improved two key moments in the new film by using footage that could have easily wound up on the cutting room floor.
In one instance, I actually pulled about 30 seconds of footage from a false take (when I thought the camera was off), and used it to transition between to scenes.
In another instance, I took unused insert shots of one of the characters and spliced them into a separate scene to create a flashback moment.
We tend to only see our footage for how we initially intended to use it. But if you look at your footage through another lens, there may be so much more there.
Almost always, it’s found in the least expected places but can open up some amazing new creative ideas.
For exclusive filmmaking articles every Sunday, sign up for my newsletter here!
6 Comments