Like many other GH4 shooters out there, I’ve been back and forth about which picture profiles and settings are best to use when shooting with this camera. When I first got the GH4 I was messing around with my settings a lot (master ped, shadow/highlight, etc.), but eventually realized that I would get much better results by not straining the camera too much. As such, I have mainly been using slightly modified Cine-D and Cine-V picture profiles, as outlined in this blog post from the fall.
I would say that I use Cine-D about 50% of the time, and Cine-V the other 50%. Both picture profiles can create beautiful images, but Cine-D has slightly more dynamic range so I do try to use it whenever possible. That said, Cine-V has nearly as much DR (I would guess there’s probably only a 1/2 stop difference between them), and it’s an excellent alternative to Cine-D when you need to nail the look in camera.
When grading my Cine-V footage, I never use any type of LUT in my pipeline since that picture profile already has somewhat of a finished look to it. With Cine-D however, I do always start my grading sessions with a custom LUT that I built around my preferred Cine-D settings. I have included a download link to the LUT below, but read on to ensure that your settings are consistent with mine so that the LUT will work properly.
On a side note, for any of you that aren’t familiar with LUTs (or Look Up Tables), they are essentially color translation files that you can use in many different post-production applications to apply a new look to your footage. They are used for many different reasons, but commonly to add contrast and saturation to flat images. For example if you were to shoot on an Arri Alexa in Log-C, you would want to use a LUT to give your Log-C footage a more contrasty Rec. 709 look. Here is an example of some Arri Amira footage I shot recently, with and without the Rec. 709 LUT applied:
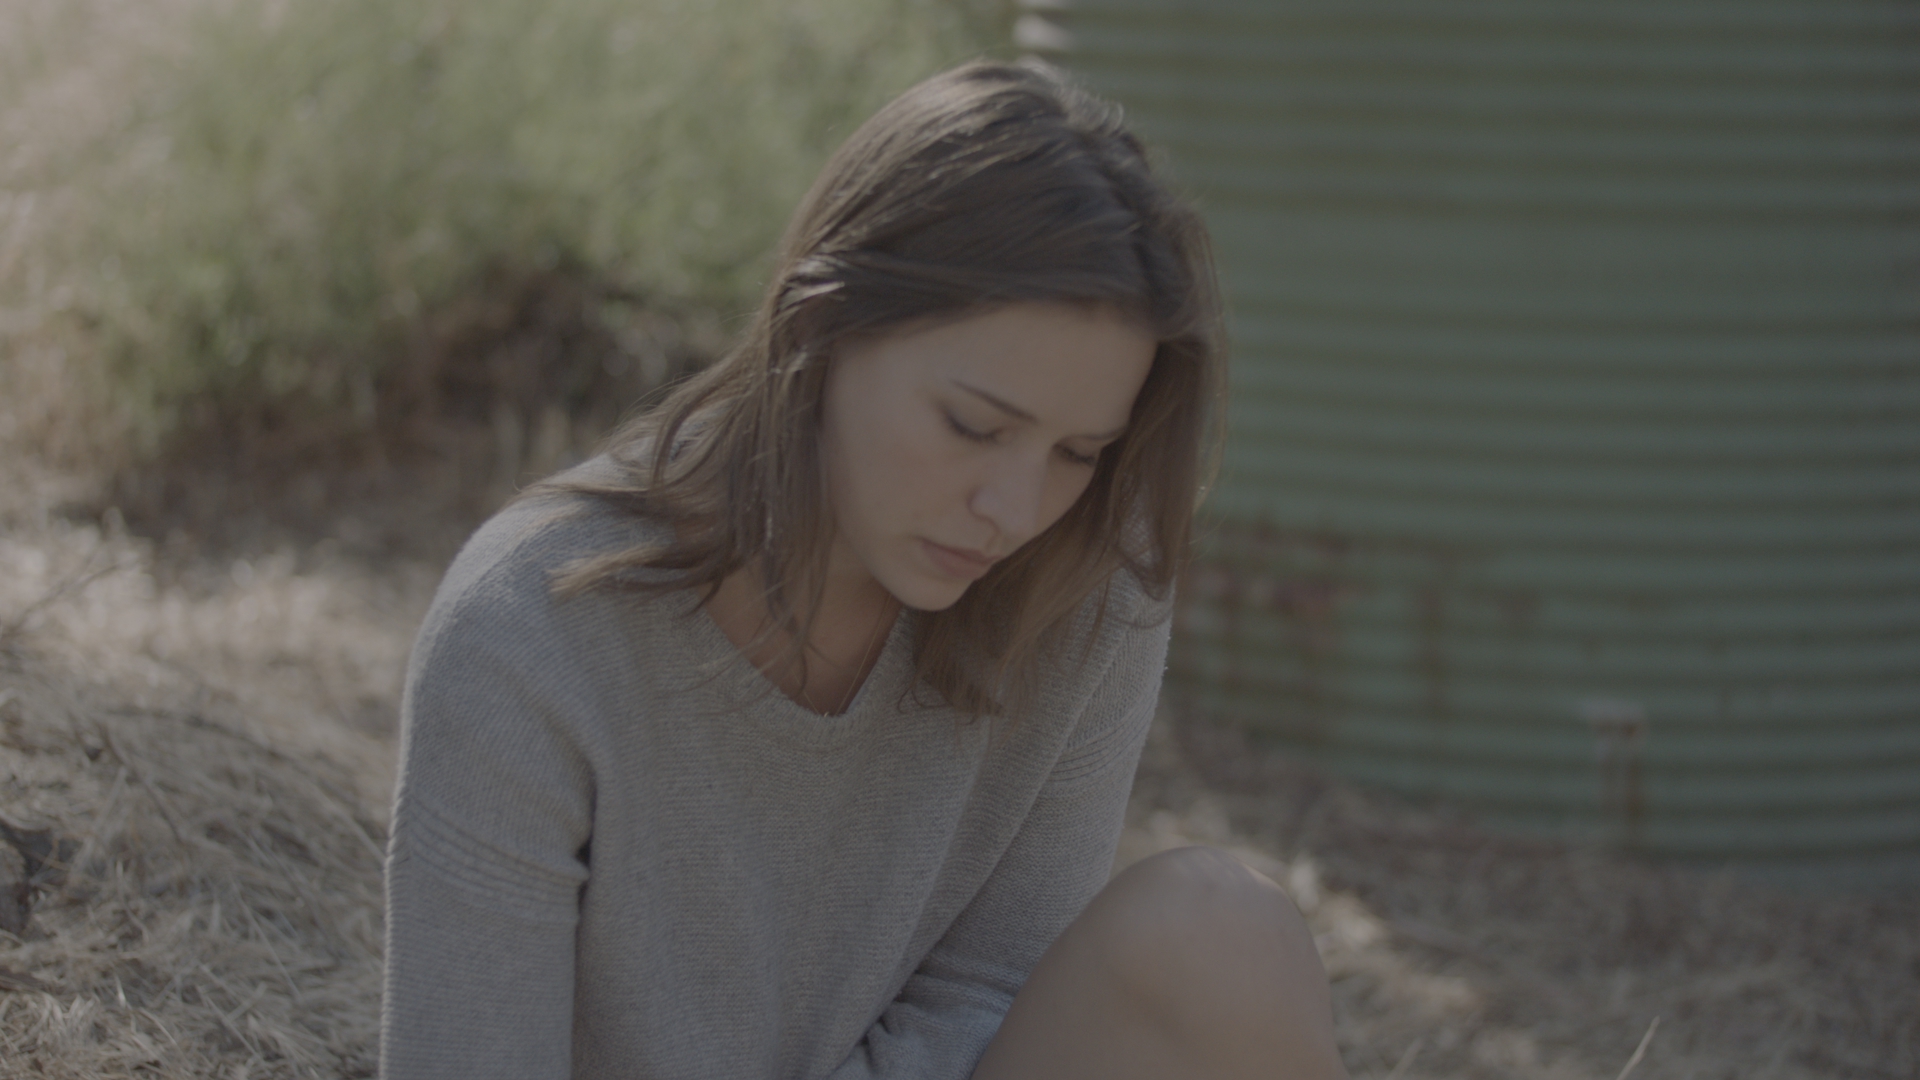
It’s worth noting that you don’t always need to use a LUT to grade flat footage, but it definitely can help to speed up your process and maintain consistency across your sequence. That’s exactly why I’ve been using my custom Cine-D LUT in Resolve, and it’s saved me a ton of time over the last few months when grading my footage.
As mentioned above, the LUT is based off of my custom Cine-D settings:
Cine-D
Contrast: 0
Sharpness: -5
Noise Reduction: -5
Saturation: -5
Hue: 0
This LUT will still work with a number of different Cine-D settings, however it is optimized for the settings listed above.
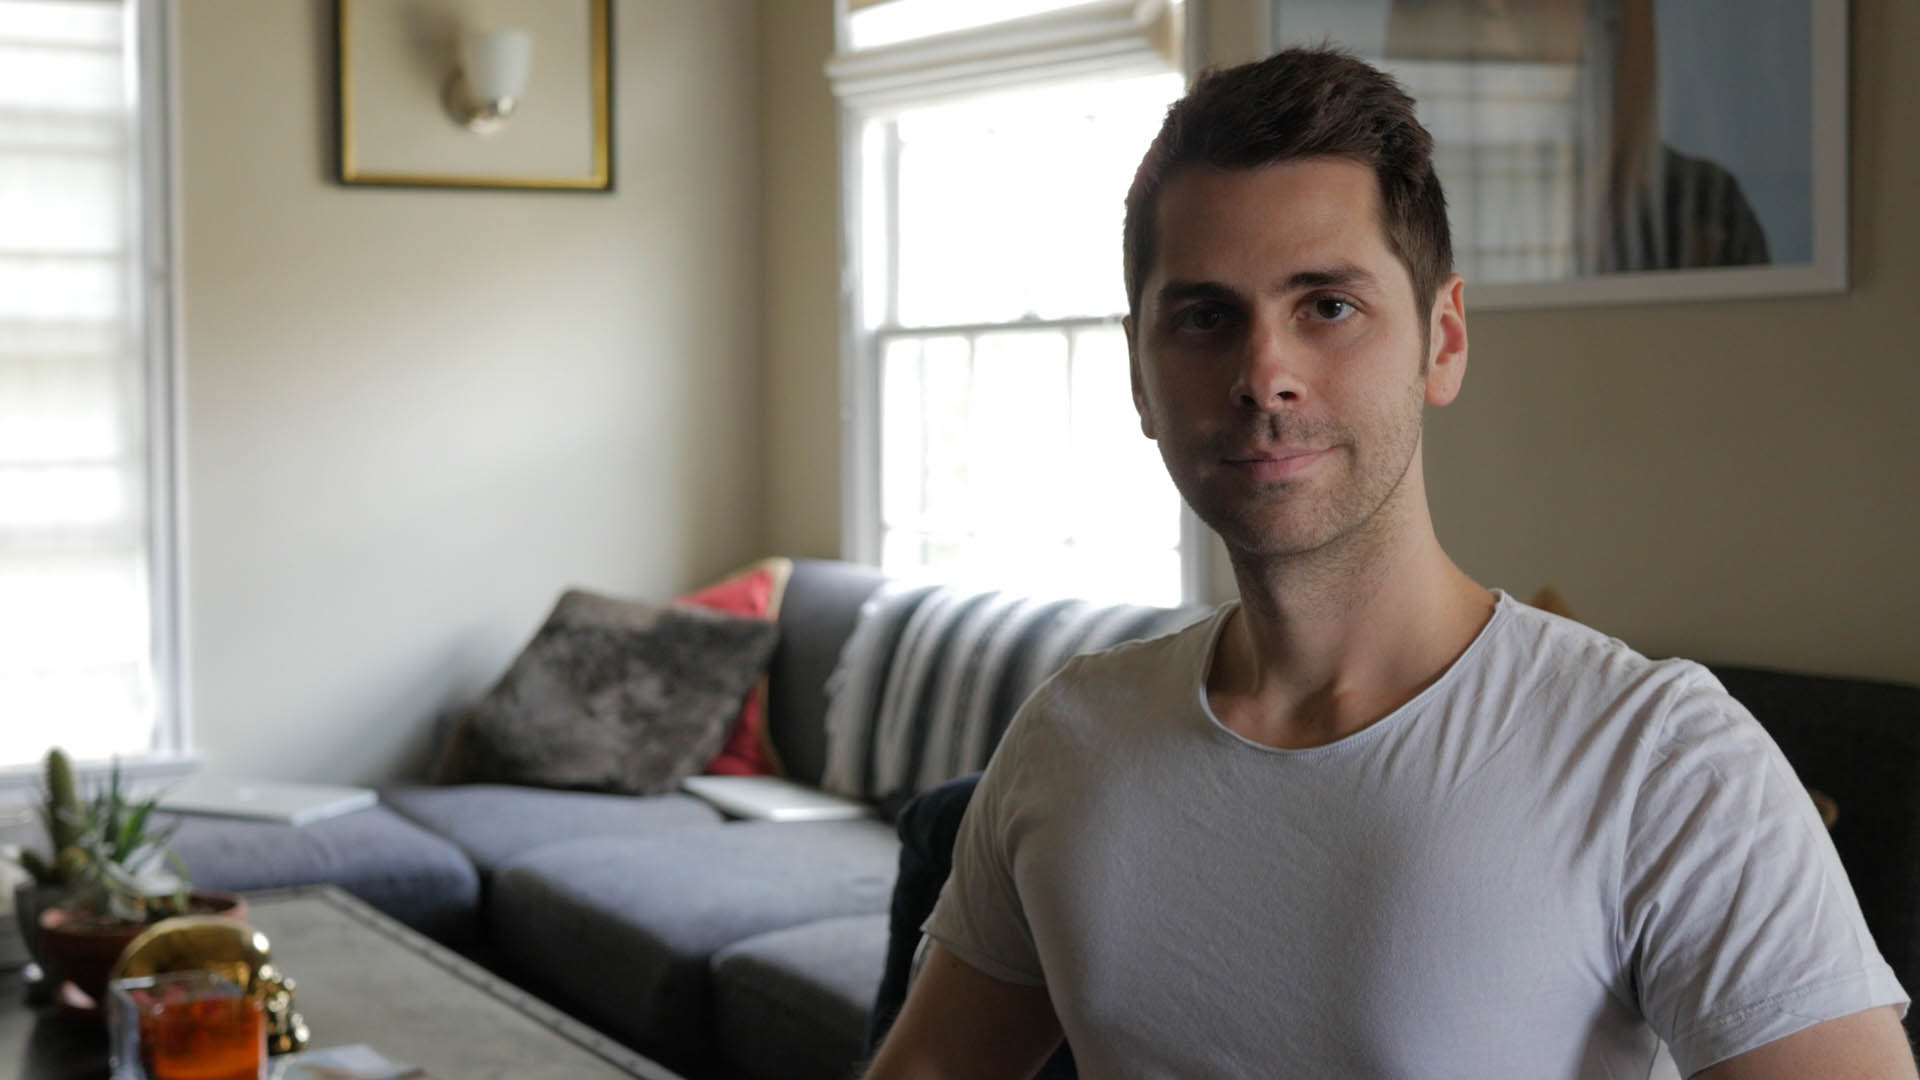
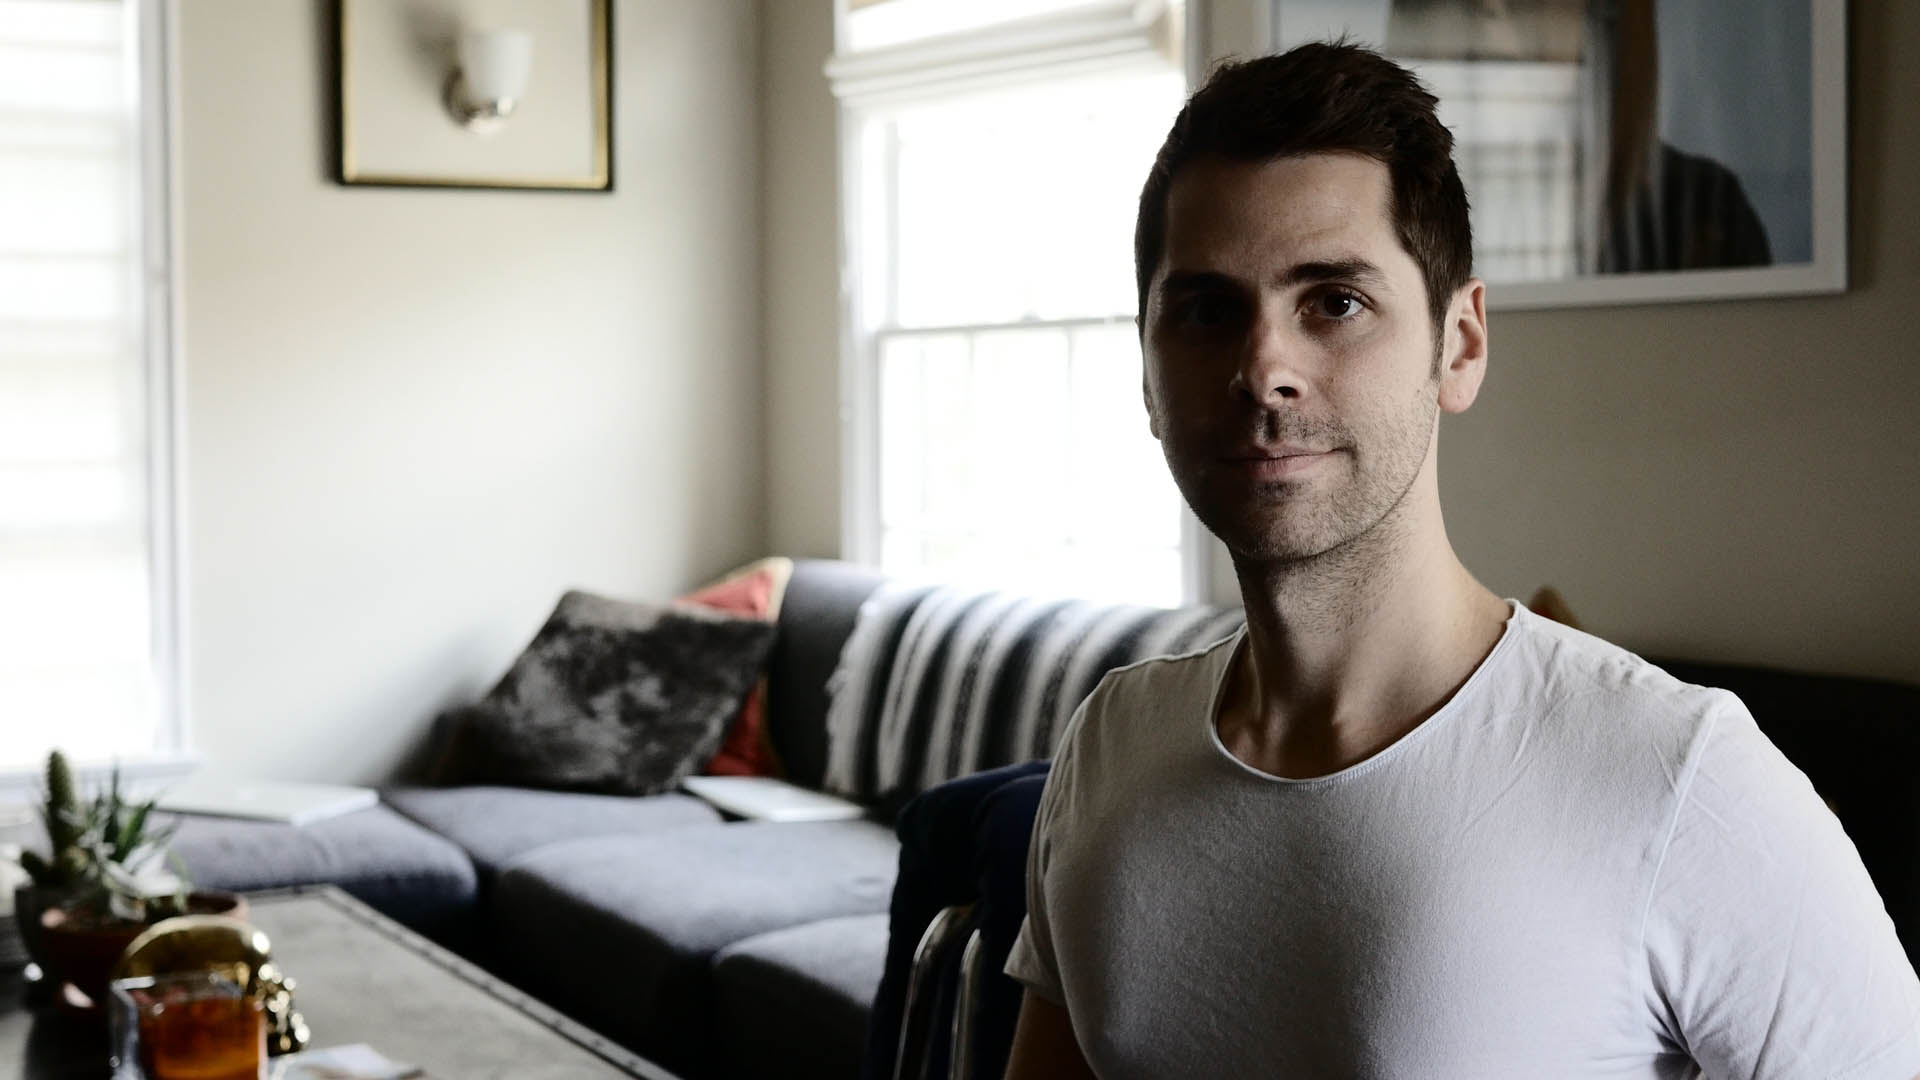
Here are before and after shots showing what the LUT will do:
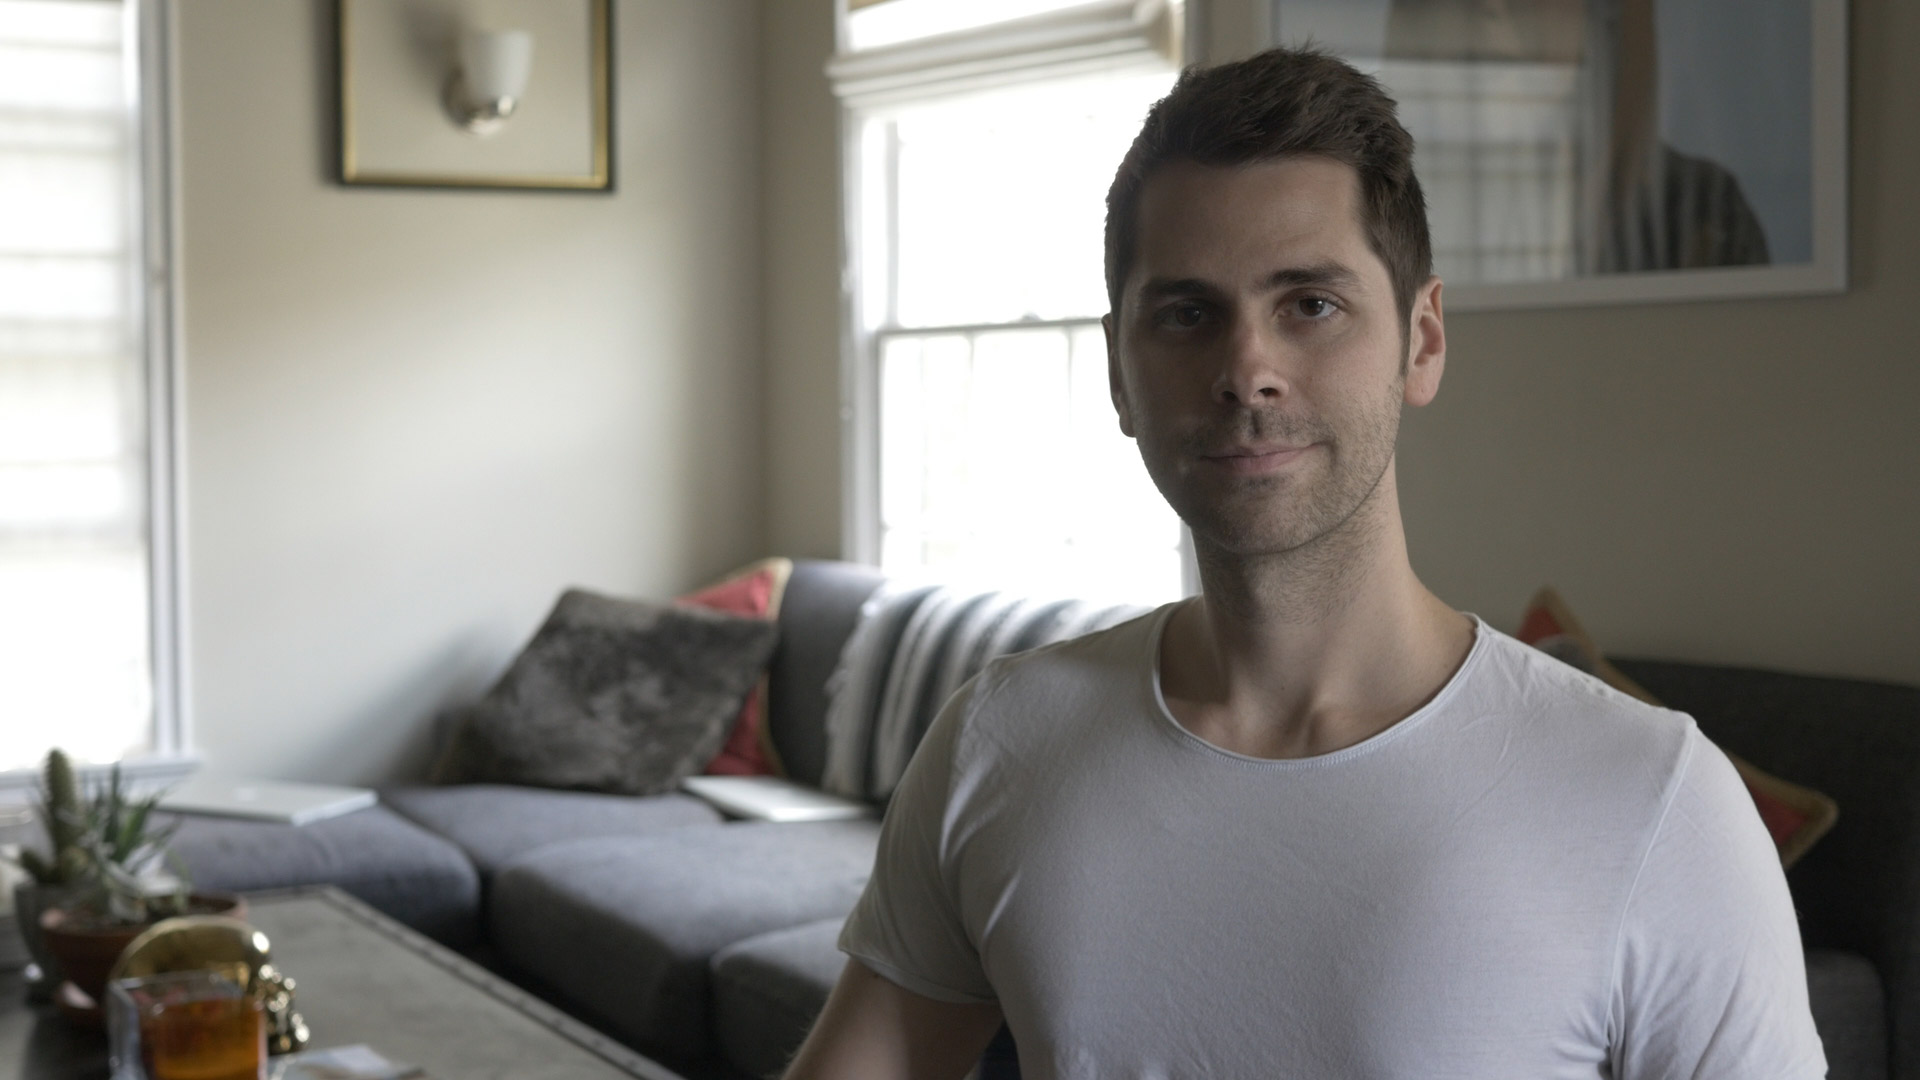
Ungraded Cine-D
Cine-D With Noam Kroll LUT
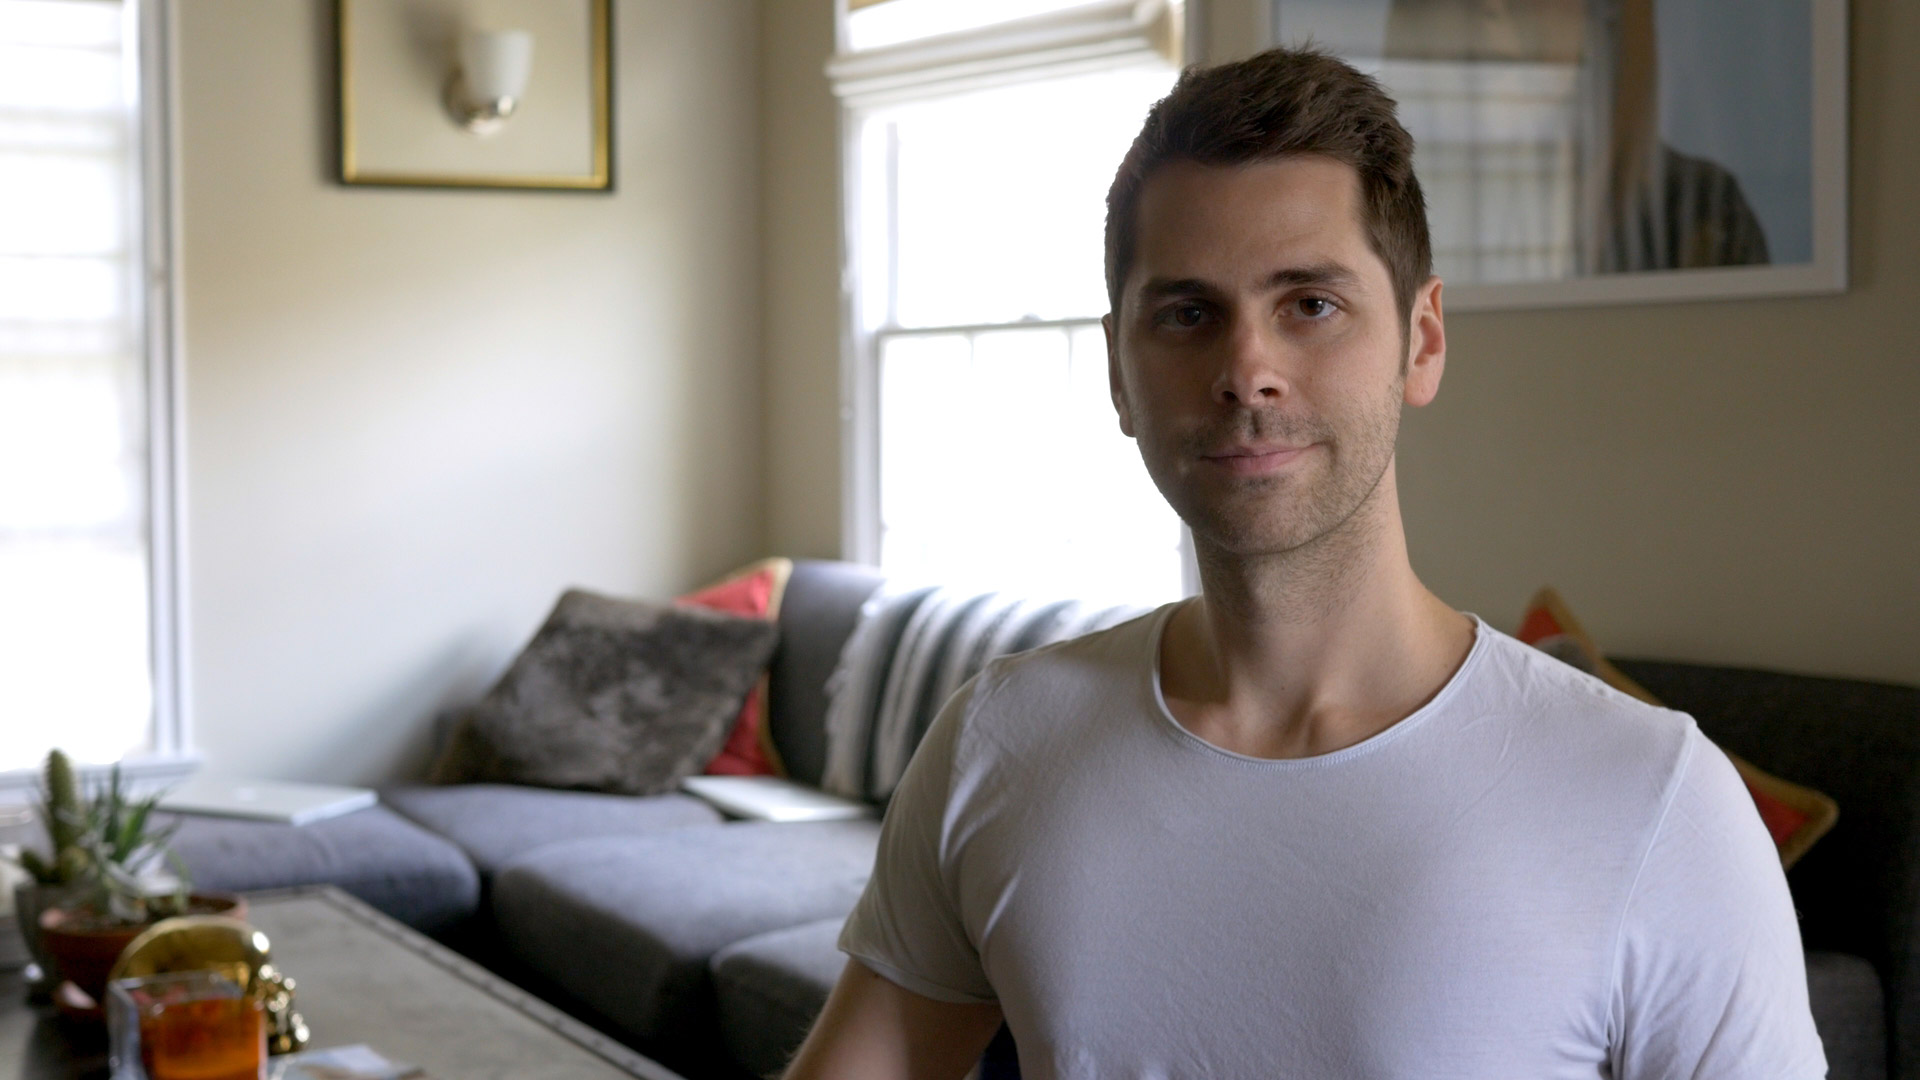
The LUT isn’t intended to be a final grade, but rather to create an optimal starting point for color correcting the image. The order of operations in which you perform your color grade is just as important as the look you are trying to achieve, so always be sure to apply this LUT before you do any further grading.
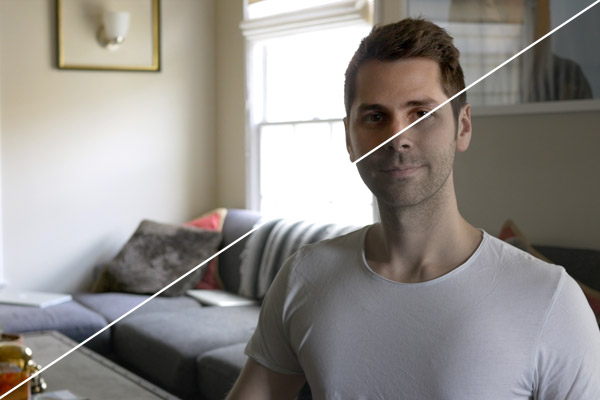
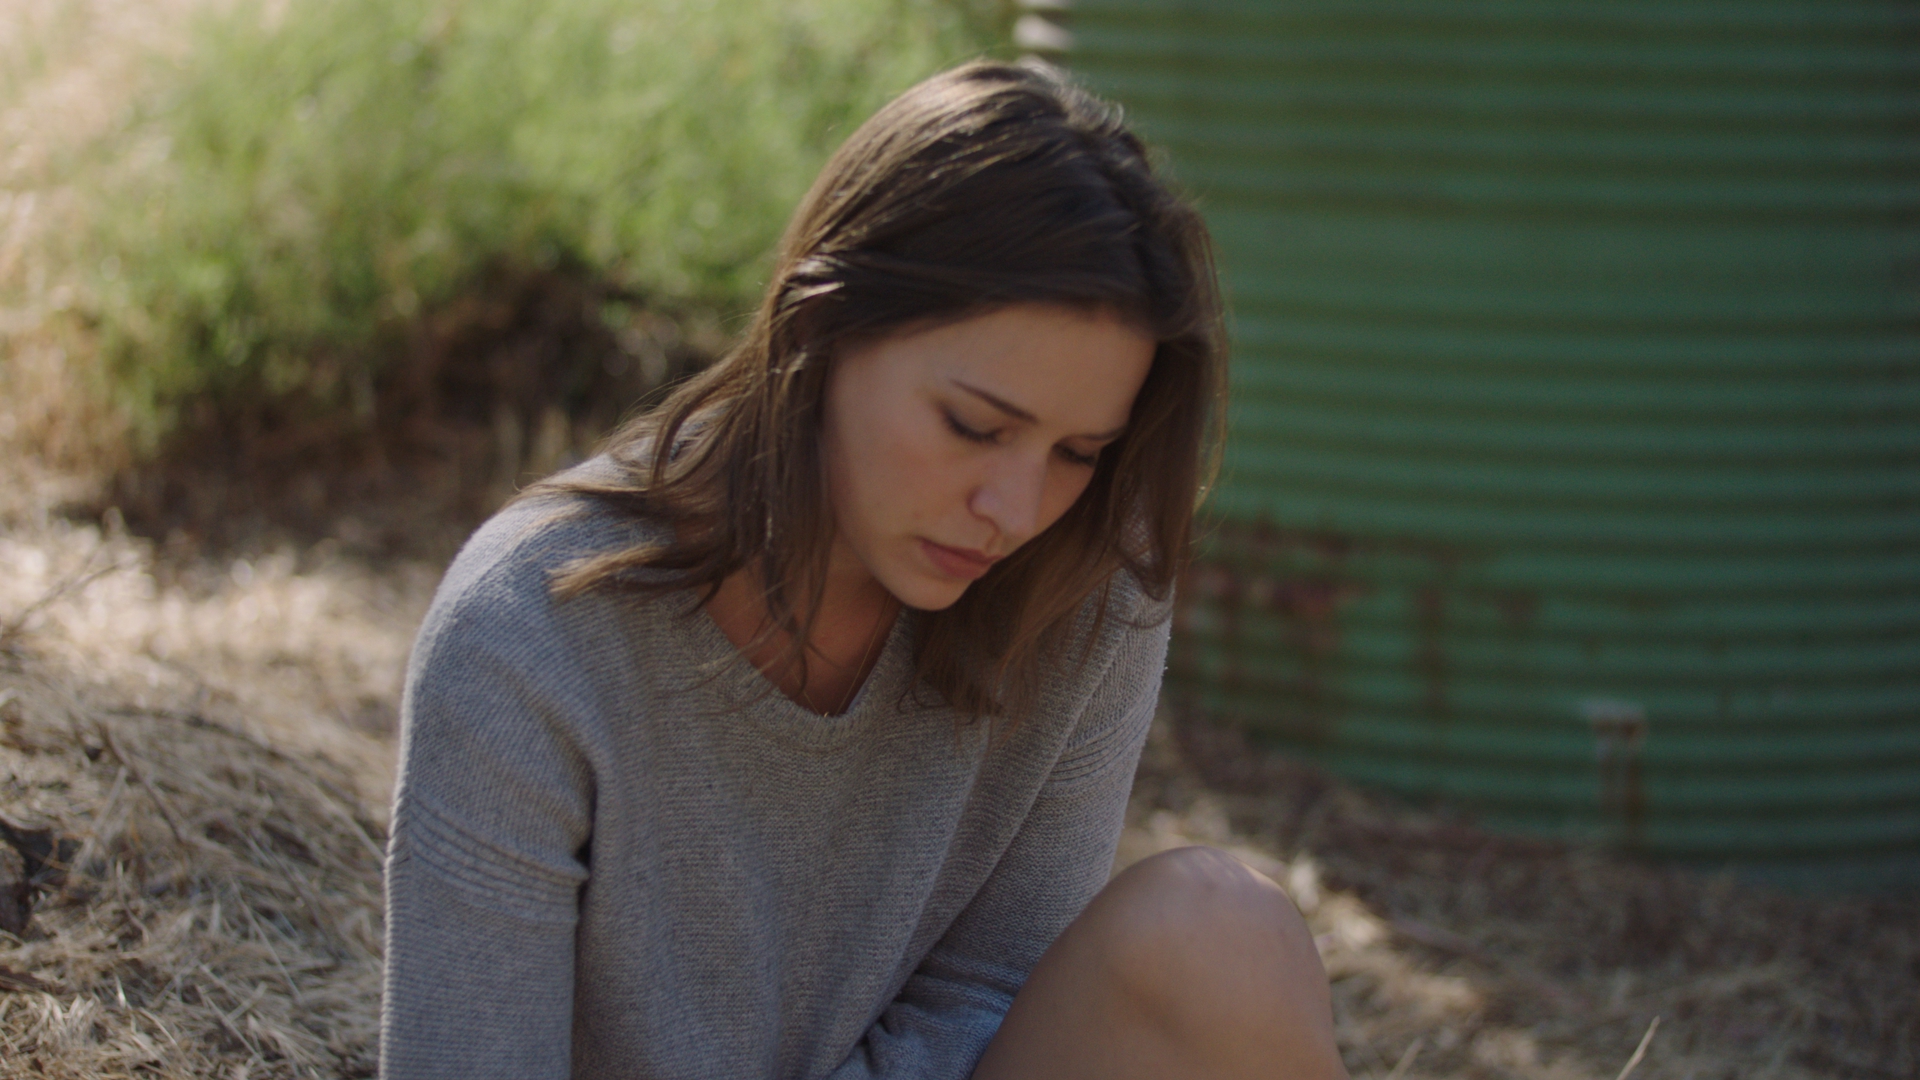
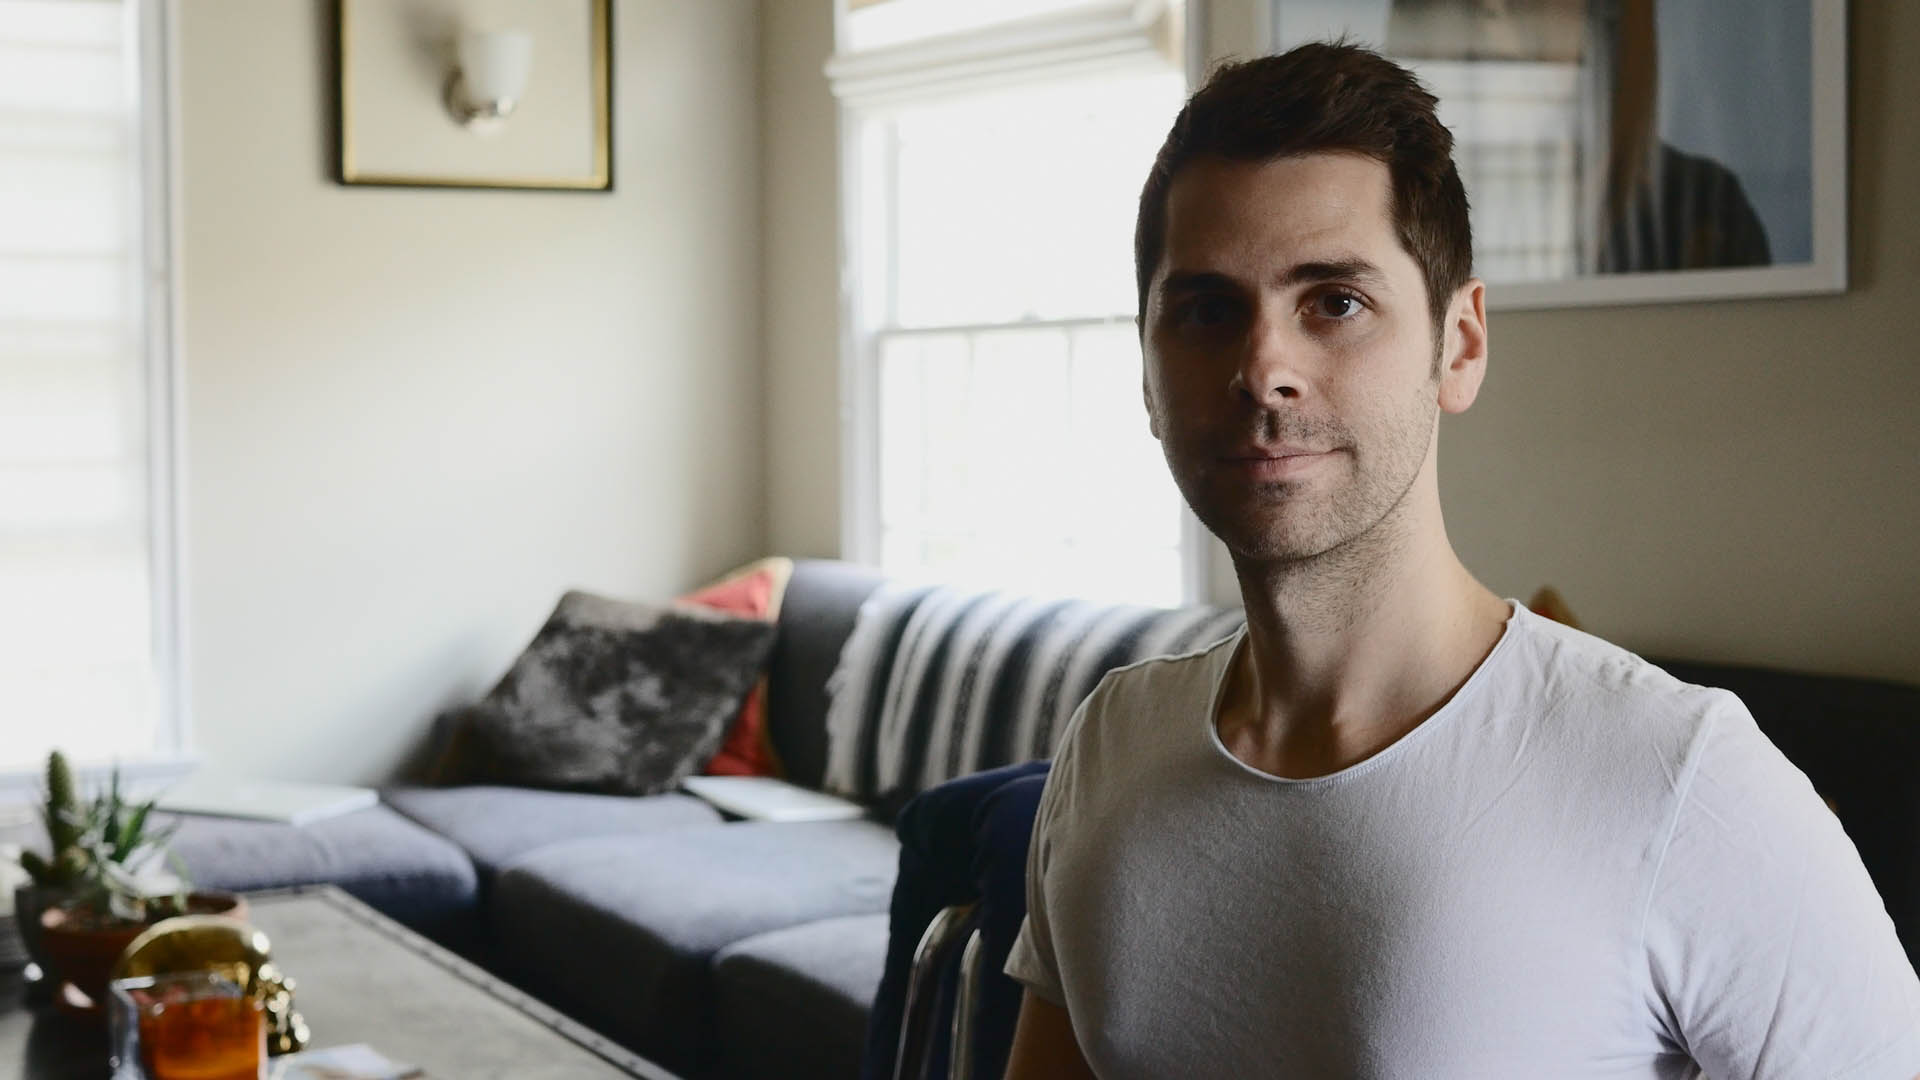
My goal with this LUT was to get my Cine-D image looking as close to Cine-V as possible while still retaining the extra 1/2 stop or so of dynamic range. As you can tell from this Cine-V shot, it isn’t all that different from Cine-D with my LUT:
It may appear that there is marginally more DR in the Cine-V example, but that’s just because it hasn’t been graded at all yet. In reality there is still a small amount of extra detail that can be pulled from the shadows and highlights in the Cine-D image.
So for those of you that would like to download the .cube LUT file, you can do so by clicking here.
If you’re never installed a LUT on your system before, it’s actually quite simple. Just download the .cube file above and copy it into the LUT folder for DaVinci Resolve (or whatever platform you are using). For Resolve, these are the file paths that you can follow:
MAC
/Library/Application Support/Blackmagic Design/DaVinci Resolve/LUT/
PC
ProgramData\Blackmagic Design\DaVinci Resolve\Support\LUT
Please be sure to unzip the .cube file if your system doesn’t do it automatically.
Thoughts On The Supertone Settings
Recently some GH4 users have been playing around with a new “Supertone” setting, which was developed my Michael Medgyesi. The setting is based on the Portrait picture profile and is intended to give you a graded look straight out of the camera, with an emphasis on the mid tones.
Here are the exact settings:
Portrait
Contrast: + 3
Sharpness: +1
Noise Reduction: 0
Saturation: -5
Hue: -2
Highlight/Shadow: -5/0
I decided to test out the settings in the exact same setup that I used for my Cine-D and Cine-V tests above. As I expected, straight out of the camera I got a very high contrast image that almost had a bleach bypass look to it:
Understandably, this picture profile was intended to be corrected by pushing up the saturation and presumably lifting the shadows a bit. But even still, I wasn’t thrilled with the results once I started to color grade the footage.
In all fairness if I was actually using this setting I would have lit the scene differently, but even when graded to compensate for the crushed shadows I wasn’t crazy about the look:
I think there is a time and a place to use settings like Supertone, but for the type of shooting that I like to do – it just won’t do the trick. Supertone gives you a very specific look straight out of the camera that you are somewhat married to in post, which isn’t something I am comfortable with seeing as I grade nearly all of my footage. Not to mention, creatively it is very distinct and would only be applicable to certain types of projects in my opinion.
I like to see people pushing the boundaries of what the GH4 is capable of, and very much respect Michael Medgyesi’s approach to the GH4, but personally I am going to stick with Cine-D (and my LUT for now, or Cine-V in some cases.
Also – be sure to follow me on Instagram, Facebook, and Twitter for more updates!


82 Comments
Jazmine Marquez
atGreat mix of research and practical application. Very helpful.
rizede ne yenir
atRize’nin en iyi restoranlarından biri diyebilirim. Menü çok çeşitli, yemeklerin hepsi taze. Döner, özellikle de yaprak döner, tek kelimeyle efsane.
rize döner
atYemeklerin sunumu, sıcaklığı ve servisin hızı gerçekten çok iyi. Huzur Pide & Kebap’ta kavurma denemeden çıkmayın. Etin kokusu bile insanın iştahını kabartıyor.
JamesChife
atkraken android
kraken onion
RichardTap
atКаждый клик — часть цифровой эры кракен darknet kraken актуальные ссылки кракен ссылка kraken kraken официальные ссылки
Eupage
atReally love your style
RichardTap
atСовременные решения делают бизнес гибким kraken маркетплейс зеркало kraken онион kraken онион тор кракен онион
EUpage
atYour posts always feel like breath of fresh air in feed
RichardTap
atИнформационные технологии меняют всё вокруг нас kraken актуальные ссылки kraken зеркало рабочее актуальные зеркала kraken kraken сайт зеркала
RichardTap
atБез ИТ нет коммуникации kraken ссылка тор kraken onion kraken onion ссылка kraken onion зеркала
RichardTap
atТехнологии создают новые вызовы kraken официальные ссылки kraken рабочая ссылка onion сайт kraken onion kraken darknet
Neto riska
atWish I’d thought of this. Am in the field, but I procrastinate alot and haven’t written as much as I’d like. Thanks.
casino fiable en ligne
atPeculiar this blog is totaly unrelated to what I was searching for – – interesting to see you’re well indexed in the search engines.
araç kamerası
atPerpa Kameram | Güvenlik Kameraları güvenlik kamerası, gizli kamera, kamera sistemleri, güvenlik sistemleri
aydin haber
atAydın Haber | Aydın Post aydın haber, aydın haberleri, aydin haber
çin malı testere
atKes – Mak Bahçe Aksesuarları ve Yedek Parça | Malatya benzinli testere yedek parça, testere zinciri, ağaç kesme pala, klavuz, elektronik bobin, hava filtresi, stihl malatya bayi
temp gmail
atAwesome! Its genuinely remarkable post, I have got much clear idea regarding from this post
Ulises Flores
atSubmit free Unity games for backlinks
Ağaç Feneri
at5 Renkli Ağaç Fenerleri
Andrew Johnston
atThe .cube LUT file doesn’t download when I click on the link. Is it just me ?
Kevin
atThank you for sharing the LUTS. It’s really helpful.
Chris
atHey Noam,
Curious to hear your thoughts on ‘ettr’ via v log vs your cine d settings with lut. Which do you prefer?
-Chris
sam
athi pal,
so if i dont need to do post processing and have a good dynamic range overall i can get away with just Cine V ??
one more question, is it necessary to use cine-v or cine-d in low light environments or not really ??
thanks,
Noam Kroll
atAbsolutely. You can use Cine-V in any situation including low-light. It all depends on the look you’re going for and how much work you want to do it post. I’d try a few settings combinations and see what works best for your needs.
Aaron Caldwell
atThanks for the great information! You stated that you used Cine-V the other 50% of the time. Do you recall the settings adjustments you used (Contrast, Sat, etc)?
Noam Kroll
atI belive in Cine-V I kept almost everything as-is in camera, and only slightly reduced contrast to give the shadows some more detail.
LINDA
atNoam:
Thanks for posting a Cine-D LUT. I’m using it with the Lumix FZH1(FZ2500)
Noam Kroll
atGlad to hear Linda! Thanks for the note 🙂
Michael Stevens
atNoam:
Thanks for posting a Cine-D LUT. I’m using it with the Lumix FZ2500 and I thought you might be interested, that at least for me, Cine-D at -5,-5,-5, plus your LUT gives me the same as Natural mode with o adjustments.
Noam Kroll
atAwesome! Thanks for sharing this, Michael.
サウンドを含む 無料の動画編集ツール をまとめてご紹介します
at[…] After Effects用 DSLRカラーグレーディング・プリセット(Indie Tips) – 無料の GH4 Cine-D ルックアップテーブル (Noam Kroll) – 無料の Sony S-Log3 ルックアップテーブル (Noam Kroll) – […]
Anton
atThis is awesome. Thank you so much.
Noam Kroll
atMy pleasure!
Lorenzo
atI just uploaded some test using your LUT on my G7 with little or no tweaks, got some very good (even if a bit dramatic, but i did not spend a lot of time grading, i just applied LUTS) result:
https://www.youtube.com/watch?v=4aCuA1MPlMI
Noam Kroll
atThanks for sharing, Lorenzo. I’ll need to check this out soon!
Video Editor Toolbox: Über 1000 kostenlose Assets, Plug-ins und mehr!
at[…] Kostenloses GH4 Cine-D LUT — Noam Kroll […]
Video Editor Toolbox: Over 1,000 Free Video Assets, Plug-ins, LUTs, SFX, and More! - The Shutterstock Blog
at[…] Free GH4 Cine-D LUT — Noam Kroll […]
Duke Sweden
atI wrote a long detailed question about this LUT and it’s not showing up. Grrrr….
Noam Kroll
atOh no, I don’t see it here! What was the question?
Luc
atThanks Noam, my footage looks so much better now!
Noam Kroll
atSo glad to hear it helped Luc!
Luis Lara Gilberto
atHello Noam! Thanks for these great tips and the LUT!
Noam Kroll
atThanks Luis! Appreciate the kind words.
DJPS
atHi Noam, I’m using Premiere Pro, rather than Resolve. Is this LUT intended to be used as an input LUT or creative LUT?
Noam Kroll
atIt technically could work either way, but I would recommend using it as an input LUT.
James
atHello Noam! Thanks for these great tips and the LUT! Will this LUT work for the FZ300 4K using Cine-D with your settings? Also, how did that Hungarian Photographer using the FZ300 in Sri-Lanka correct/grade such beautiful footage? Did he shoot Cine-D or just Natural and mainly let the camera handle it? Thanks again!
Noam Kroll
atHey James! No problem at all. I haven’t tried it on the FZ300, so I’m not sure if you would get the same results, but it’s definitely worth a try. I would imagine the picture profiles must be fairly similar between the two cameras, so it is certainly something to experiment with.
I haven’t seen the video you are referring to, but feel free to share it. Thanks!
Morten
atHi Noam
Your GH4 Cind D LUT is awesome…saved me a lot of trouble getting my Cine D scenes look right. Thx a lot!
Cheers from Morten, Denmark
Noam Kroll
atAwesome! So glad to hear.
bita sam
atsalut je suis vidéaste Gh4
Marcos
atHello there! Noam, forgive me my ignorance, I’m not a professional videographer… Is it possible to use it on Final Cut Pro X? Can you tell the correct way to add it to Final Cut if it is possible? Thanks.
Jeremy
atFCPX Lut Loader is free right now.
http://store.pixelfilmstudios.com/product/fcpx-lut-loader/
Noam Kroll
atCool! Thanks for sharing.
Baptiste
atHi Noam
Before anything, thank you for sharing!
Then, do you expose correct or 1/2 Of 1 more f/stop in order to get more information in post?
Noam Kroll
atNot a problem at all! I usually expose correctly, but would imagine overexposing slightly (about a half stop) couldn’t hurt either…
Timothy
atHi Noam!
A lot of GH4 users set their contrast from -2 to -5 (in any profile) to achiev flatter image for postproduction. What do you think about it? What is the reason why you don’t do it?
And I also heard about HUE +1 (and +2 if you shot under LED light).
Thank you
Noam Kroll
atHi Timothy – I have found that messing around with contrast can help in certain situations, but in others it can introduce noise. My reasoning for keeping the settings at 0 is usually just for consistent results, since I don’t want to risk introducing shadow noise… I haven’t tried adjusting the hue with LED lights, but that’s definitely worth checking out!
Timothy
atI’m sorry, yesterday I just found your blog and start to read it all. And I found the answer in your earlier posts about gh4 settings. Anyway thank you 🙂
So, I have one more question – have you ever tried 4k 4:2:0 8bit resample to 2k 4:4:4 10bit in luminance channel?
Noam Kroll
atThanks Tim! I haven’t tried resampling to 10bit, but would be interested to hear if that makes any difference. Be sure to post some results here if you test it out.
mtle
atHey Noam!
Been enjoying your blog posts, I have a question in regards to your workflow with this LUT, do you normally set this as your 2nd node or preferably at the end? I know there isn’t a “correct” way, just wondering how you do your colour grading.
Noam Kroll
atThanks! I actually use this as my primary (1st) node, and then adjust things from there. Hope this helps!
GH4: ClaudeTone | Supertone | Vintager | claude.works
at[…] * Cinelike D is a modified version of the settings and free LUT I found here. […]
bita sam
atGh4 lut cine D
GH4: ClaudeTone vs Supertone & Vintager | claude.works
at[…] * Cinelike D is a modified version of the settings and free LUT I found here. […]
Emek
atHi Noam! Really helpful info, I really appreciate it! Could you please tell me if which color space you use (sRGB or Adobe RGB) and if you have noticed better skin tones in either color mode?
Keep up with the good work!
Noam Kroll
atAny time! I use sRGB typically, and haven’t noticed a benefit to skin tones either way… Great question though.
David T
atThanks, Noam–very thoughtful and informative.
Noam Kroll
atAnytime!
Jeff Kirkland
atI only found this post a few weeks ago but I wanted to come back and say thanks for the LUT. I’ve used your settings and the LUT on every shoot I’ve done since then and, for the first time ever, I’m super happy with the results from my GH4.
Brilliant!
Noam Kroll
atThat’s so great to hear Jeff! Thanks for the note.
mike
atHi Noam,
I’ve been using a tweaked Natural profile that I think looks good straight out of the camera but I am intrigued by Cine-D.
I tried your Cine-d setting plus your lut in resolve.
I got something that was way too warm and orange skin.
I’m guessing white balance was off.
Which leads me to my question, if I can’t eyeball the white balance and dont have the luxury of shooting a gray card (i do weddings) how do I know if my white balance is kind of correct? Or is there no way to do that?
Noam Kroll
atHey Mike – Yes, it definitely sounds like the WB was off as there isn’t any color shifting in the LUT. Typically, I recommend shooting at 5600K for daylight and 3200K for tungsten. Often times you’ll be inside a house where you have a mix of both (some window light and some practicals) in which case you can split the difference and try 4200K or so. Hope this helps!
mike
atThanks Noam,
For cine-d there is no way for me to eyeball the white balance as it is too flat.
Thanks for the tips man, they have been very helpful.
Noam Kroll
atOf course! Glad to hear it’s been helpful.
Ryan
atHey! We’re shooting a feature film currently in Montana solely on 3 GH4’s, vintage FD Glass, and the Ronin-M. I’m the DP of the project, and shooting with your cinelike-D profile, Noam! Here’s a link to our page: http://kck.st/1BTy95h
Noam Kroll
atGreat to hear! Good luck with the project.
Tom
atHere is a LUT direct from Panasonic:
http://pro-av.panasonic.net/en/varicam/35/dl.html
As stated in these LOG shootout between GH4 and A7S:
https://www.youtube.com/watch?v=WLrw5yAo53U
Noam Kroll
atThanks for sharing Tom – although I believe this LUT is for V-Log, correct?
Tom
atYes V-Log, and in the video I see is applicable to V-Log-L too.
Ash Tailor
atHey Noam!
Long time reader and fan. Thank you for all the posts that you do to inform us and share the knowledge.
What was the Master P setting on your camera? and also the Highlight and shadow curve on the camera? This will undoubtedly have an effect on your LUT, etc
Thanks again
Ash
Noam Kroll
atThanks so much Ash. I typically leave the master ped a 0 as it seems to introduce a lot of noise when I bring it up. The highlight/shadow is also set to default.
Good luck with the LUT!
Arya Boustani
atThanks Naomi. I found Resolve is excellent in dealing with independent anchor points to steep up the mid tone curve while getting a heck of tangential profile at the extreme bright and dark to reveal those areas enough. I found I need to compensate for the steep up in adjacent areas so I add an anchor point for the high mid tone and one for low mid tone and then that combination creates a situation that I can get a nice shadow on the face without making it too intense.I will try your setting for sure. Just one thing is that I think Portrait is meant for artistic mid tones rather than looking realistic. I found there is the trend for making things look more interesting and a lot of times to the same extent the image ends up looking kind of particular and processed. Ideally one would hope that there is a combination of interesting and organic at the same time which could be the limitation of sensor, processing unit, and even lens and lighting. The other thing is that I found out different settings are useful for different scenarios. With you being in front of extreme background and key light, this setting combination is working, but if you are in a situation of much darker ambient light or flatter bright light, it would need a different combination and treatment. Also there are some settings to get more dynamic range out of the unit but the pay off is noise. If someone gives priority to dynamic range and deals with the noise through a plugin like Neat Video, then they could perhaps use a different set of variables to achieve what they are after.
Noam Kroll
atThanks for sharing Arya.
Lee Mackreath
atThanks for the info. With the Panasonic G7 coming out next week with the same cine v and cine d picture profiles do you think your tests\settings would work the same with that camera?
Noam Kroll
atI think they will be really close! I can’t say for sure as I haven’t used the G7 yet, but I would image the image will be nearly identical.
Lennart
atHi!
Do you have any advice like this article for Samsung NX1?
Best Regards
Lennart
Noam Kroll
atNot yet, as I have only shot with the camera a few times. There is a flat setting on the camera that I recommend using (Gamma DR I believe), but other than that, I would leave the settings as is personally.