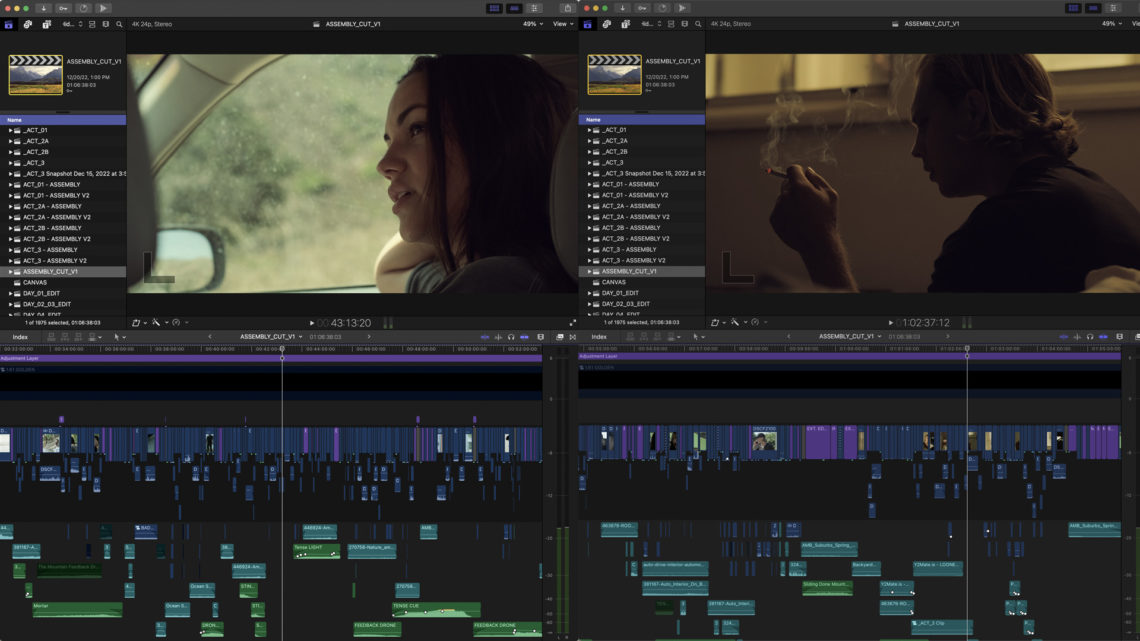
As I enter the final stages of post-production for my latest feature, I’ve been thinking a lot about what made this one so intuitive to edit.
While no project is ever without its challenges, this one was truly unique in how streamlined and natural the editorial process felt.
I was able to complete the vast majority of the edit in just a 12 week period, with the exception of some experimental work that was done on and off throughout production.
Ultimately, the edit came together faster than any other feature I’ve cut, and the creative results far exceeded my expectations.
Today, I want to share the workflow I used on this film, in hopes of streamlining your process too.
Editorial Workflow
When I look back on the process of editing this movie, there were a few variables that made it a success:
Footage analysis. Before cutting every scene, I would watch every piece of raw footage / sound 1 – 2 times, including false takes, wild dialogue lines, and extra b-roll I wasn’t likely to use.
Then, with it fresh in my mind, I could assess how to best piece together the scene – sometimes in very unexpected ways.
In the past, I would dive straight into the edit with little analysis of the material, thinking it would speed me up. But all it sped up was the first cut. Revisions took 10 x longer since I had to re-do so much of the work.
Cutting without music. I love using music in film, and am such a fan of music that it’s hard not to incorporate it into the editorial process from the get-go.
But on this film, I never used temp music while building out the first cut of a scene. I forced myself to make every scene work as well as it could with just natural sound and dialogue. This created far less guess work when making my first cut, and sped things up dramatically when dropping in the music later on.
Solving issues with sound. Like any project, this feature had its share of challenges in the edit. But I solved them by focusing on the audio first, and not really worrying about the visuals right away.
It took very little time to make a scene sound right by picking the best dialogue and finding a good rhythm. Once that was done, any visual edits that were needed to clean things up were a piece of cake. So much easier than trying to make the visuals work first, and having to sacrifice performance, tone, or pacing just to pull it off.
Avoiding polish. In the past I would polish my edits as I went along. If there were issues with background ambiences, dialogue levels, camera stabilization, or anything else of that nature – I would fix them early on, so as not to distract myself when cutting a scene.
But this time, I did the opposite. I embraced very rough cuts, and gave myself the freedom to work with unpolished material. This made it way faster to get a first cut complete, and helped me avoid wasting time polishing scenes that would later be removed or totally re-worked.
Ultimately the four variables above are what enhanced my process the most, at least this time around.
If you want to follow a 12 week schedule your feature film, here is how I would recommend breaking it down:
WEEKS 1 – 3
Footage organization > syncing > reviewing / watching > commencing initial picture edit
WEEKS 4 – 6
Individual scene edits > completed scenes combined into reels > scenes contextualized / refined in each reel
WEEKS 7 – 9
Reels combined into acts > reels contextualized / refined in each act > music / sound design added
WEEKS 10 – 12
Acts complied into full cut > final picture edits made > picture edit is locked > finishing work commences
Hope this was helpful for those of you with feature films on the horizon!
For exclusive filmmaking articles every Sunday, sign up for my newsletter here!


No Comments