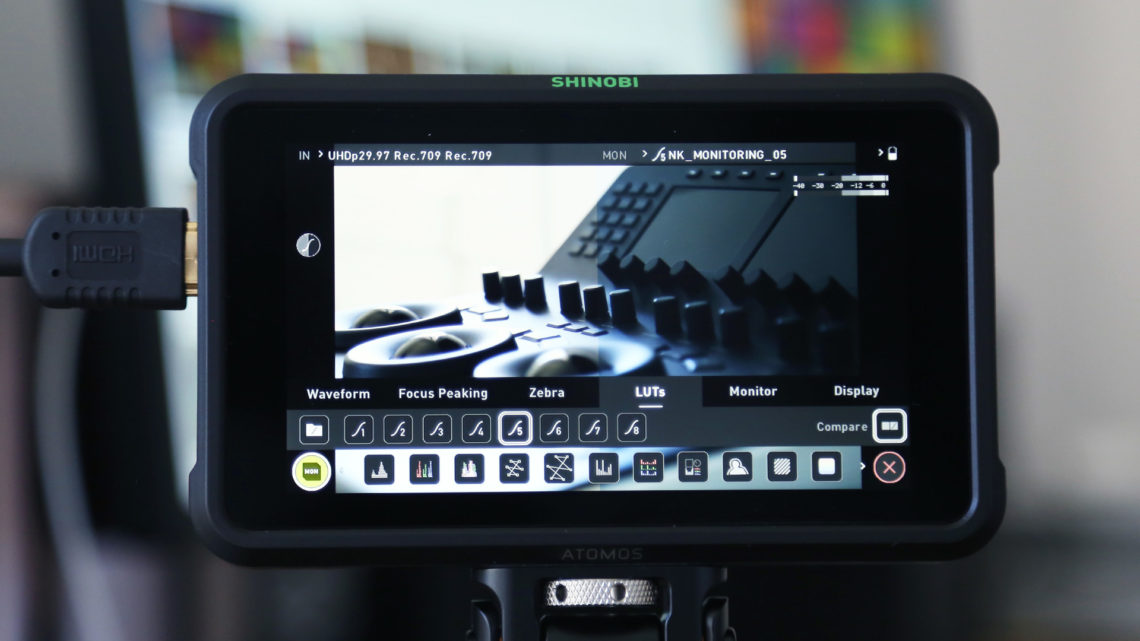
Looking for some free color grading LUTs to load into your monitor for an on-set preview? I have you covered with this free pack of 8 professional monitoring LUTs.
Recently I picked up an Atomos Shinobi 5.2″ monitor, which I’ve been super impressed with so far. My favorite function of the monitor is its ability to load custom LUTs to preview different looks on set.
You can of course use custom monitoring LUTs for a wide variety of purposes, but I like using them to quickly audition looks on the day.
By testing a select few creative looks against any given camera/lighting setup, I get a much clearer picture of what might be possible (or not) later on in the grade. It might also inform additional creative decisions pertaining to lighting ratios, color temperatures, and more.
For anyone doing commercial work, monitoring LUTs are also a great tool to use with clients. Rather than having to vaguely describe what your final image will look like after being color corrected, you can show them right there in real time.
Monitoring LUTs
I designed these LUTs to be as versatile as possible, which is why the set includes a mixed bag of commonly used looks.
In total there are 8 LUTs in this free pack:
- LUT 1: High Contrast
- LUT 2: Low Contrast
- LUT 3: Desaturated
- LUT 4: Natural Warmth
- LUT 5: Natural Cool
- LUT 6: Bleach Bypass
- LUT 7: High Contrast Monochrome
- LUT 8: Low Contrast Monochrome
Using The LUTs
The LUTs in this pack all come as industry standard .cube files, making them compatible with virtually any professional grade monitor.
Simply load the LUTs onto your monitor and toggle them on and off to preview each look.
If you have a camera that supports custom LUTs (in .cube format), you can also load the LUTs directly onto the camera to achieve the same results.
Log Recording
If you are shooting in a log color space on your camera, be sure to set your output signal (going to the monitor) to Rec 709.
These LUTs are not designed to convert your footage out of log, so you will need to set the camera to do this for you. With that done, you can then activate one of the monitoring LUTs to add a stylized look on top of the Rec 709 image.
If your camera doesn’t allow you to output a Rec 709 image when shooting in log color space, you can create your own custom LUT to work around this issue.
I recommend doing this in DaVinci Resolve.
Simply apply a conversion LUT to a shot in Resolve (let’s say V-Log to Rec 709), and then apply one of these monitoring LUTs on a separate node. With both LUTs stacked on the same shot, you can now output a new LUT from DaVinci Resolve that combines them both. You can then repeat this process with each of the remaining LUTs included in the pack.
Download The Free Monitoring LUTs
These monitoring LUTs are completely free to download and use. All I ask is that you share this page with friends and colleagues so that others can enjoy them too.
Click Here To Download The Free Monitoring LUT Pack
Hope you all enjoy them, and they help improve your workflow on set!
And if you enjoy those LUTs, you’ll love my full line of professional color grading LUTs available through CINECOLOR.
For more exclusive articles like this every Sunday, sign up for my newsletter here.


1 Comment
Henry Larry
atThe ability to preview custom LUTs on monitors like the Atomos Shinobi 5.2″ opens up endless creative possibilities aiding in making informed decisions and enhancing the overall visual narrative on set.
Best Massage Therapy Services