If you’re looking for an end credit template for your short or feature film, I have you covered with a free download.
Designing a credit sequence be time consuming and tedious, leading many filmmakers to cut corners or make poor design choices. Ultimately, this has a negative impact on the viewing experience.
Nothing screams amateur more than credits that are lopsided, use ugly fonts, or are difficult to read. Especially considering a clean credit sequence doesn’t have to cost anything. All it takes is some attention to detail.
Sometimes the most basic credit sequences are the best. A clean white font on a black background with good sizing/spacing never goes out of style.
With that in mind, today I’m sharing a free Photoshop template you can use for an end credit sequence. It includes several different title cards with a very simple design that is easily customizable.
Here’s what is included:
4K End Credit Template
Included in your download package is a single .psd (photoshop) file, and a folder containing the “Brandon” font that I’ve set as the default text.
Within the photoshop file, you will find 6 folders. Each one contains a different template:
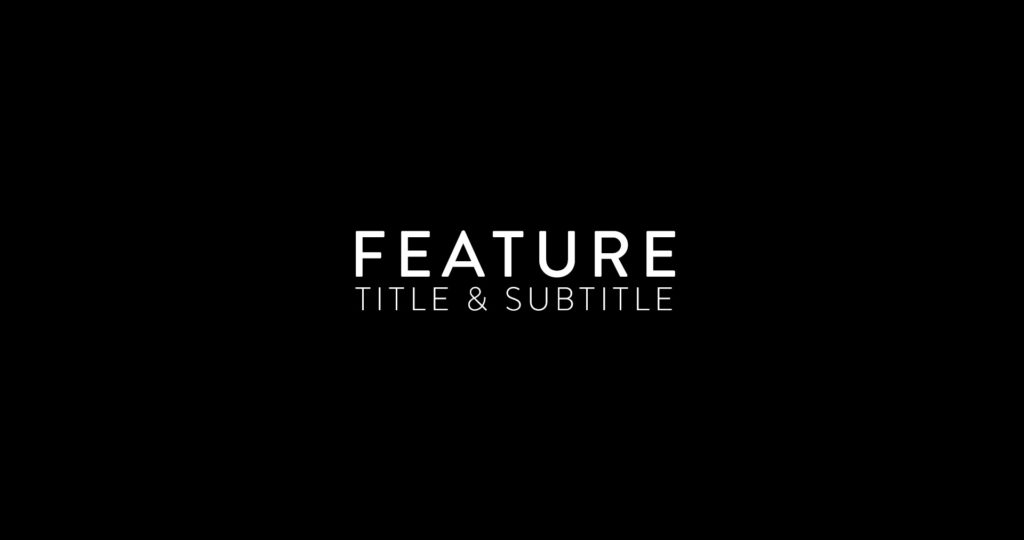
- Feature (or short) film title
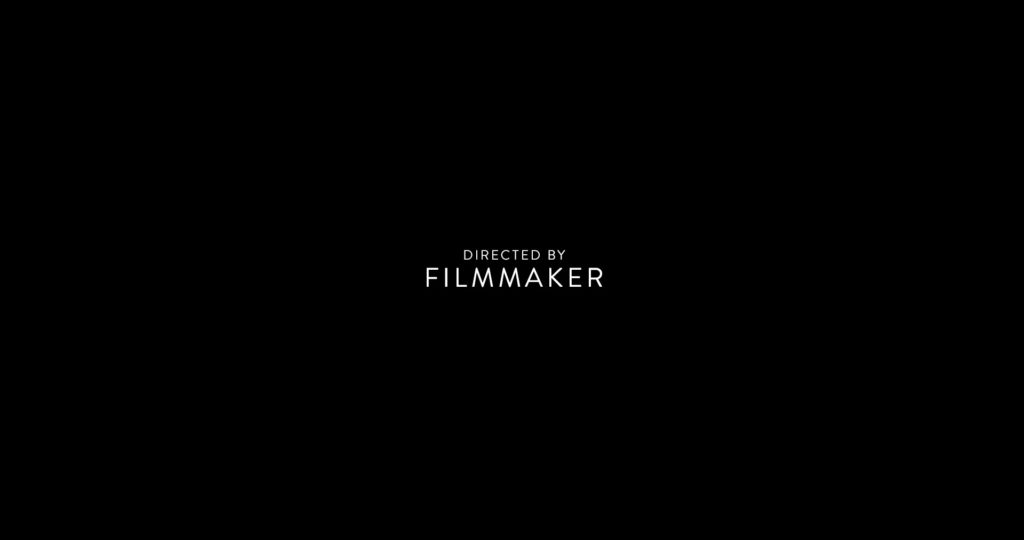
- Single cards
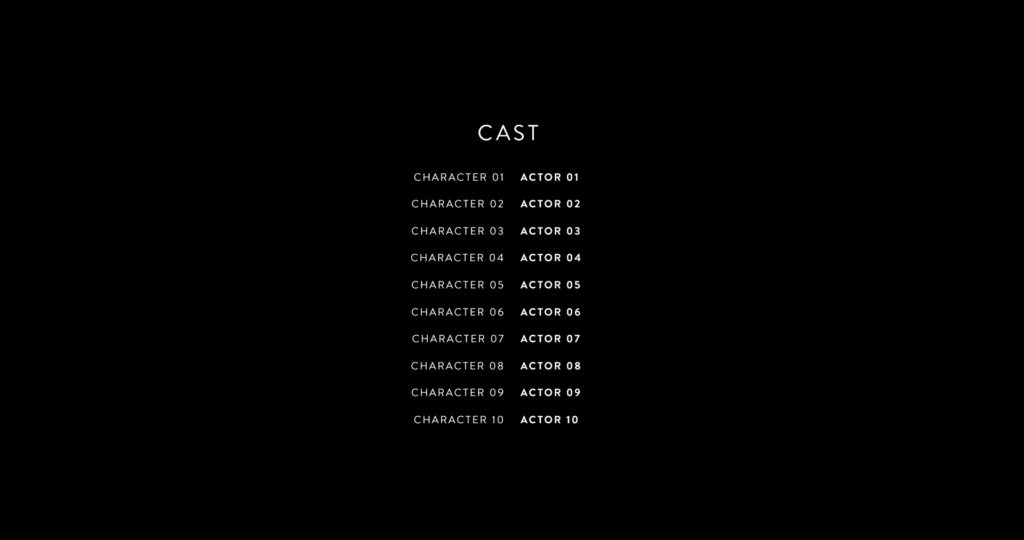
- Cast cards
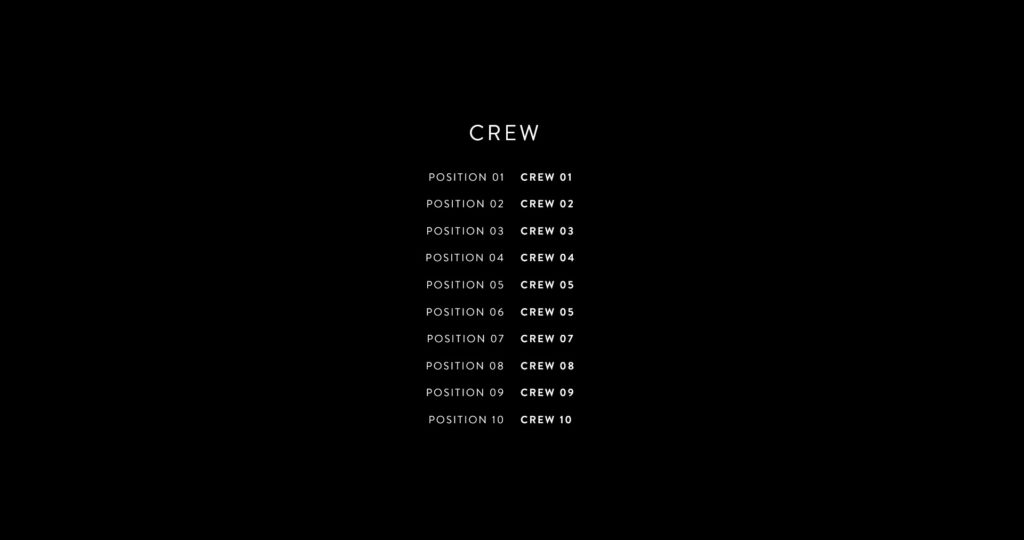
- Crew cards
- Special thanks
- Songs
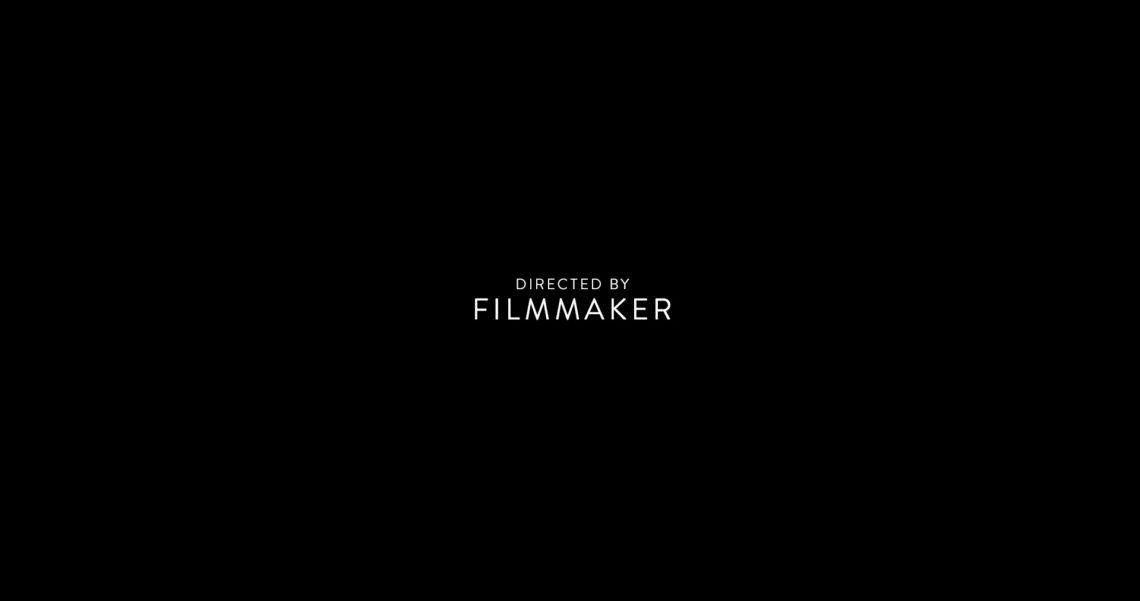
Here’s a quick preview of what you can expect with each:
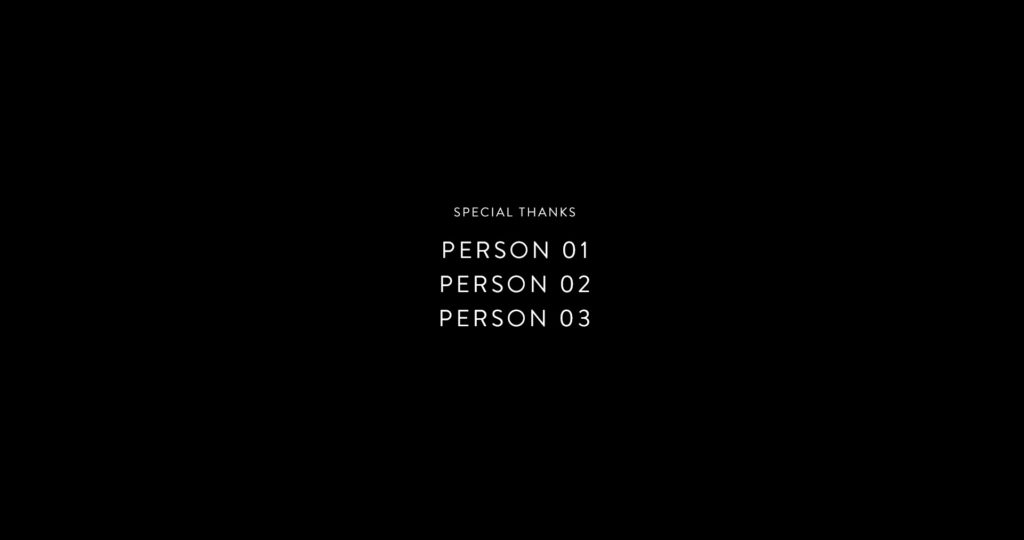
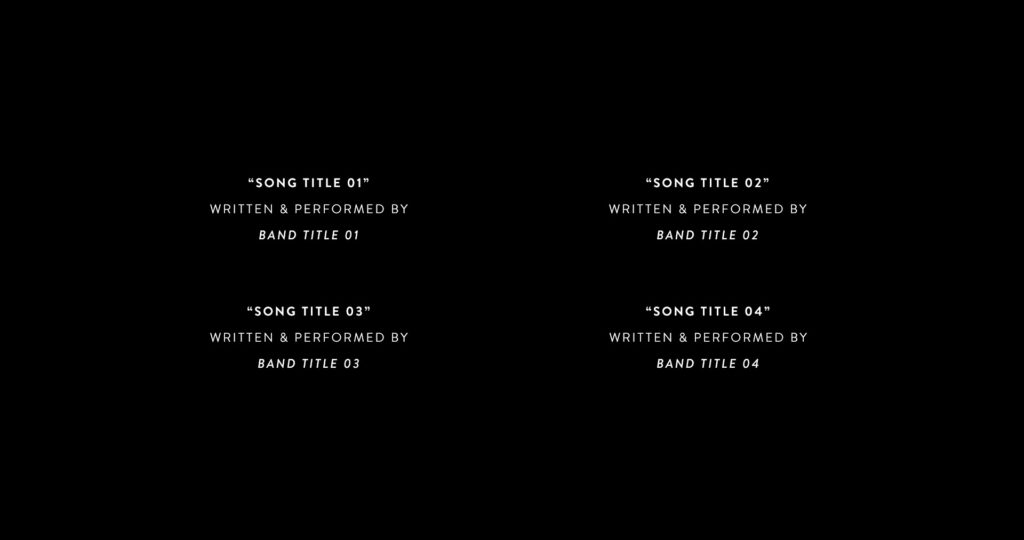
Workflow
Below is a quick breakdown of my recommended workflow:
Step 1.
Install the included “Brandon” font on your system. You will find this in one of the sub folders in your download package.
Note that there are several versions of the font (with different levels of weight/boldness), so you want to install all of them on your system.
Step 2.
Open the included .psd file in Adobe Photoshop.
Once loaded in Photoshop, toggle on any folder you’d like to modify, and toggle off the rest. If you’re new to photoshop, don’t forget to expand the folder so you can access the individual text layers within.
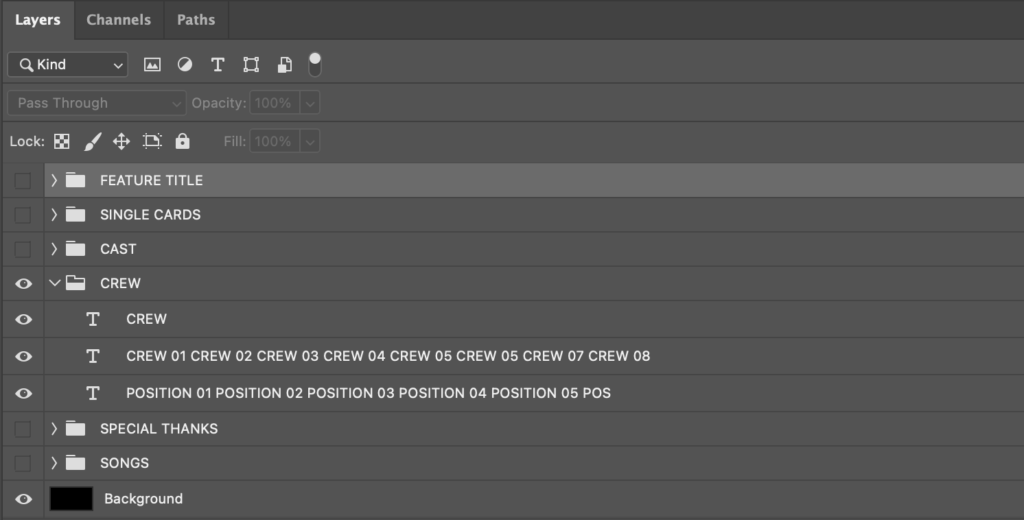
Add, change or modify the text to your liking, and ensure it is still aligned with the guidelines in Photoshop.
Step 3.
Once you’ve completed customizing your text, simply export each title card as an individual image file. I suggest exporting in .png or .jpg file format.
These files can then be brought into your editing software and dropped directly into the timeline. From there, you can adjust their timing and placement.
Resolution
The template is designed in 4K at a standard 4096 x 2304 resolution.
Depending on your delivery format and aspect ratio, you may want to adjust the title card resolution to match your main project. This can be done by either:
A) Modifying the canvas size in Photoshop (to scale up/down) before exporting your images, or:
B) Scaling/cropping the native 4K images in your editing software. This method works well if you are in an HD timeline, since you can just scale down the 4K images to fit within the HD frame.
Cards Vs. Crawl
Once you have all of your cards lined up in your editing software, you have to decide how you want to use them. Your two main options are:
- Static Cards
- Credit Crawl
Personally, I prefer static cards – mainly because they look cleaner and are easier to read. You really can’t go wrong with this method.
The other option is to animate the cards to crawl up the screen. This can be done by simply adding key frames to the motion/transform settings in your editor of choice.
Set one keyframe with the title card all the way at the bottom of the frame, and one all the way at the top. Once you find a speed that works, copy and paste the settings to any other cards you want to animate.
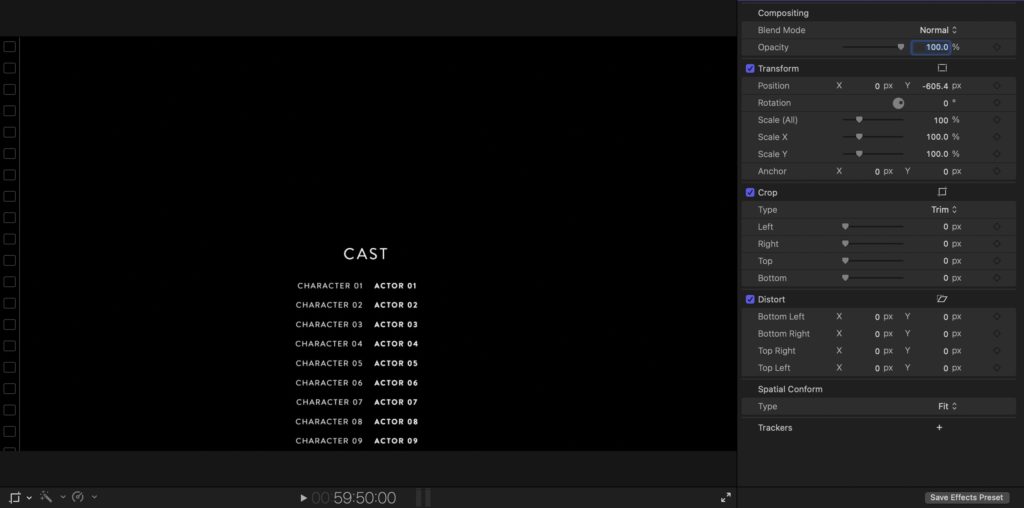
Important note: When key framing, be very careful not to set your speed too fast. If the text moves too quickly, it will be very difficult to read. And if you are mastering to 24p, it will look really jittery.
Be sure to maintain a moderate crawl speed to avoid any visual issues. Typically if your credits are moving between 3 – 6 pixels per frame, you are in good shape.
Customizing
Keep in mind that the template I am providing is meant to be customized.
You may want to change fonts, add company logos, modify sizing, or make any number of other adjustments. Don’t feel like you need to stick with exactly what I’ve created. This is just a really basic starting point.
And if you have a very large crew, or a ton of people to list in your “special thanks”, you’ll definitely need to duplicate some of the cards, or design some new ones of your own.
But if nothing else, I hope it gives you a good head start and makes your finishing process that much easier.
Free 4K End Credit Template Download Link
To download the template, simply click the link below:
4K END CREDIT TEMPLATE DOWNLOAD
Be sure to share this page with any friends or colleagues who could use it too!
For more exclusive content like this, click here to sign up for my newsletter.
For exclusive filmmaking articles every Sunday, sign up for my newsletter here!


23 Comments
Sri Lanka Holiday Tours
atLet TravelXTopia Ƅe your guide to thee wonders of our curated Sri Lanka Holida Packages.
вован казино онлайн
atHi there to every one, since I am truly keen of
reading this weblog’s post to be updated on a regular
basis. It consists of good data.
RobertRib
atTried the https://www.cornbreadhemp.com/products/blood-orange-thc-gummies-10mg from Cornbread Hemp — the well-disposed with a touch of THC. Took one beforehand bed. The flavor’s right, lose earthy but pleasant. Hither an hour later, I felt noticeably more nonchalant — not drowsy, lawful calm sufficiently to direction off without my mind racing. Woke up with no morning grogginess, which was a warm-hearted surprise. They’re on the pricier side, but if you contend to unwind at darkness, they could be advantage it.
ThomasUsesy
atCBD products be undergoing disinterestedly changed my person! I not at all expected something so reasonable like https://cobocbd.com/products/cbd-gummies-for-sleep to bring such calm and compatible into my daily routine. Tension that definitely felt devastating is now so much easier to control, and my sleep has appropriate for deeper and more refreshing. Even muscle aches after long days away faster. It feels marvellous to completely have something light yet dynamic that supports both heart and mind. I can’t surmise my days without CBD anymore!
ThomasUsesy
atCBD products contain honestly changed my life! I not under any condition expected something so natural like https://cobocbd.com/collections/cbd-for-dogs to topple b reduce such tranquil and peace into my everyday routine. Stress that in olden days felt overwhelming is now so much easier to manage, and my snore has develop deeper and more refreshing. Yet muscle aches after wish days die out faster. It feels marvellous to completely arrange something gentle to the present time potent that supports both heart and mind. I can’t imagine my days without CBD anymore!
Blastocyst transfer center in jalandhar
atyou Share a amazing post with us.
Don
atand thank you! (typos – now you know why I need a template!:)
Don
atThis is excellent Noam! That you!
Anniesteuber
atThis is a great Hello Neighbor
Geekcited
atThanks for this. Check Geekcited
John
atI checked this out. But I am confused about this post. Especially for the resolutions.
Soundoftext
atThis is a great free credit template for feature films, shorts, and documentaries.
Grand Rugby
atThis is amazing template and something new for me!
Rugby World Cup 2023 Schedule
Ryder Cup Golf Schedule
Ind vs Aus CWC 2023
fmwa
atHi, I just wanted to thank you for the article I had to spend time with your post, I really enjoyed your informative article and definitely appreciate your post.
Also, you can visit my blog: Fm Whatsapp
Slope Unblocked
atGood idea
Donkey Kong
atGreat!
LatestModAPKs
atThis is a great free credit template for feature films, shorts, and documentaries.
Nkosi
atThanks a bunch for a quick and easy go to credit template!
Noam Kroll
atAny time!
Kim
atThank you. 👍
Noam Kroll
atAny time!
Patrick
atThanks! Sometimes the simplest things occupy the most time 🙂
Noam Kroll
atTotally! Glad it was helpful for you.