Below is a quick example of a digital to film transformation workflow, completed in just 3 steps. If you’re trying to emulate an analog/filmic look when shooting digitally, this is one of the simplest paths to get there.
Keep in mind, any digital to film transformation also relies on the right on-set workflow. Not everything happens in post-production. I go into more depth on production considerations in this article.
But a lot of the work is of course done in the edit and color grade.
Below, we’ll use an example shot captured while on set for my latest feature film. The shot was captured with the Fuji X-T4 – which is an amazing camera that (like most other mirrorless cameras) delivers a very clean image.
My new film calls for a more textured / slightly analog aesthetic, so I am using my own custom Digital Film LUTs in conjunction with hand crafted 6K Film Grain to achieve the look.
Here’s how it all fit into my pipeline:
Step 1: Log To Rec 709 Conversion
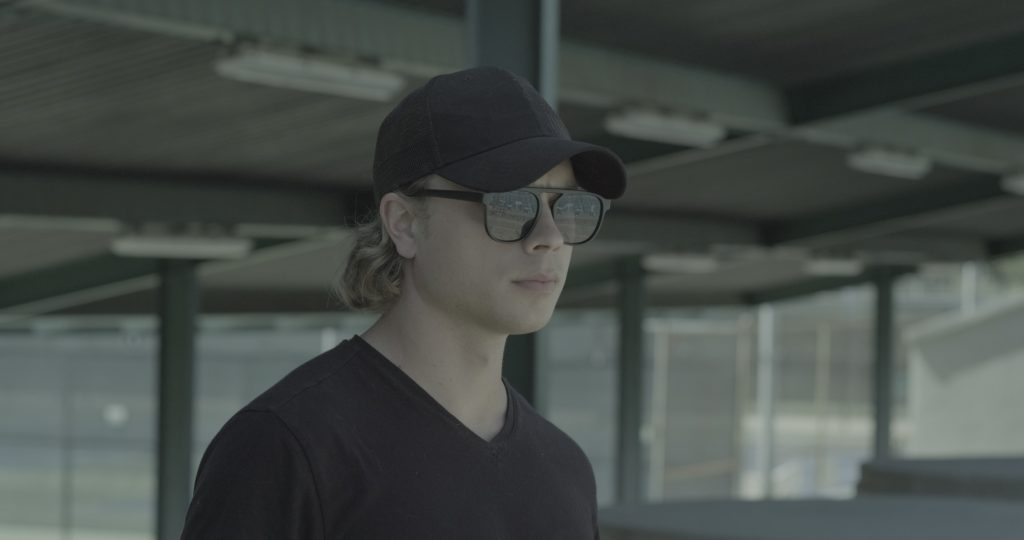
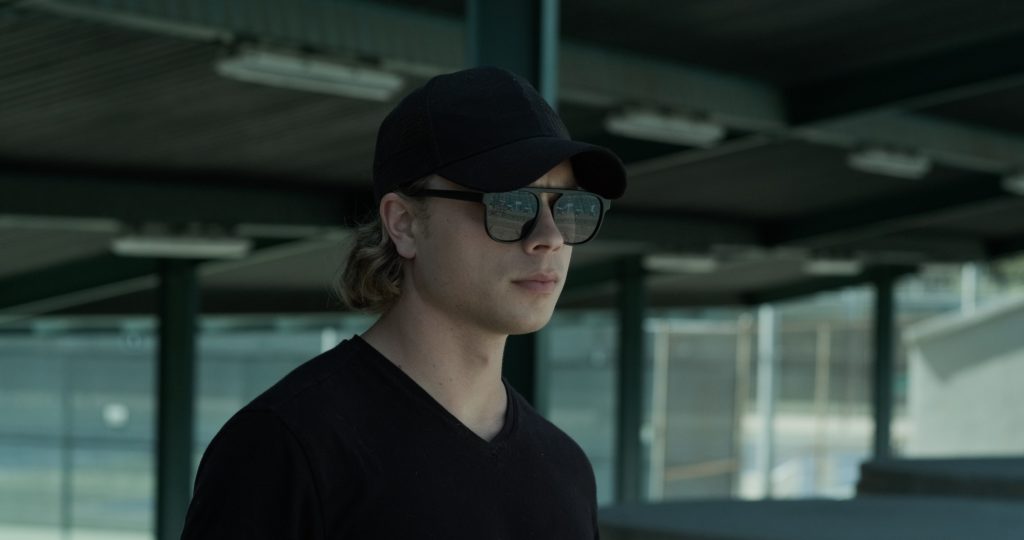
For any footage captured in Log (like mine), the first step of course is to convert it into Rec 709 color space. This can be done by applying the necessary conversion LUT to the raw footage.
Download and use the native LUT that your camera manufacturer makes available, or use a custom LUT created by another source. I’ve created many free camera LUTs that are available on my Cinecolor website, which you can download here.
Before and after: Log to Rec 709 Conversion –


Step 2: Film Emulation LUT + Color Balance
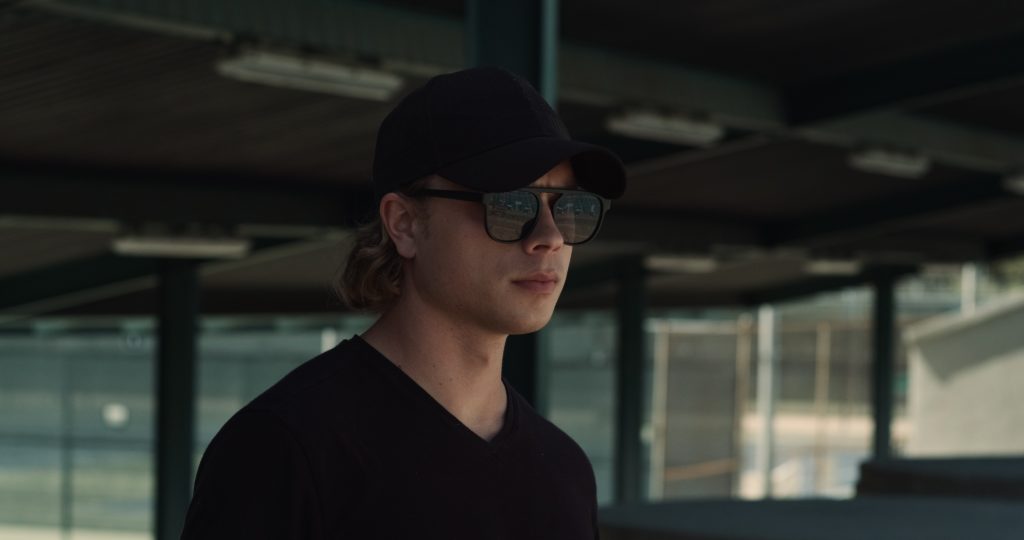
Next, we can add another LUT to the shot. This time we’ll use a creative LUT that is designed to emulate the look of motion picture film.
In the example below, I have applied one my custom Digital Film LUTs from the PORTA 400 pack, along with a minor custom color balance adjustment –

It’s worth noting that if the sample image had any major exposure issues, these would have been adjusted during this step as well. Doing so would follow the correct order of operations.
Step 3: Film Grain Overlay
The final step is to add film grain. This can be done using plugins, standalone apps, or manually using video overlays – which is my method of choice.
You can use any film grain texture that you like, or create your own. I made my own custom film grain overlays in 6K resolution in every standard gauge: 8mm, 16mm, 35mm, 65mm. I use these exclusively to add grain to my own projects, and have also made them available through Cinecolor here.
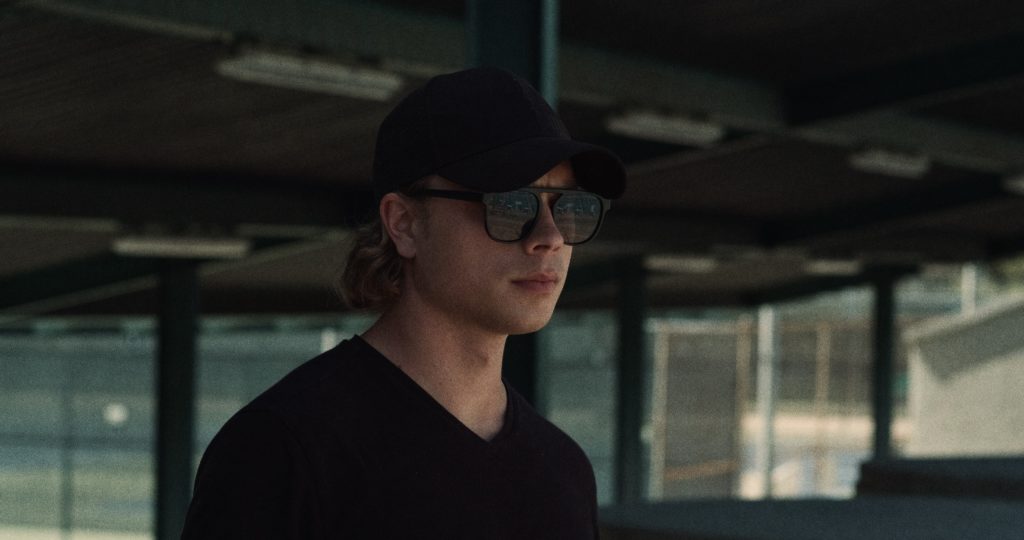
The film grain is a loop-able .mov file that you can drop onto your timeline (above your source footage), and set to overlay. This will add the grain on top of your digital image.
In the example below, I’ve applied my 35mm film grain to the sample shot. And to make it slightly more aggressive, I doubled up the layer of film grain. This is one of many ways to customize the effect –

That’s it for the main workflow on this shot.
If you are trying to emulate a smaller film gauge (Super 8mm or Super 16mm), you will also want to add some blur to the source footage.
Adding 8mm grain on top of a sharp digital image will always make the effect look fake. Be sure to look at plenty of reference images, and add some degree of blur if you’re going for an 8/16mm look.
For more exclusive content like this, sign up for my newsletter.
For exclusive filmmaking articles every Sunday, sign up for my newsletter here!


2 Comments
Henry Larry
atI appreciate the insight into your digital to film transformation process using custom LUTs and film grain for that textured look. Looking forward to exploring more about the on set considerations in your detailed article.
Best Executive Coaching Services in Las Vegas NV
Sam
atHi,
Thank you for this very useful information. Just one question: are you planning a custom rec709 LUT for the N-Log?
Regards,