I’ve been a fan of FCP X since it was first released (despite the controversy), but over the past year I’ve been using it less and less. I’m not someone that is married to any one editing platform, and my goal is always to pick the right tool for the job. This year, I’ve shifted many of my projects to DaVinci Resolve 12.5 thanks to it’s incredible new editing toolset, but I still regularly cut projects on Premiere Pro and of course FCP X.
I like having the ability to choose the most suitable editing software for any given project, and although my use of FCP X has dwindled a bit this year, I think that’s about to change thanks to version 10.3.
The latest update of FCP X comes loaded with a ton of new features, and a very sleek UI re-design.

There are a ton of new features under the hood (more on those below), and the new UI alone is a welcomed change.
Not only is the interface cleaner, but it’s also more functional. Previously, my biggest issue with the FCP X interface was it’s inability to be customized, but that’s now been remedied as version 10.3 supports full custom layouts that can be saved as presets.
Unlike Premiere Pro, where your panels are prone to get closed or moved accidentally, FCP X locks your custom interface down with anchored panels. You can change the layout by way of the menu bar, but the panels will never become undocked as they often will in other NLE’s. For me, this is a win-win, and makes for one of the best implementations of a customizable UI that I’ve seen.
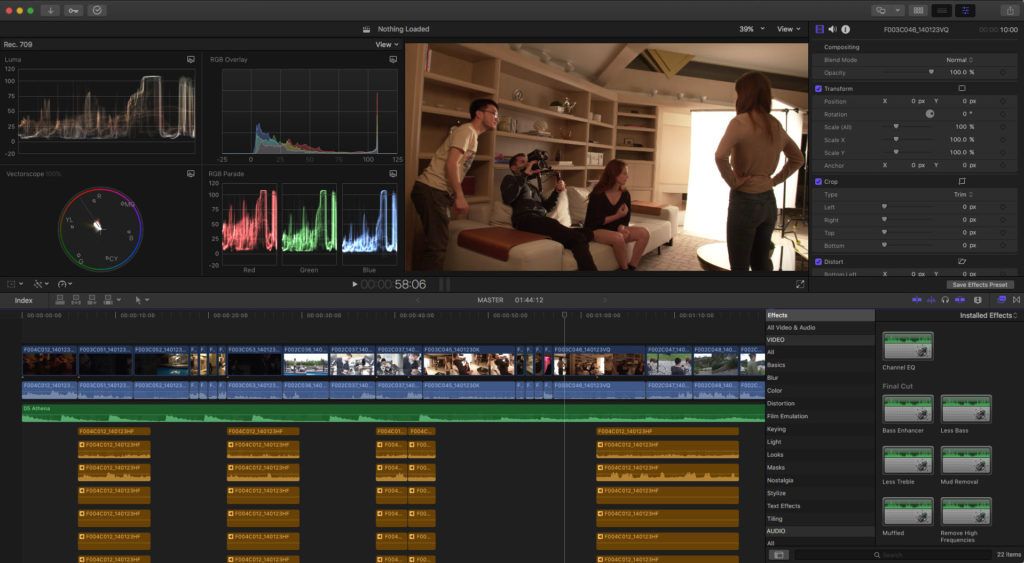
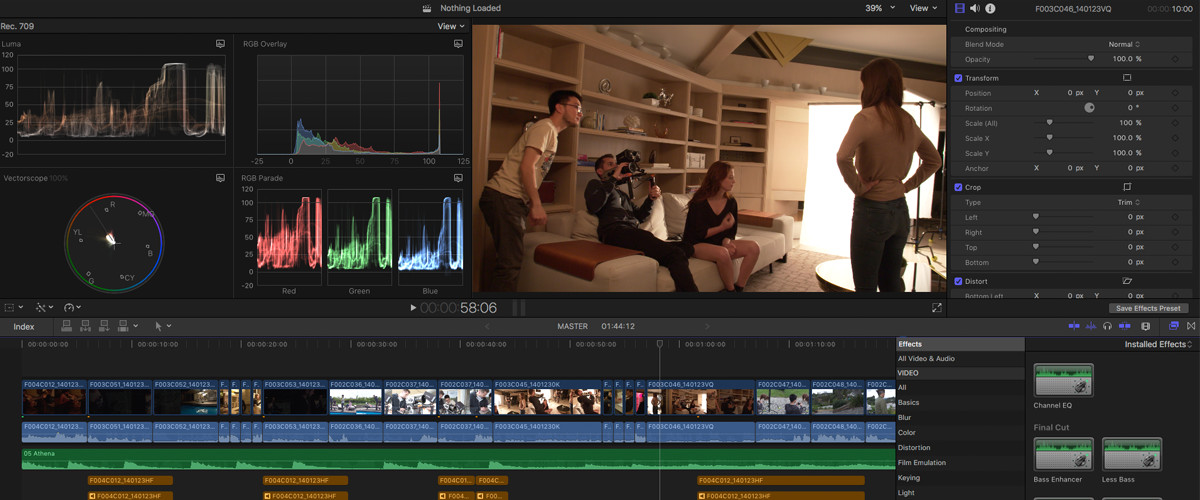
FCP X 10.3 also has several new presets for panel layouts, including a Color Correction layout as seen below:

I’m not going to touch on all of the new features in FCP X 10.3 here, as there are simply too many to cover and I haven’t had long enough to experiment with them all.
With that said, here is a list of some of the highlights:
- Redesigned flat UI
- Customizable interface
- Macbook Pro Touchbar support
- Remove effects/attributes
- Rec. 2020 color space support
- New timecode reader
- Flow transition
- Improved/faster audio fades
- New roles panel
- Audio lanes
Clearly there is a lot to be excited about if you’re a FCP X user. In particular, the support for Rec. 2020 color really sets FCP X apart from many other NLE’s that are limited to the aging (but still standard) Rec. 709 color space.
But the last item on the list above is the one that I think deserves the most attention: Audio lanes. It’s a feature that deals with one of the central issues that critics have had of FCP X all along – the magnetic timeline.
AUDIO LANES
FCP X’s magnetic timeline polarized editors since it was introduced in version 10.0. While a handful of filmmakers (myself included) embraced it right away, most others saw it as an annoyance, especially with regards to it’s handling of audio.
In principle, the magnetic timeline always made a lot of sense. It introduced us to a new paradigm for editing, designed to speed up workflow and increase creative productivity. By allowing users to move clips anywhere in the timeline without accidentally overwriting other clips, it became faster than ever to experiment with new edits that involved moving large chunks of the timeline around. But those benefits mainly pertained to video…
Audio on the other hand is much more complex, and editing dialogue and other audio clips has always posed some notable challenges for the magnetic timeline.
In many cases a given timeline will contain numerous audio clips for every one video clip. For example, a single video clip may have a dialogue track, ambient audio, sound effects, and score attached to it. Without traditional tracks to lock those audio clips into place, the FCP X timeline can get very messy, creating many layers of connected audio clips that can be hard to manage and edit.
Apple clearly came around to the idea that while the magnetic timeline is extremely powerful for video, it has it’s downsides in the audio department… Which is surely how Audio Lanes were born.
An Audio Lane is simply a new way of organizing the audio in your timeline based on roles. In the past, if you had numerous audio tracks connected to your video clip (as described above), they would simply float at the bottom of the timeline without any rhyme or reason. It was difficult to keep things organized visually, and being able to see exactly where a specific effect or music cue was placed was next to impossible.
On more traditional NLE’s, audio tracks are often used to separate different types of audio content. For instance track 1 may be dedicated to dialogue and track 2 might house the sound effects. This allows for a simple way to keep audio files organized, but it comes at the expense of limited flexibility while editing.
Audio lanes essentially give users a best of both worlds scenario. Audio can still be connected to video clips just as it always was in previous version of FCP X (meaning edits can be made very easily), but Audio Lanes now offer an extremely powerful organizational function.
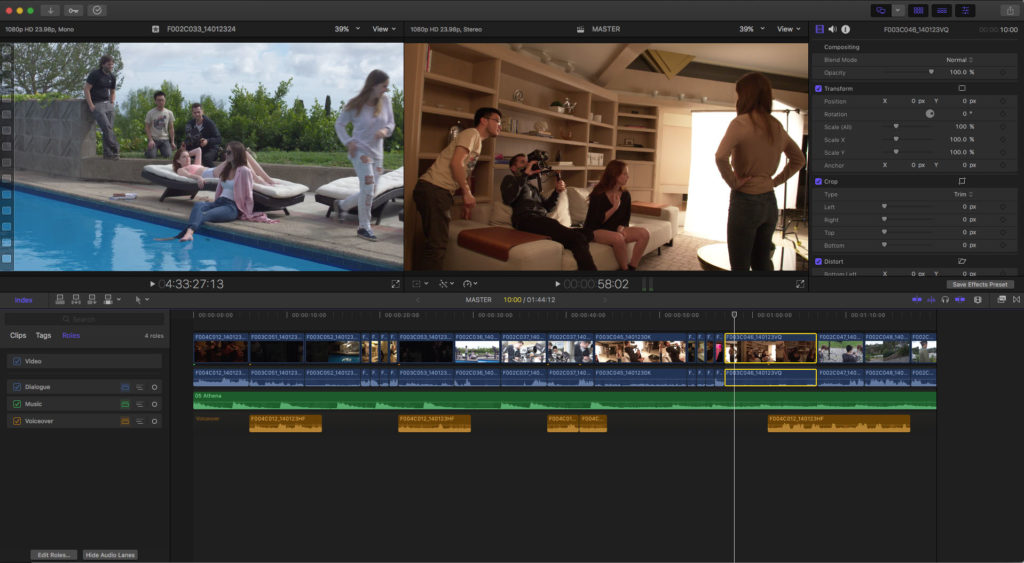
Take a look at the image below as a point of reference:

In the timeline above, the audio lanes are divided between dialogue, music, and voiceover. If I were to add a new voiceover track to the edit, it would automatically populate the orange voiceover lane. In previous versions of FCP X, a new voiceover file would simply appear as another green connected audio clip, completely indistinguishable from the other audio files in the timeline. Lanes on the other hand, effectively work as ever expanding audio tracks with color coding as an added point of reference.
Unlike traditional tracks that are limited to only single audio clip, lanes can house as many clips as you’d like. You could have 10 different sound effects layered on top of each other, and as long as they are all assigned the same role, they will all stay organized together in a singular lane.
In the image above, not only are the roles being used to organize the audio lanes, but sub-roles are also activated, which allow for added control and functionality over each individual audio channel within any given file. The view above shows a timeline where the sub-roles (in this case different channels of audio on the VO track) are expanded, which is why there are so many layers on the voiceover track.
Here is what it would look like when when the sub-roles are fully collapsed:

Having the ability to expand or hide your audio channels or sub-roles (which can effectively be assigned in an infinite amount of ways), is a life saver and can make complex audio edits so much faster and easier. The Index panel on the left can also be used to change the stacking order of the lanes, so that you could place your music on top of your dialogue for instance.
The Index can also be used to shrink the sizing of audio lanes that aren’t currently being edited:

You can also create a compound clip of your entire project to make global adjustments to your lanes with ease.
For example, a compound clip of the timeline above would look like this:

When Audio Lanes are turned off, it looks like any other compound clip.
But when they are turned on (using the Index panel), this happens:

Now each lane can be adjusted independently, and can also be further expanded to show sub-roles for even more fine-tuning control.
Clearly there is a lot to like about Audio Lanes. They are making FCP X’s timeline far more effective, organized, and functional, while speeding up the audio editing process immensely. There are still some improvements that could be made – for instance, a roles based audio mixer would be a life saver – but even in it’s current form, this is a very powerful addition to FCP X.
I’m not certain this, or any other new FCP X 10.3 feature is going to covert die hard Premiere Pro or Avid users. But for some editors that are still on the fence, 10.3 may finally be the version of FCP X they were waiting for.
I will definitely be experimenting more with 10.3 over the coming weeks and months and will be sure to post further thoughts and updates in the future.
For more content like this, be sure to follow me on Instagram, Facebook, and Twitter!


10 Comments
Chris Bunney
atGiven a choice, what program would you prefer to use to edit picture: FCP X, Premiere Pro or DaVinci?
Thanks!
Noam Kroll
atDepends on the project! They are all good for different things, but I usually make my decision based on which will be most suitable for my needs on a specific job. That said, I find I used FCP X and DaVinci most, and don’t use Premiere Pro as often, unless I want to do a lot of After Effects work and want the ability to dynamically link between Premiere and AE.
Austin
atNoam,
Just shot my first video in 4.6K 60FPS RAW with the URSA Mini. Files are huge… But I love Final Cut, always have, do you know how to import these files into Final Cut to edit? Can Final Cut handle the Cinema DNG or does it need to be converted first? If it needs to be converted, how do you normally do it… If you have ever used Final Cut. Thanks!
Noam Kroll
atHey Austin! The files do need to be converted for FCP X, but generally speaking I would recommend converting to ProRes even if you’re editing on other software that supports native Cinema DNG. It will be a lot smoother to cut! Just use Resolve to convert everything to ProRes, and make sure you keep the original file names so you can easily re-link to the RAW for coloring. Hope this helps!
Stevan
atHey Noam,
What about exporting audio with handles (like an OMF?) The OMF omission from FCP X was why I stopped using it. I mix my final audio in Pro Tools. If I can’t export with handles, it’s kind of useless for me. Any news on that? Thanks!
Noam Kroll
atHi Stevan! You can export virtually any type of AAF file for ProTools using third party plugins. It would certainly be nice to have the functionality built right in, but Apple seems to have opted for a modular approach to FCP X, offering the software for very cheap and letting users buy the plugins they need for their specific uses. X2Pro is a great (and very affordable) plugin that you can use to get your projects into ProTools using an XML file.
Ash Tailor
atHey Noam,
Forgive me if this is naive (I’m not a FCPX user) but what about audio tracks that aren’t necessarily attached to a clip?
Say I have audio between two different clips, which clip does it get attached to?
Objectively it is a lot better but I still have questions. Also, thanks for the help 🙂
Noam Kroll
atGreat question, Ash.
All audio clips are either attached to other video clips or placed on the “primary storyline” – which is essentially V1 of the timeline. Once you step into the Audio Lanes view, all of the audio tracks re-organize into their respective lanes. So in your example, the audio between two different clips would stay exactly where it is in the timeline, it would just appear in one of the audio lanes, allowing for easier access to it.
Hope this makes sense and doesn’t confuse things more! It’s a bit difficult to describe, but actually quite simple in practice.
Eric Tam
atLove this update!
Noam Kroll
atMe too! It’s winning me over again…